
Over at Twitter I mentioned that we have finally nailed down a somewhat proper stocking sewing pattern for fabric-backed latex that’s commonly used in all the shiny cosplays you see on the web. Since this was quite a (multi-year) journey I want to take you with me as I share all of our struggles and how our pattern evolved over time.
But why sewing stockings from a random material is problematic?
So, you see – regular store-bought stockings are basically slightly tapered rectangles (or cones if you prefer a seamless variant). However our legs are not.
With stretchy materials like nylon, microfiber or any loose knit – this isn’t an issue. You make your garment purposefully small for the fabric to tightly envelop the flesh of the wearer with one size covering a wide range of possible leg dimensions of actual humans.Problems start to appear when you try to sew with regular tightly-woven materials that do not at least double in size when stretched in either way.
The absolute TL;DR of what you need to know about fabric stretch is:
- The stretch is not always coming from the fibers themselves – sometimes the fabric itself is made to have “extra length” of fiber to give that elastic feel
- Particular fabric knit styles of incorporating this “extra length” with combination of non-stretchy fibers may cause material to stretch only in certain direction
- The way of measuring stretch is usually lying down a measuring tape or ruler, grabbing a known length of fabric (like 10 cm) and stretching it while taking a new measurement. You usually want to do this both length-wise (as the material came off the roll) and height-wise.
In case you’d like a detour with pictures, here is a dedicated blog post from The Sewing Directory.For the purposes of this blog I decided to report all stretch factors as 100%+actual_factor in order to hopefully avoid you doing needless mental math when analysing sizing.
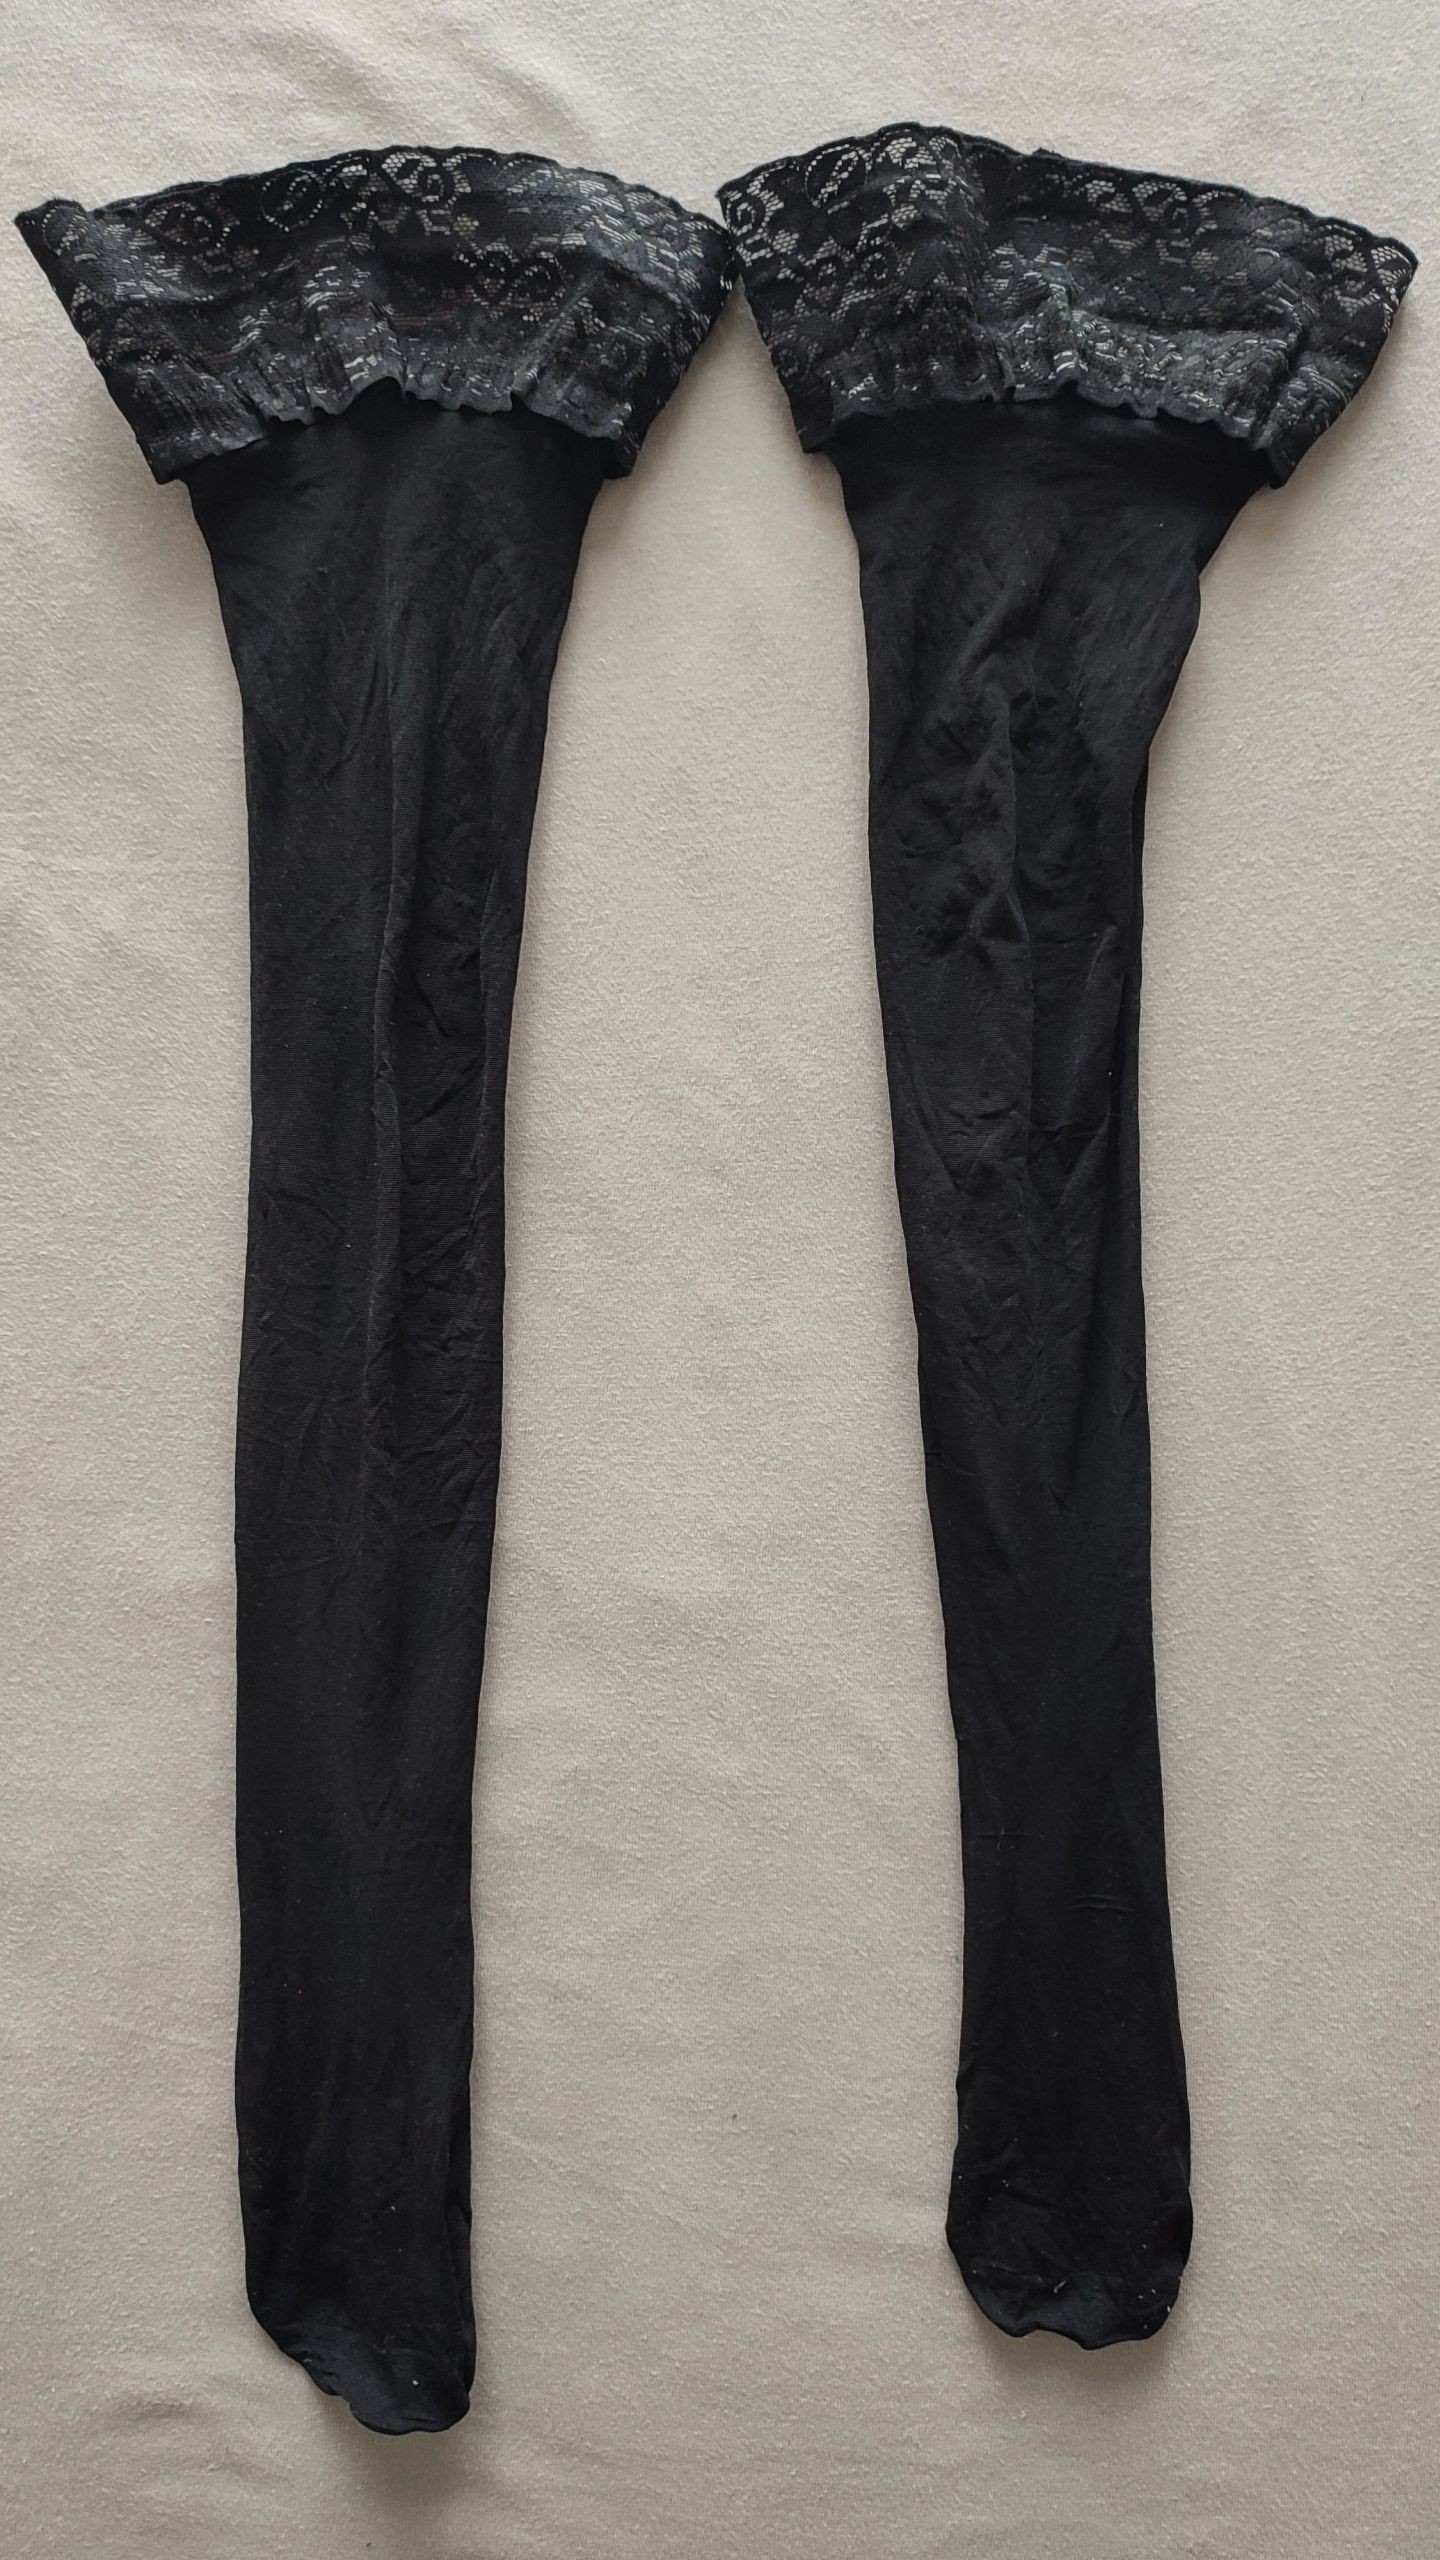
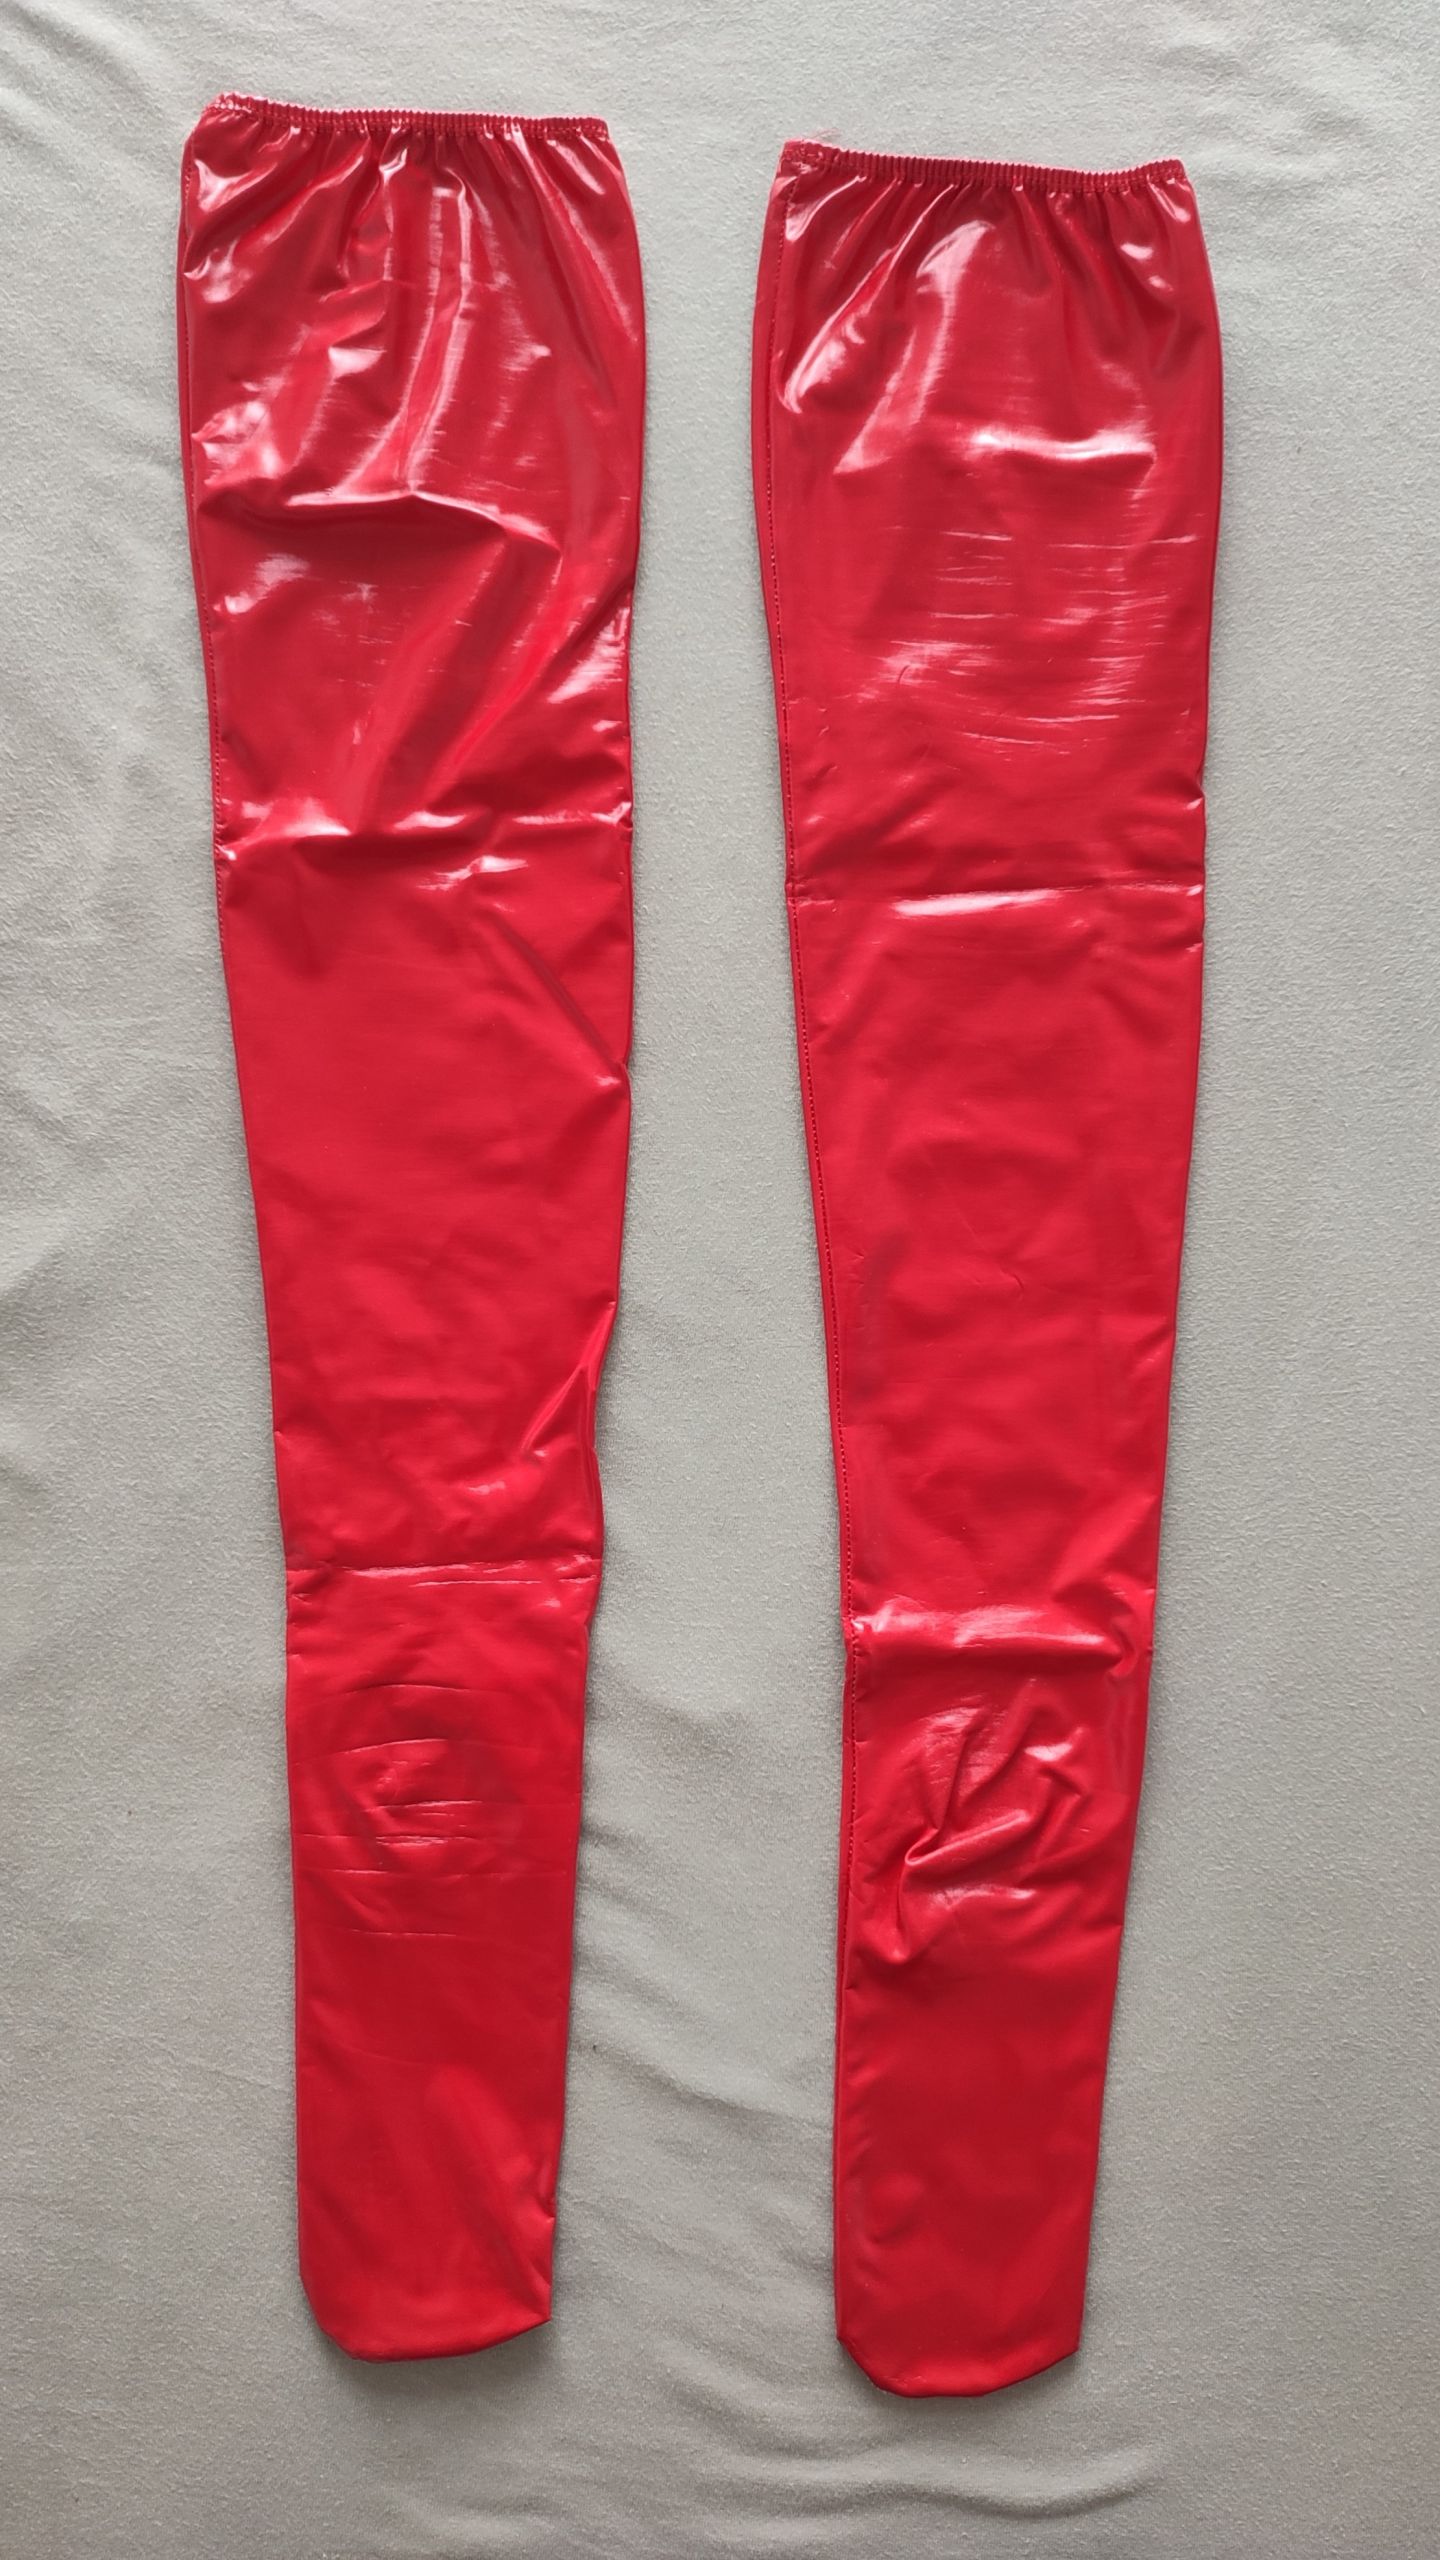
The less stretch the material will have the more problems you will see on transition from your calf, to heel, finishing on your sole.This transition creates two issues:
- There’s quite the gap in pure length front-to-back (which also changes depending on the current angle of your feet)
- You need to account for problematic diameter changes - the relatively big diameter of calf is suddenly reduced to small diameter of ankle before being quickly enlarged again at heel and shrinked again mid-sole (and you can’t just trim the fat all around - otherwise your feet won’t be able to slide past narrowest spot)
If your fabric of choice basically does not stretch at all, you’re in for even a worse time, with your creation bunching up across its entire height and not even willing to stay up, regardless if you add rubber thigh bands or not.
Socks and RHT stockings
Within the “lore of hosiery” there’s a very specific type of seamed stockings called Reinforced-Heel-Toe stockings which are basically the original archetype my brain has fallen back to when brainstorming on how we could make our own stockings.
RTH instead of relying on a denser nylon material at just the fingertips to employ a “sock strategy” to the hosiery products and add denser weave at heel and across the entire sole, making for a much more defined two-tone transparency look on the feet.
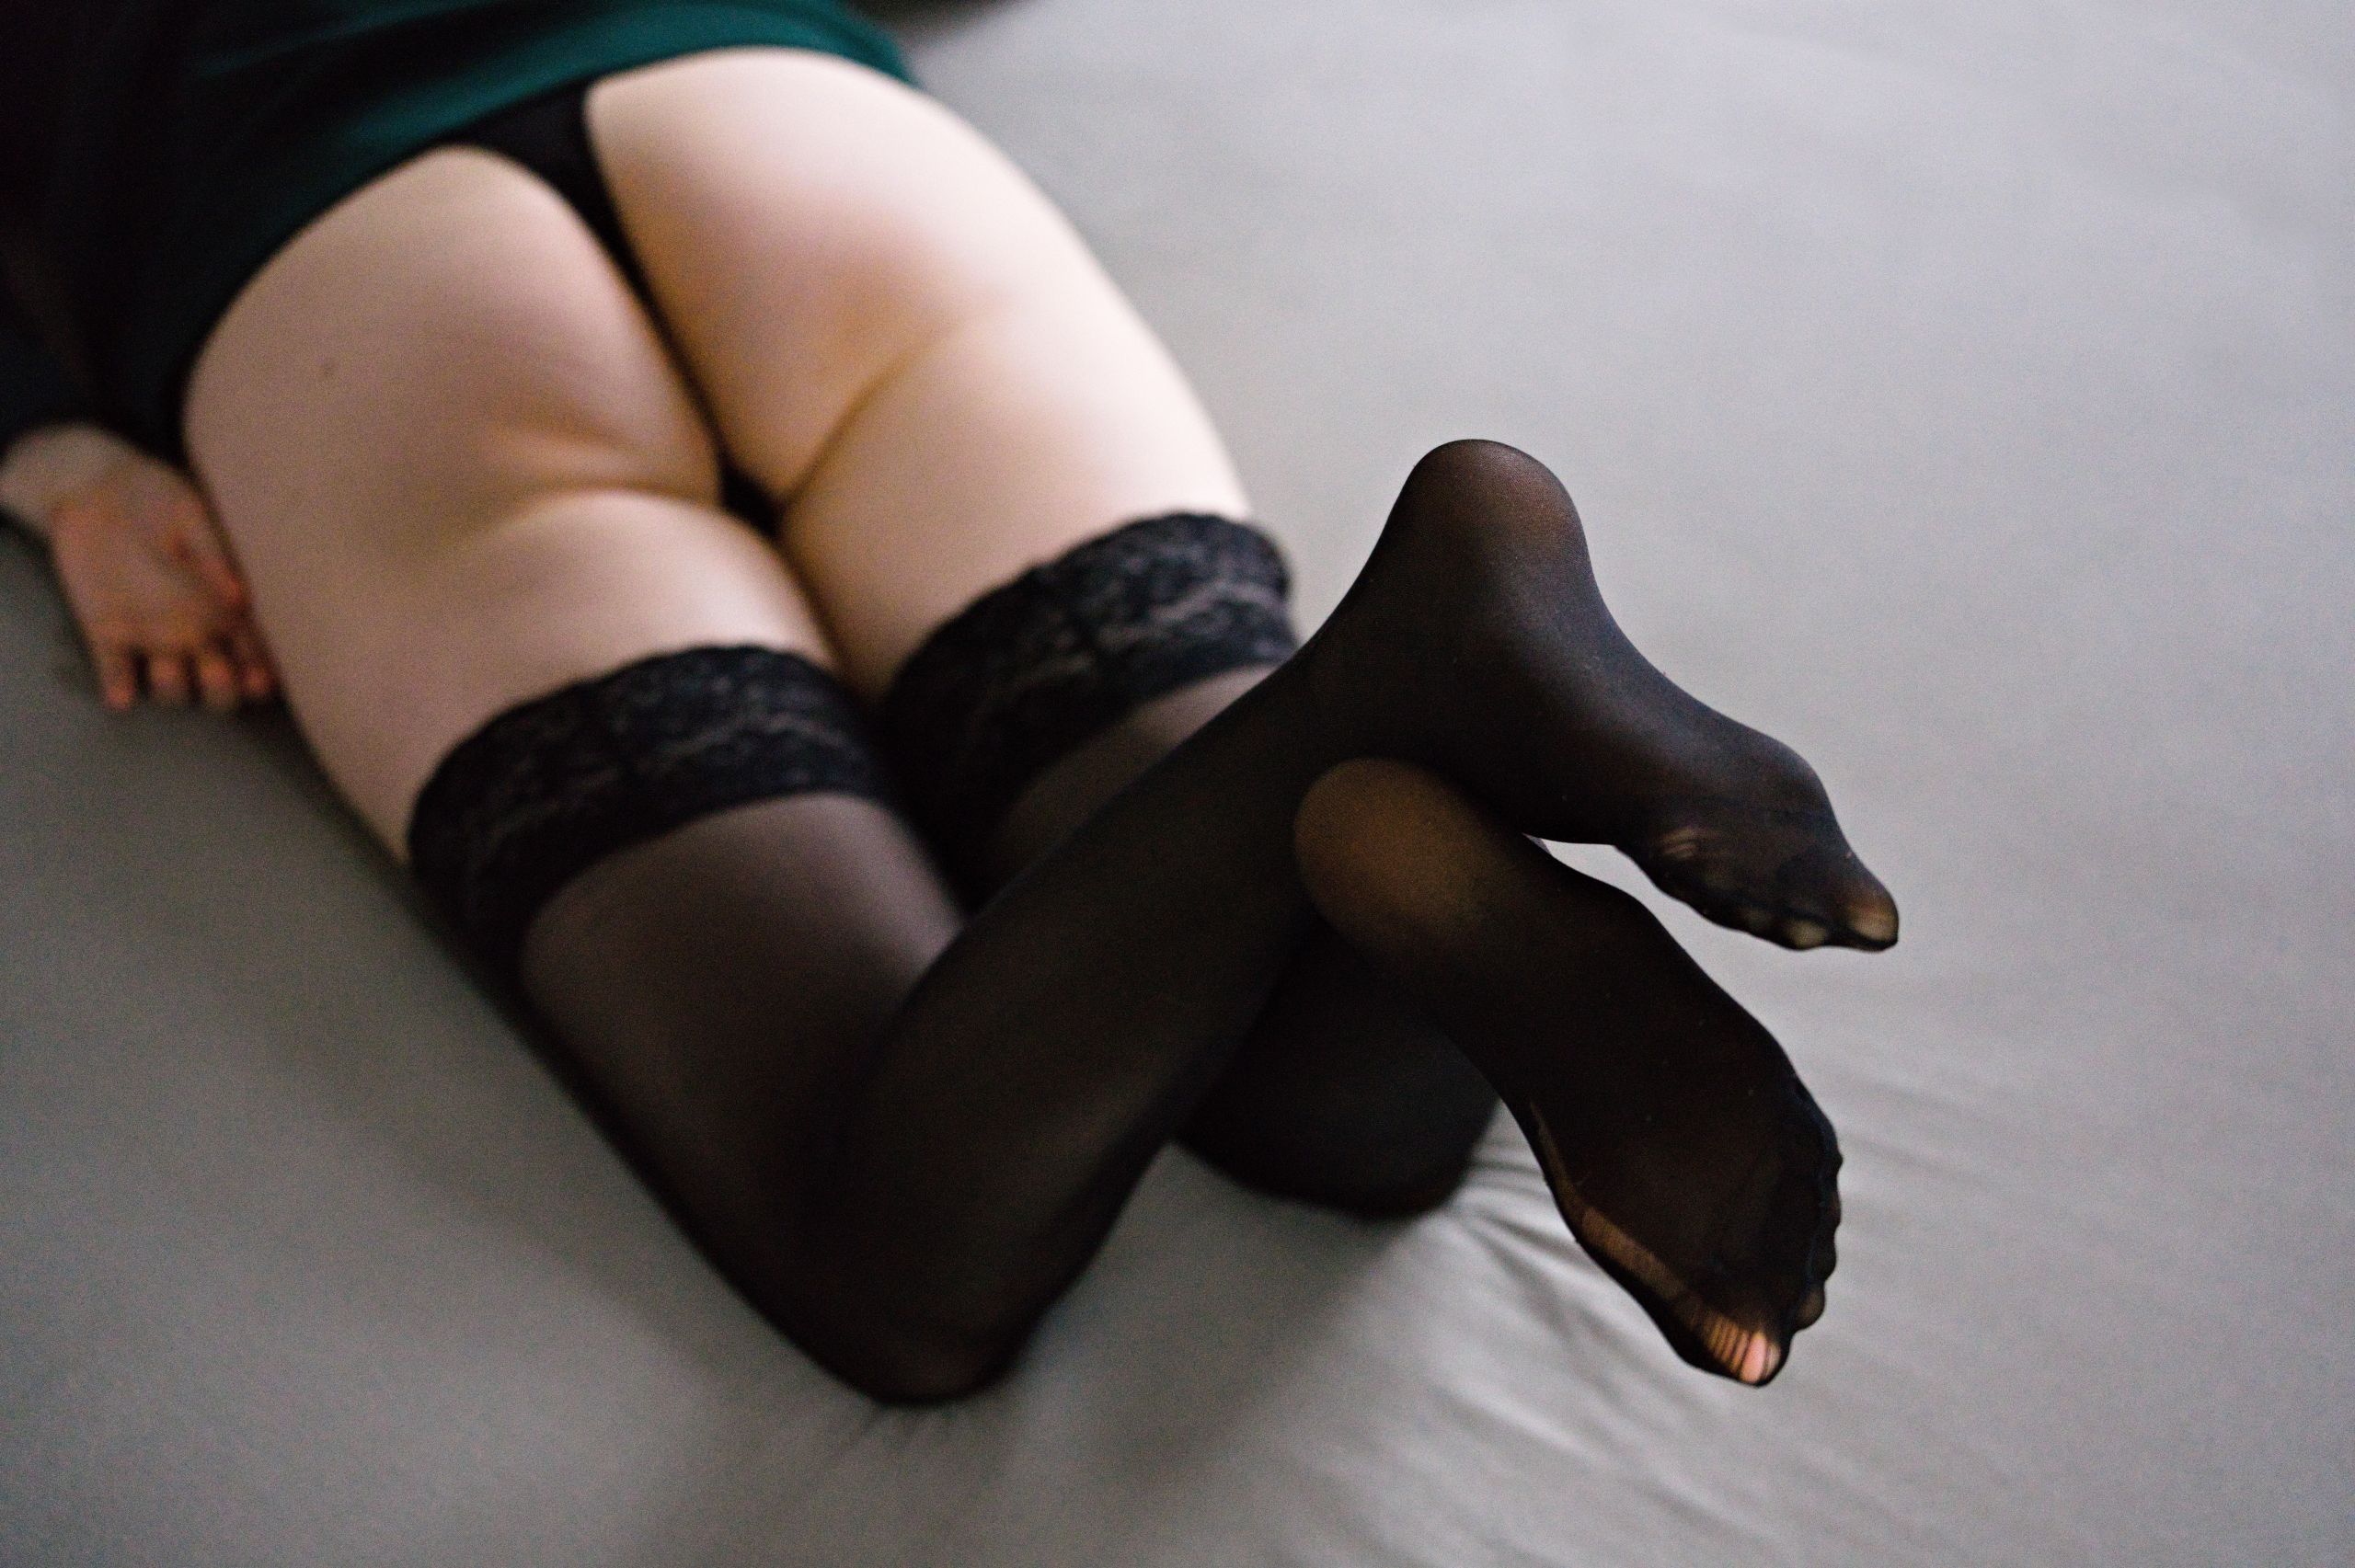
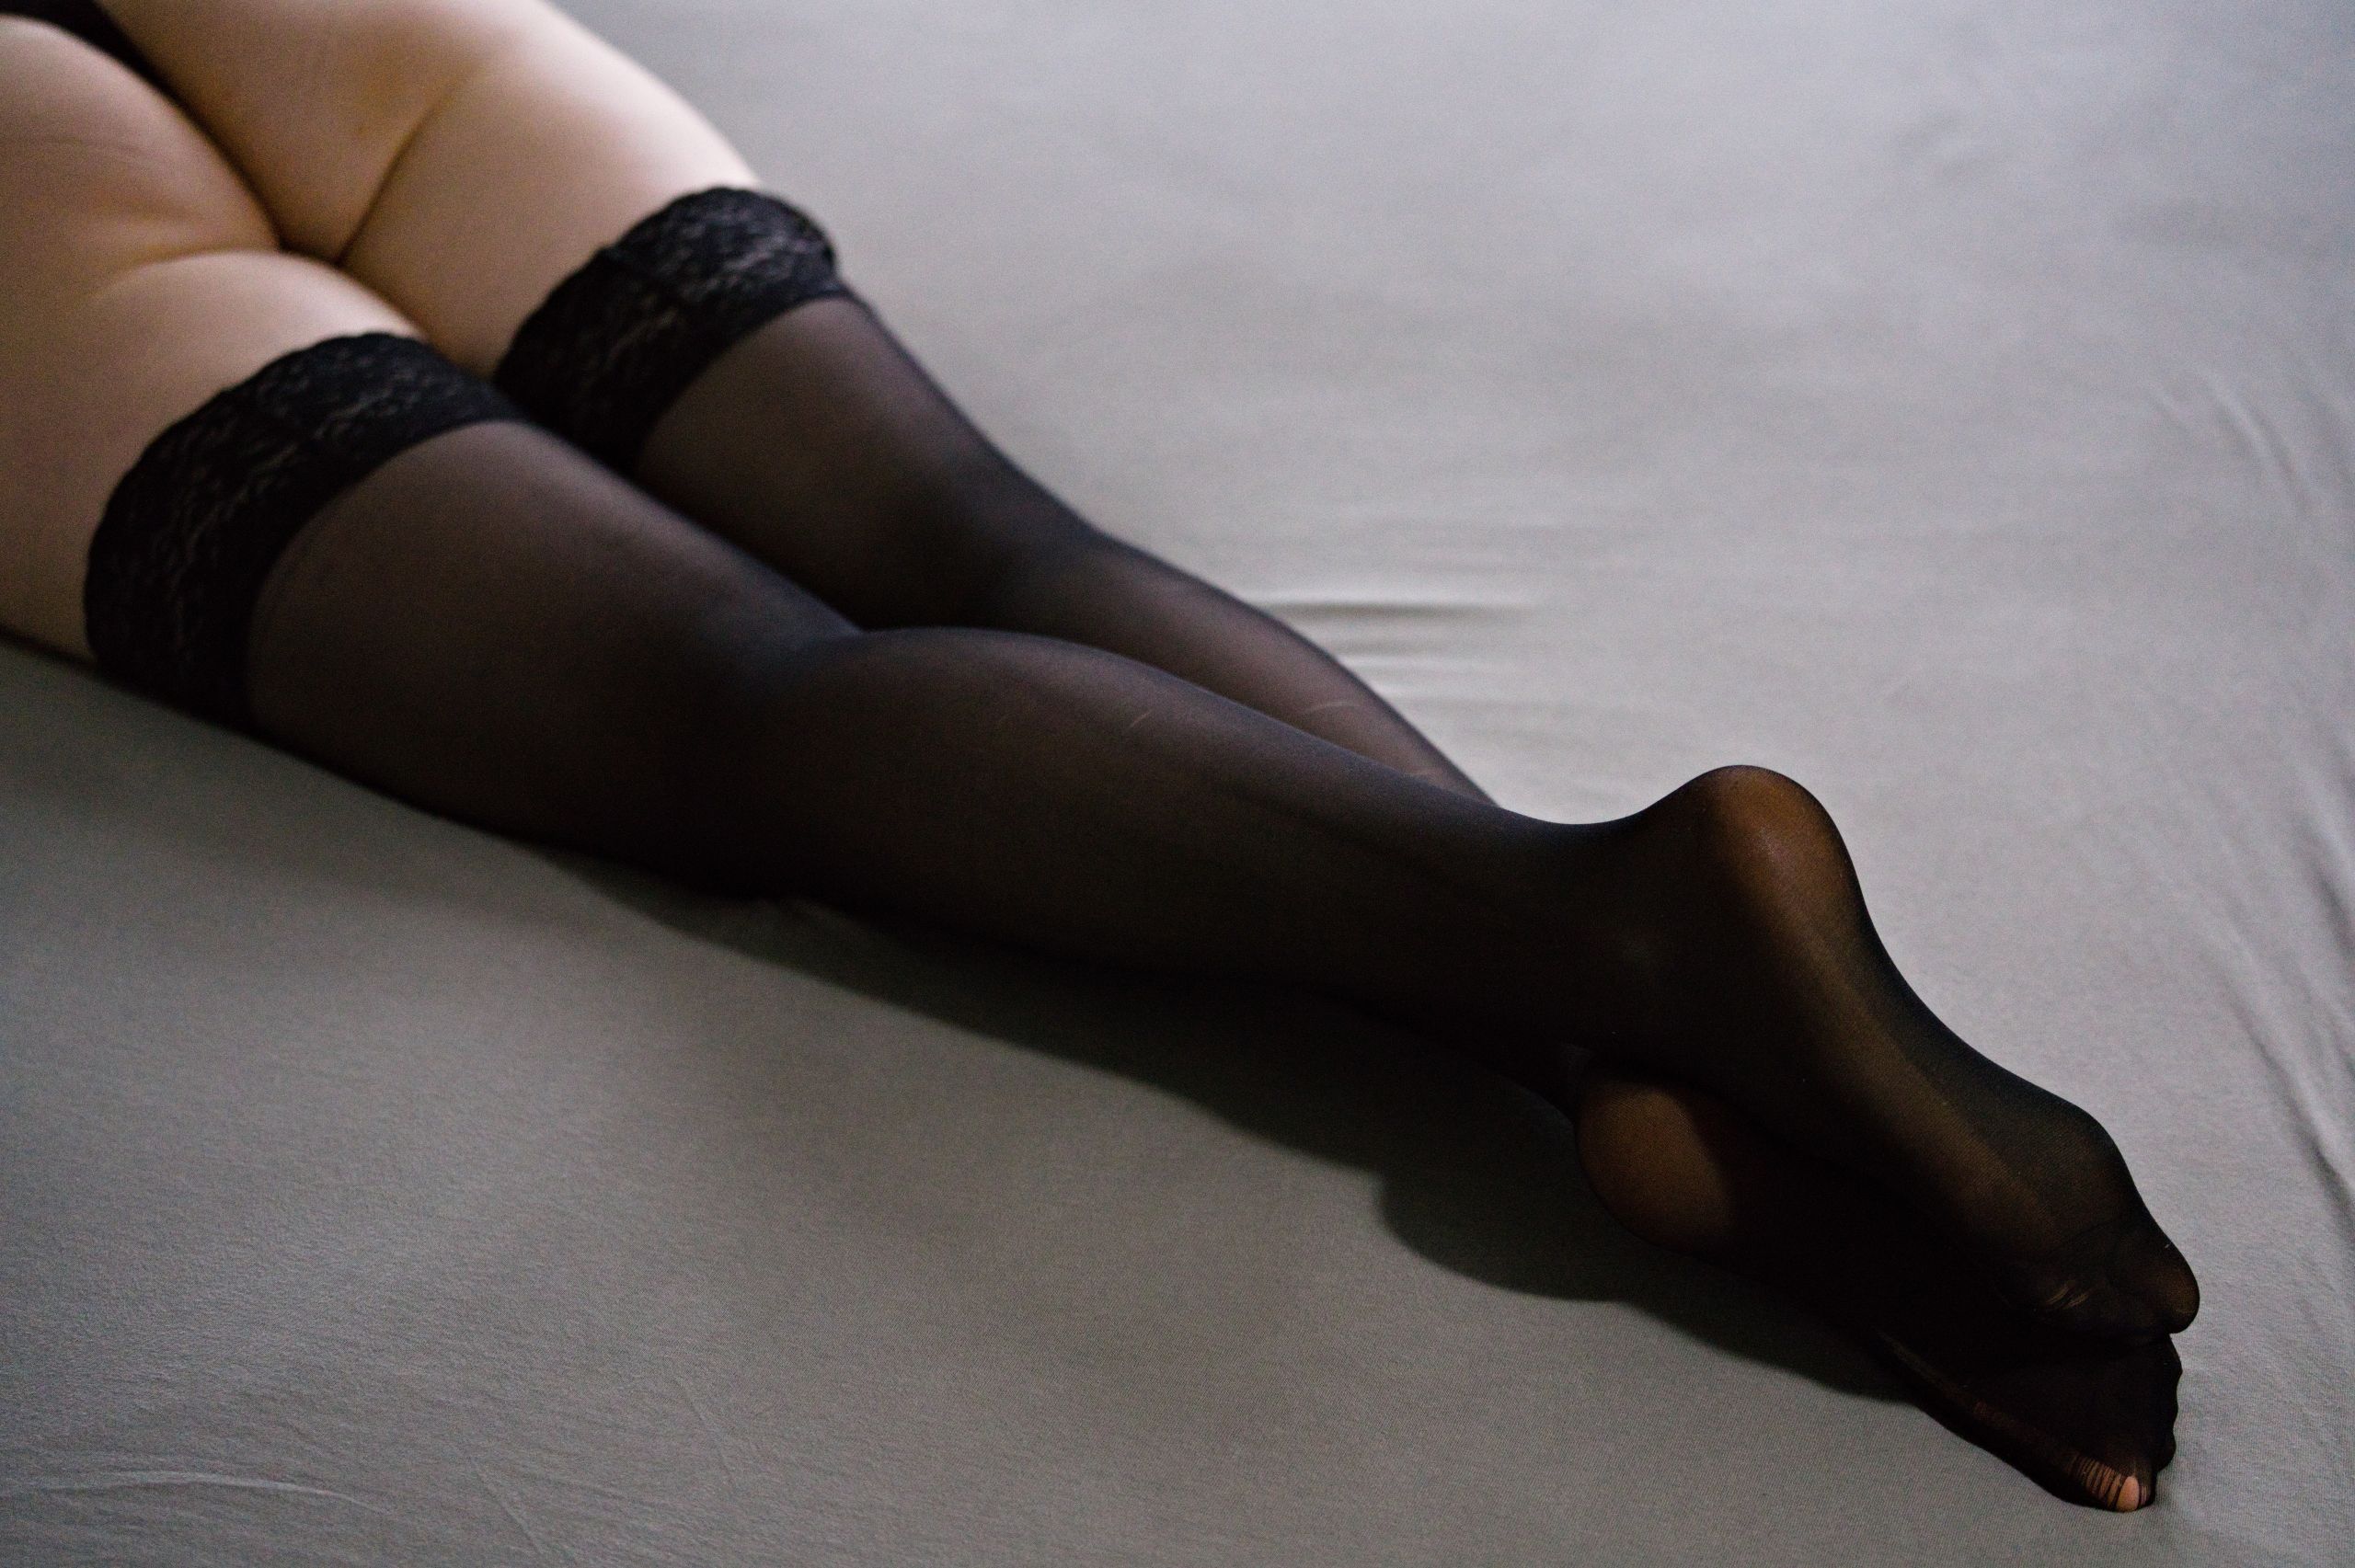
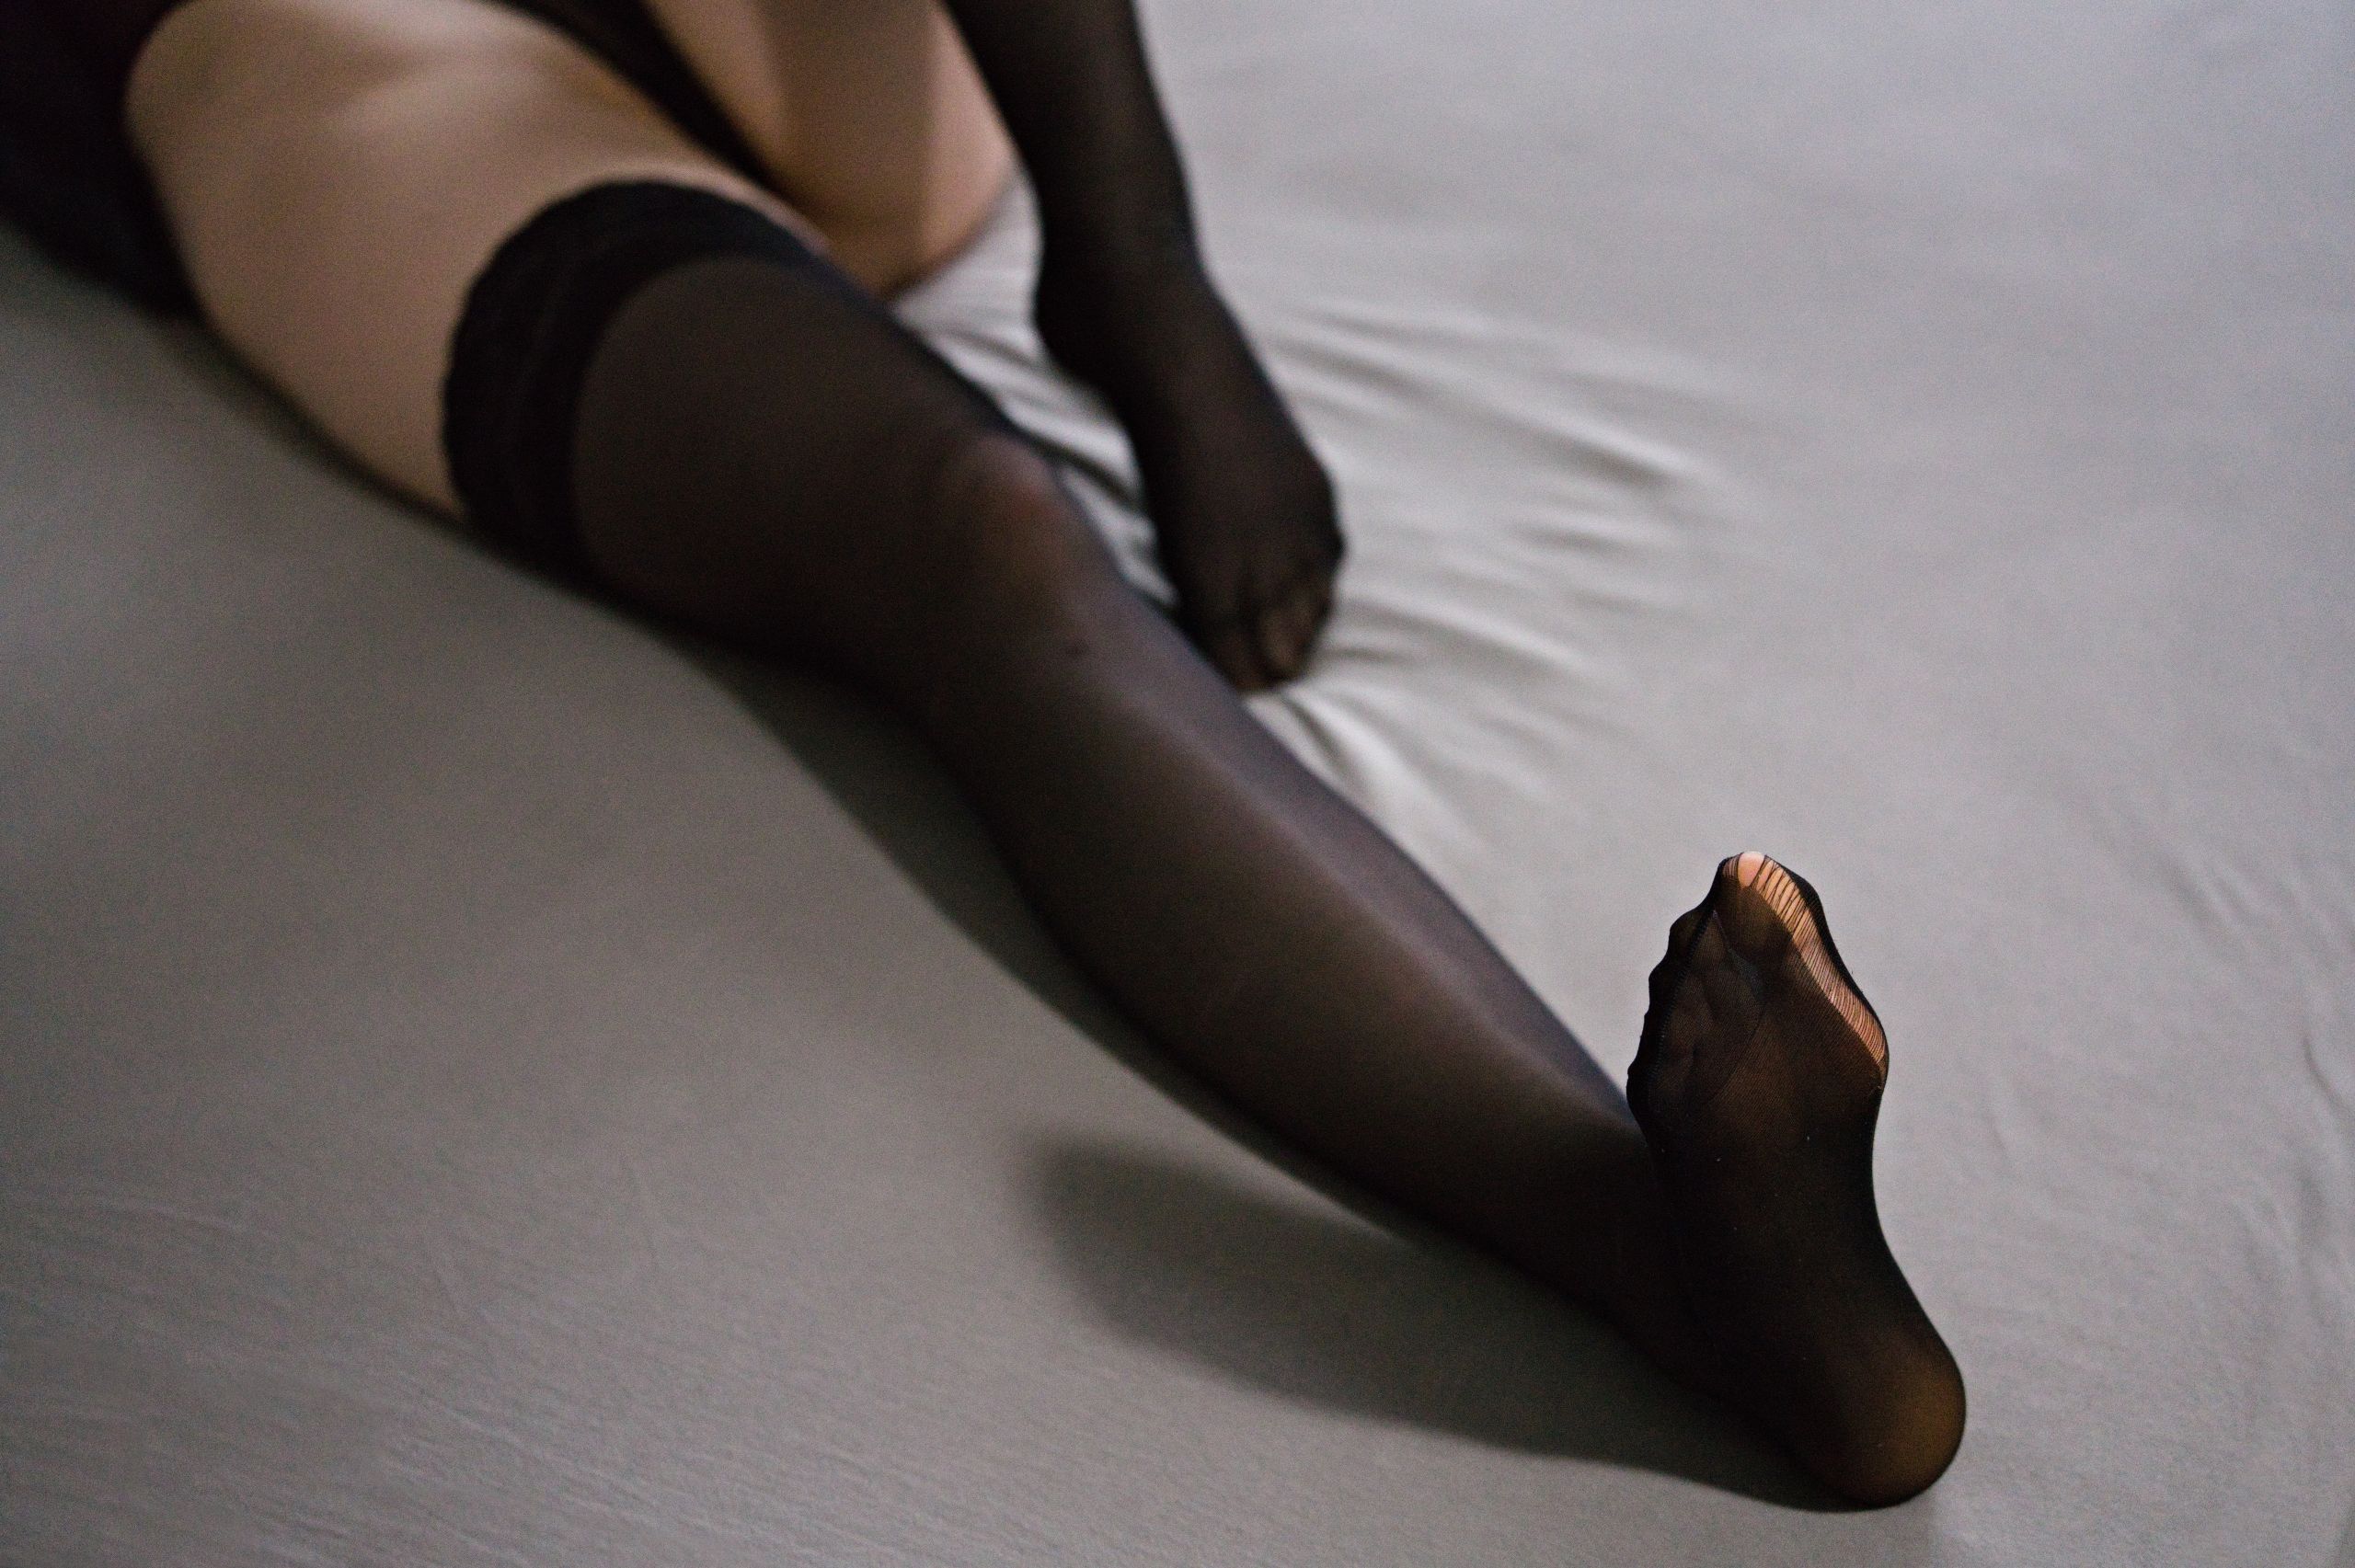
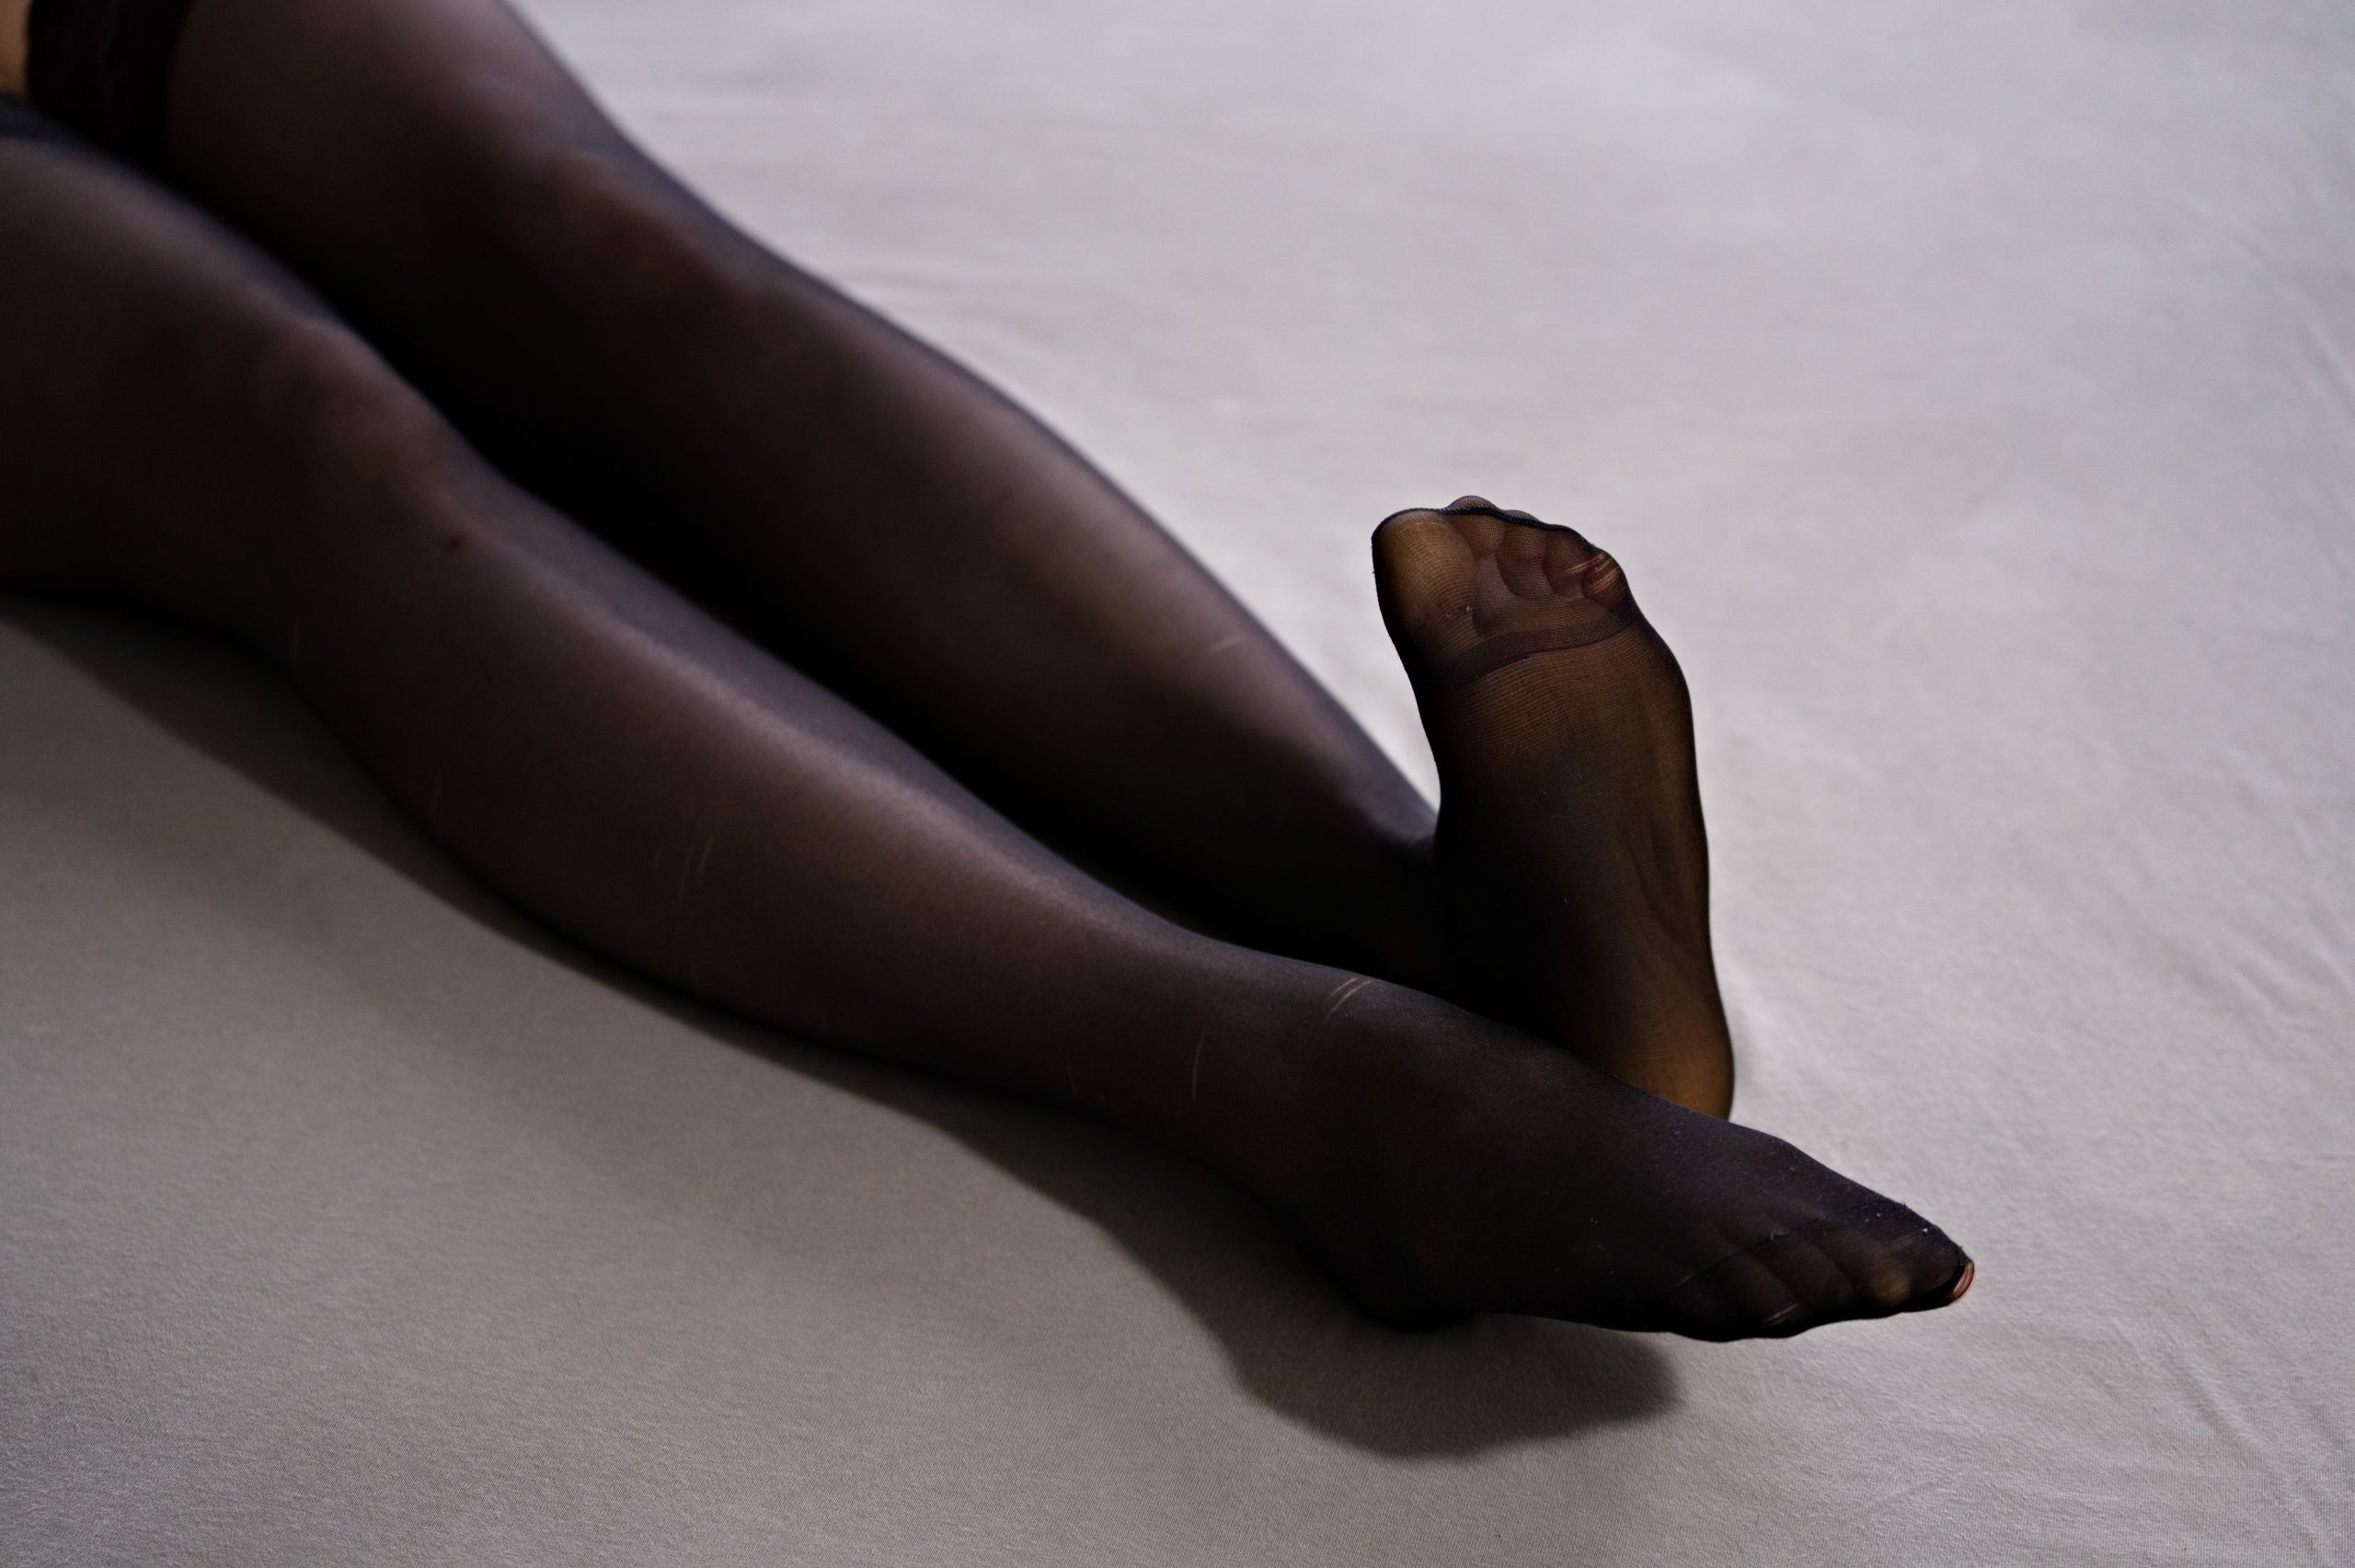
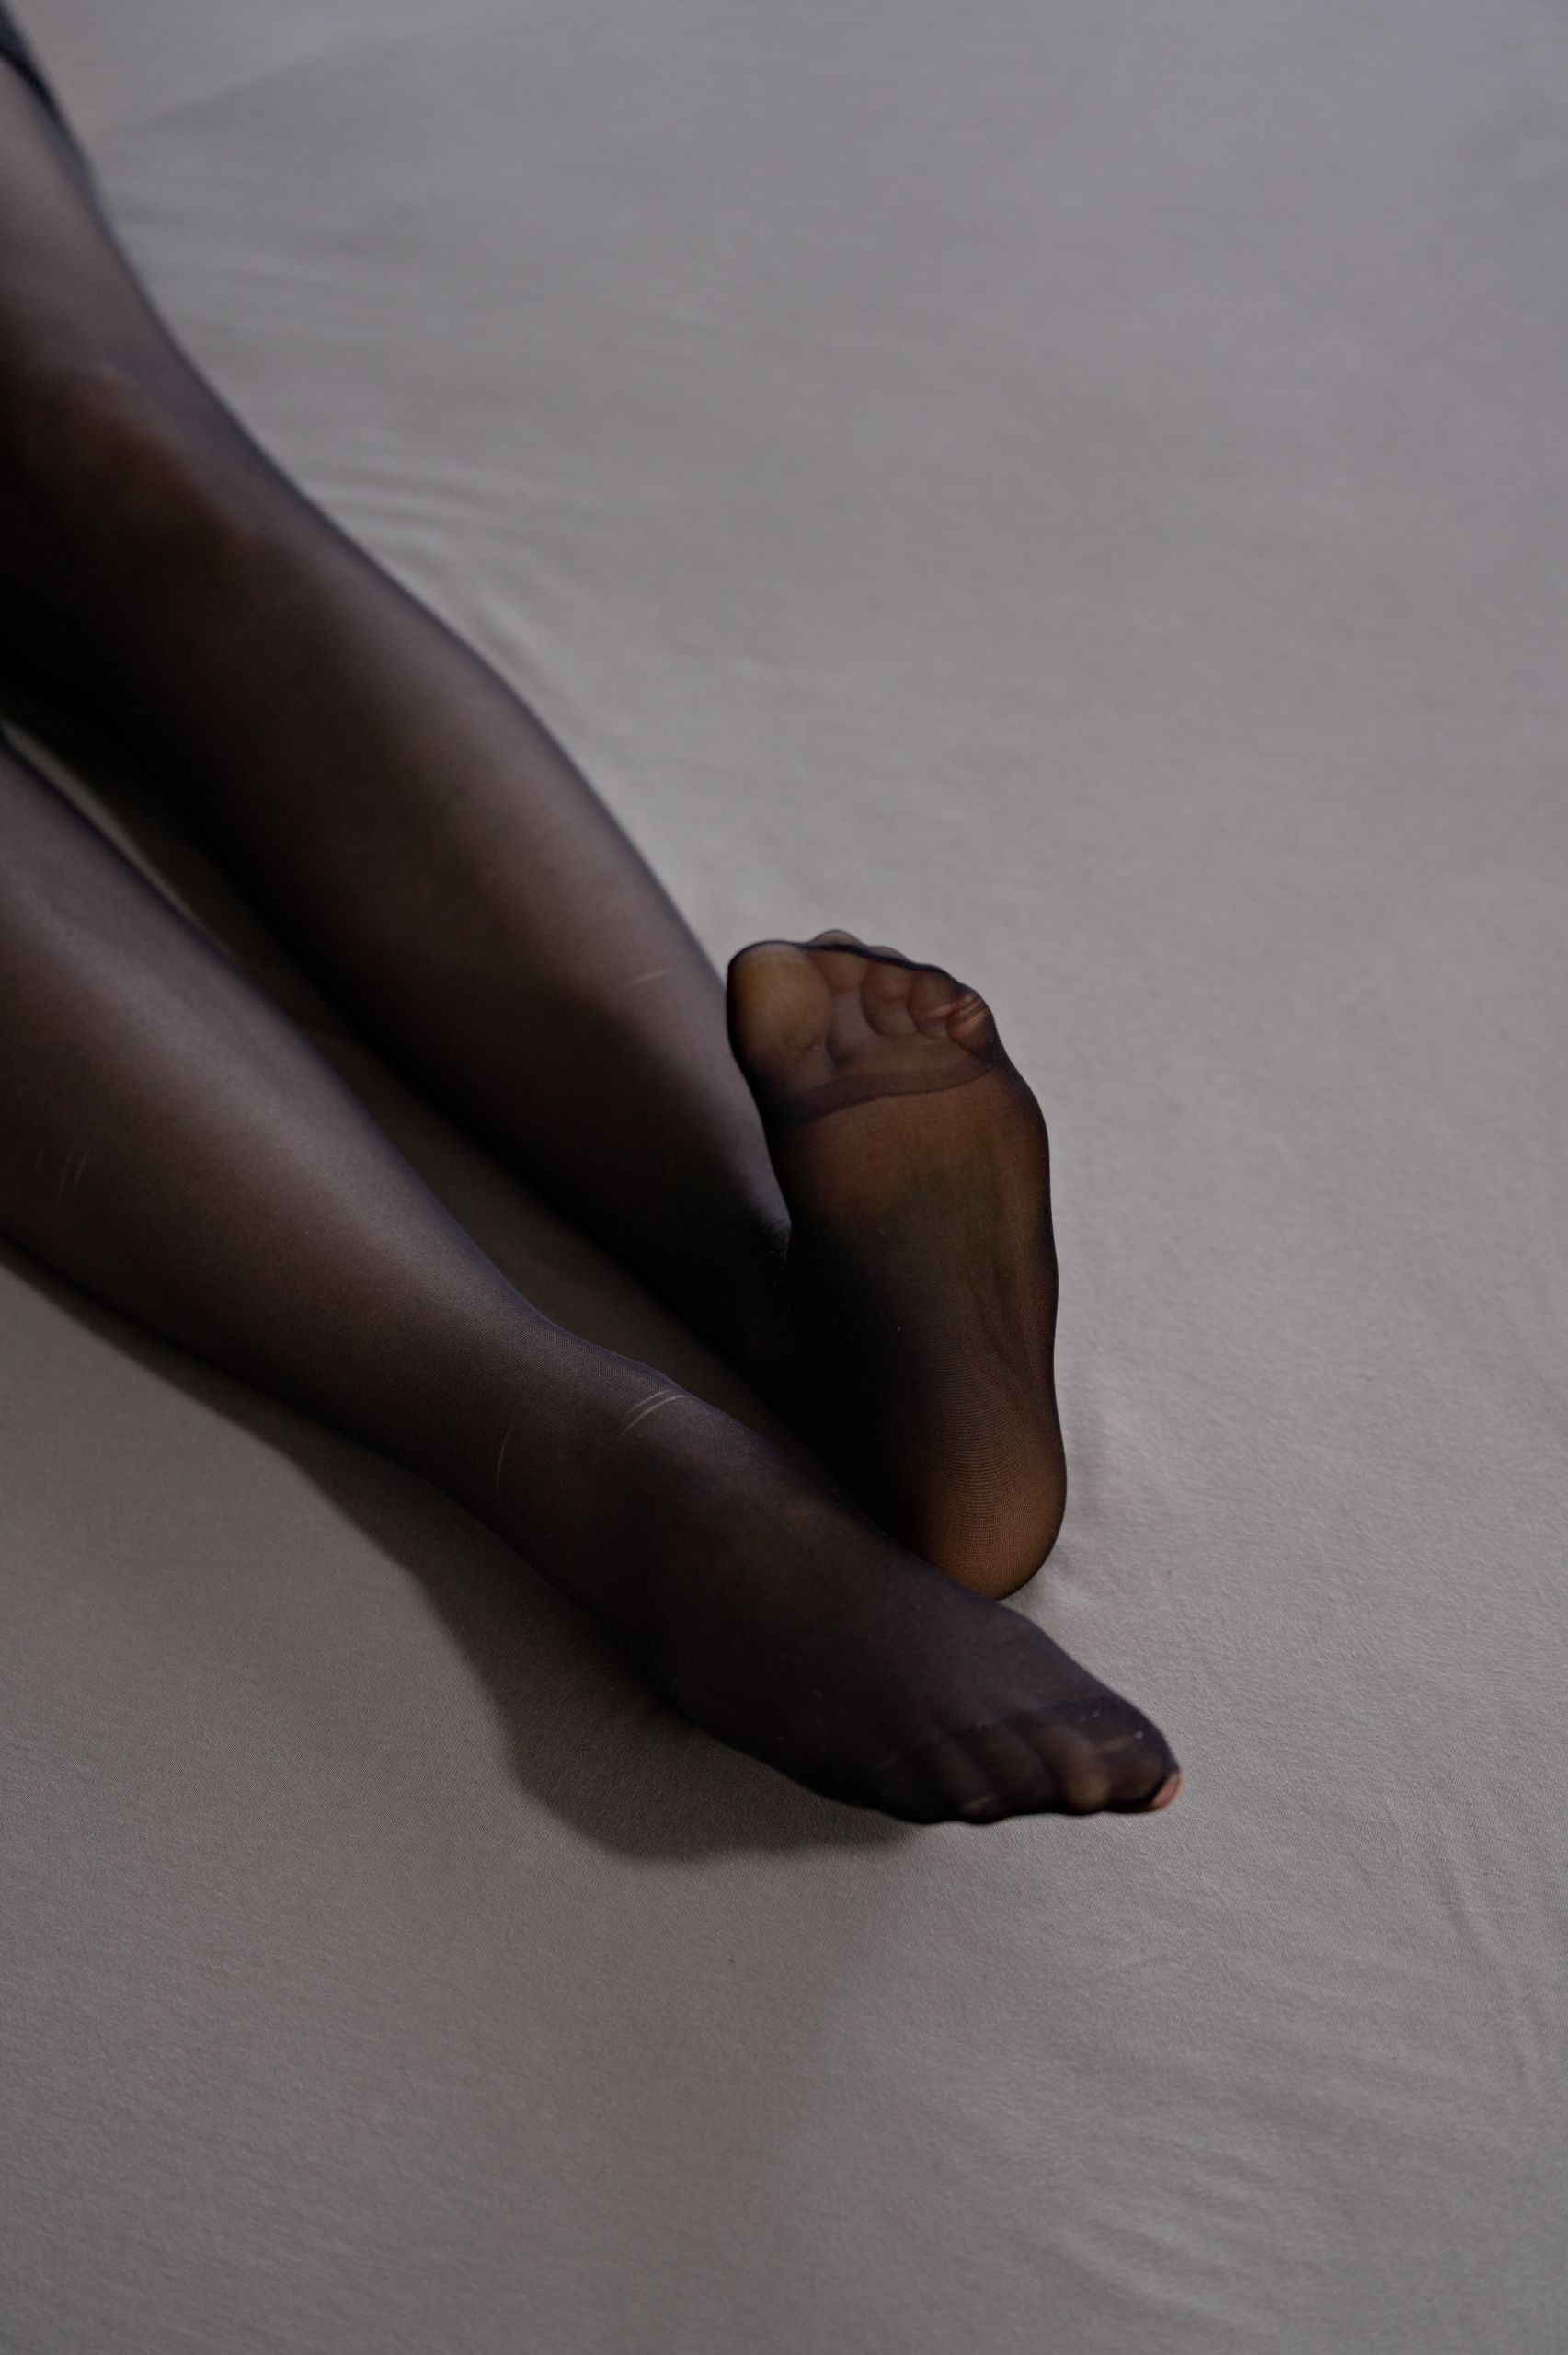
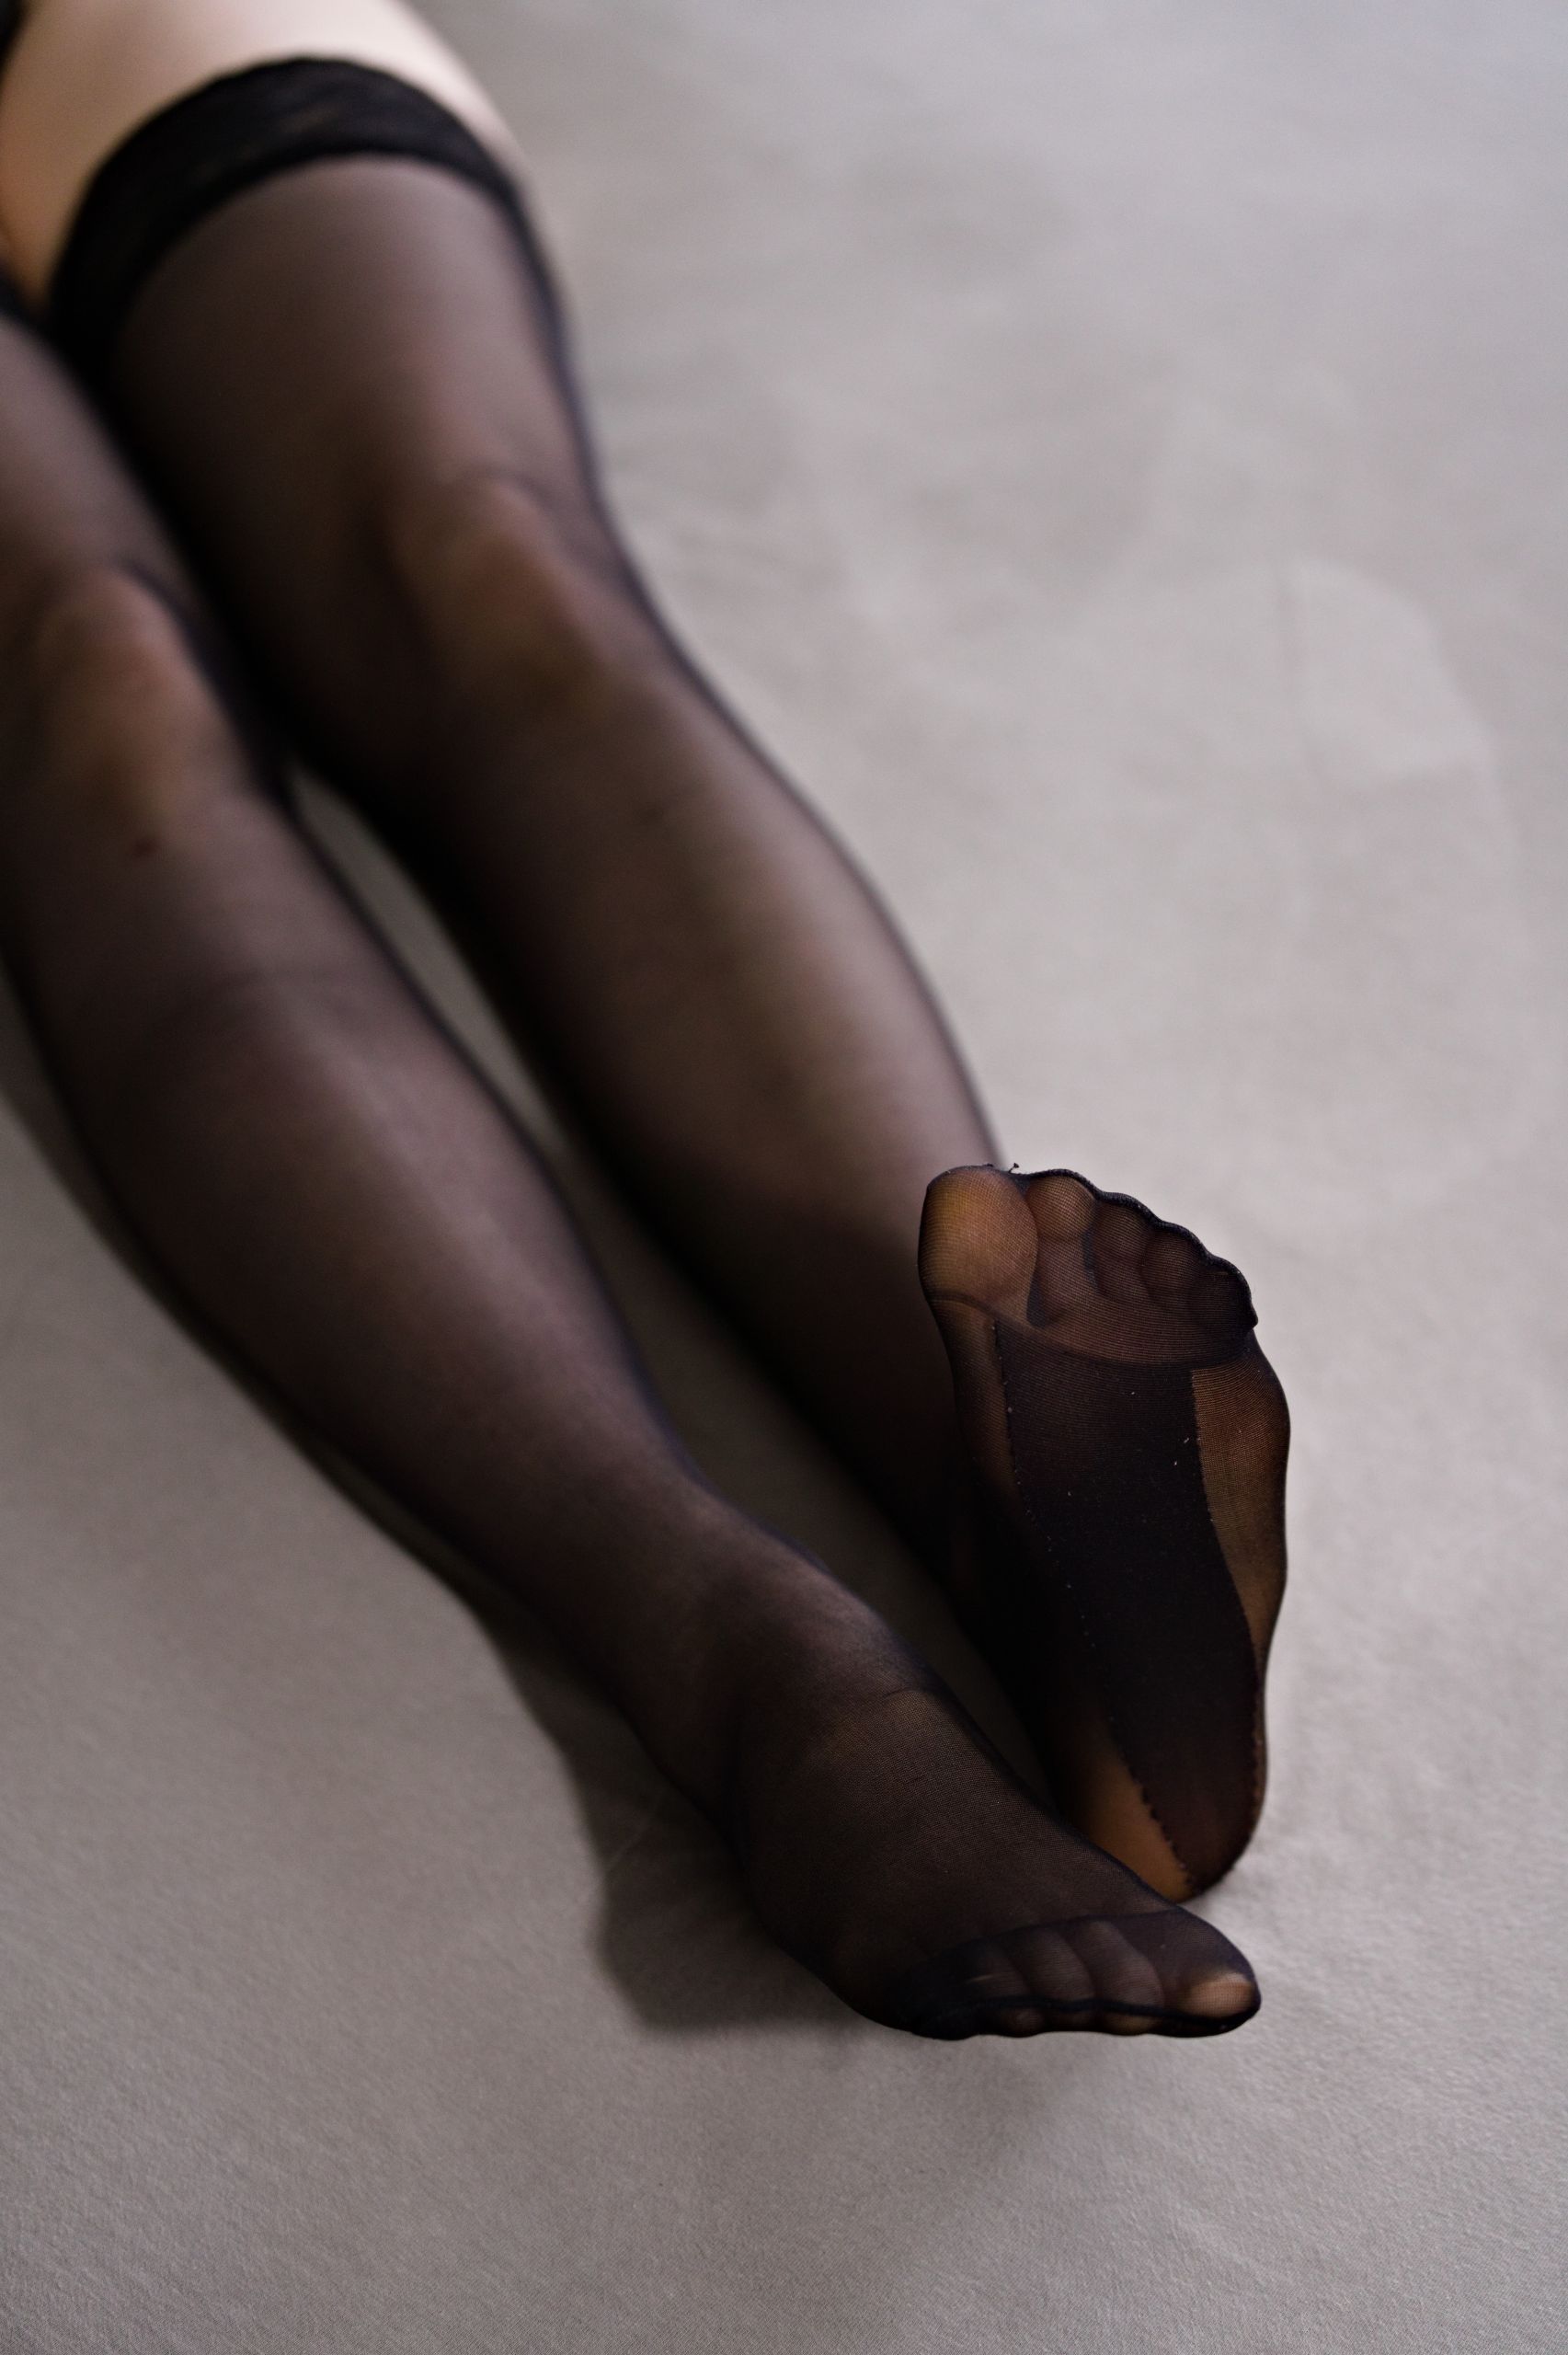
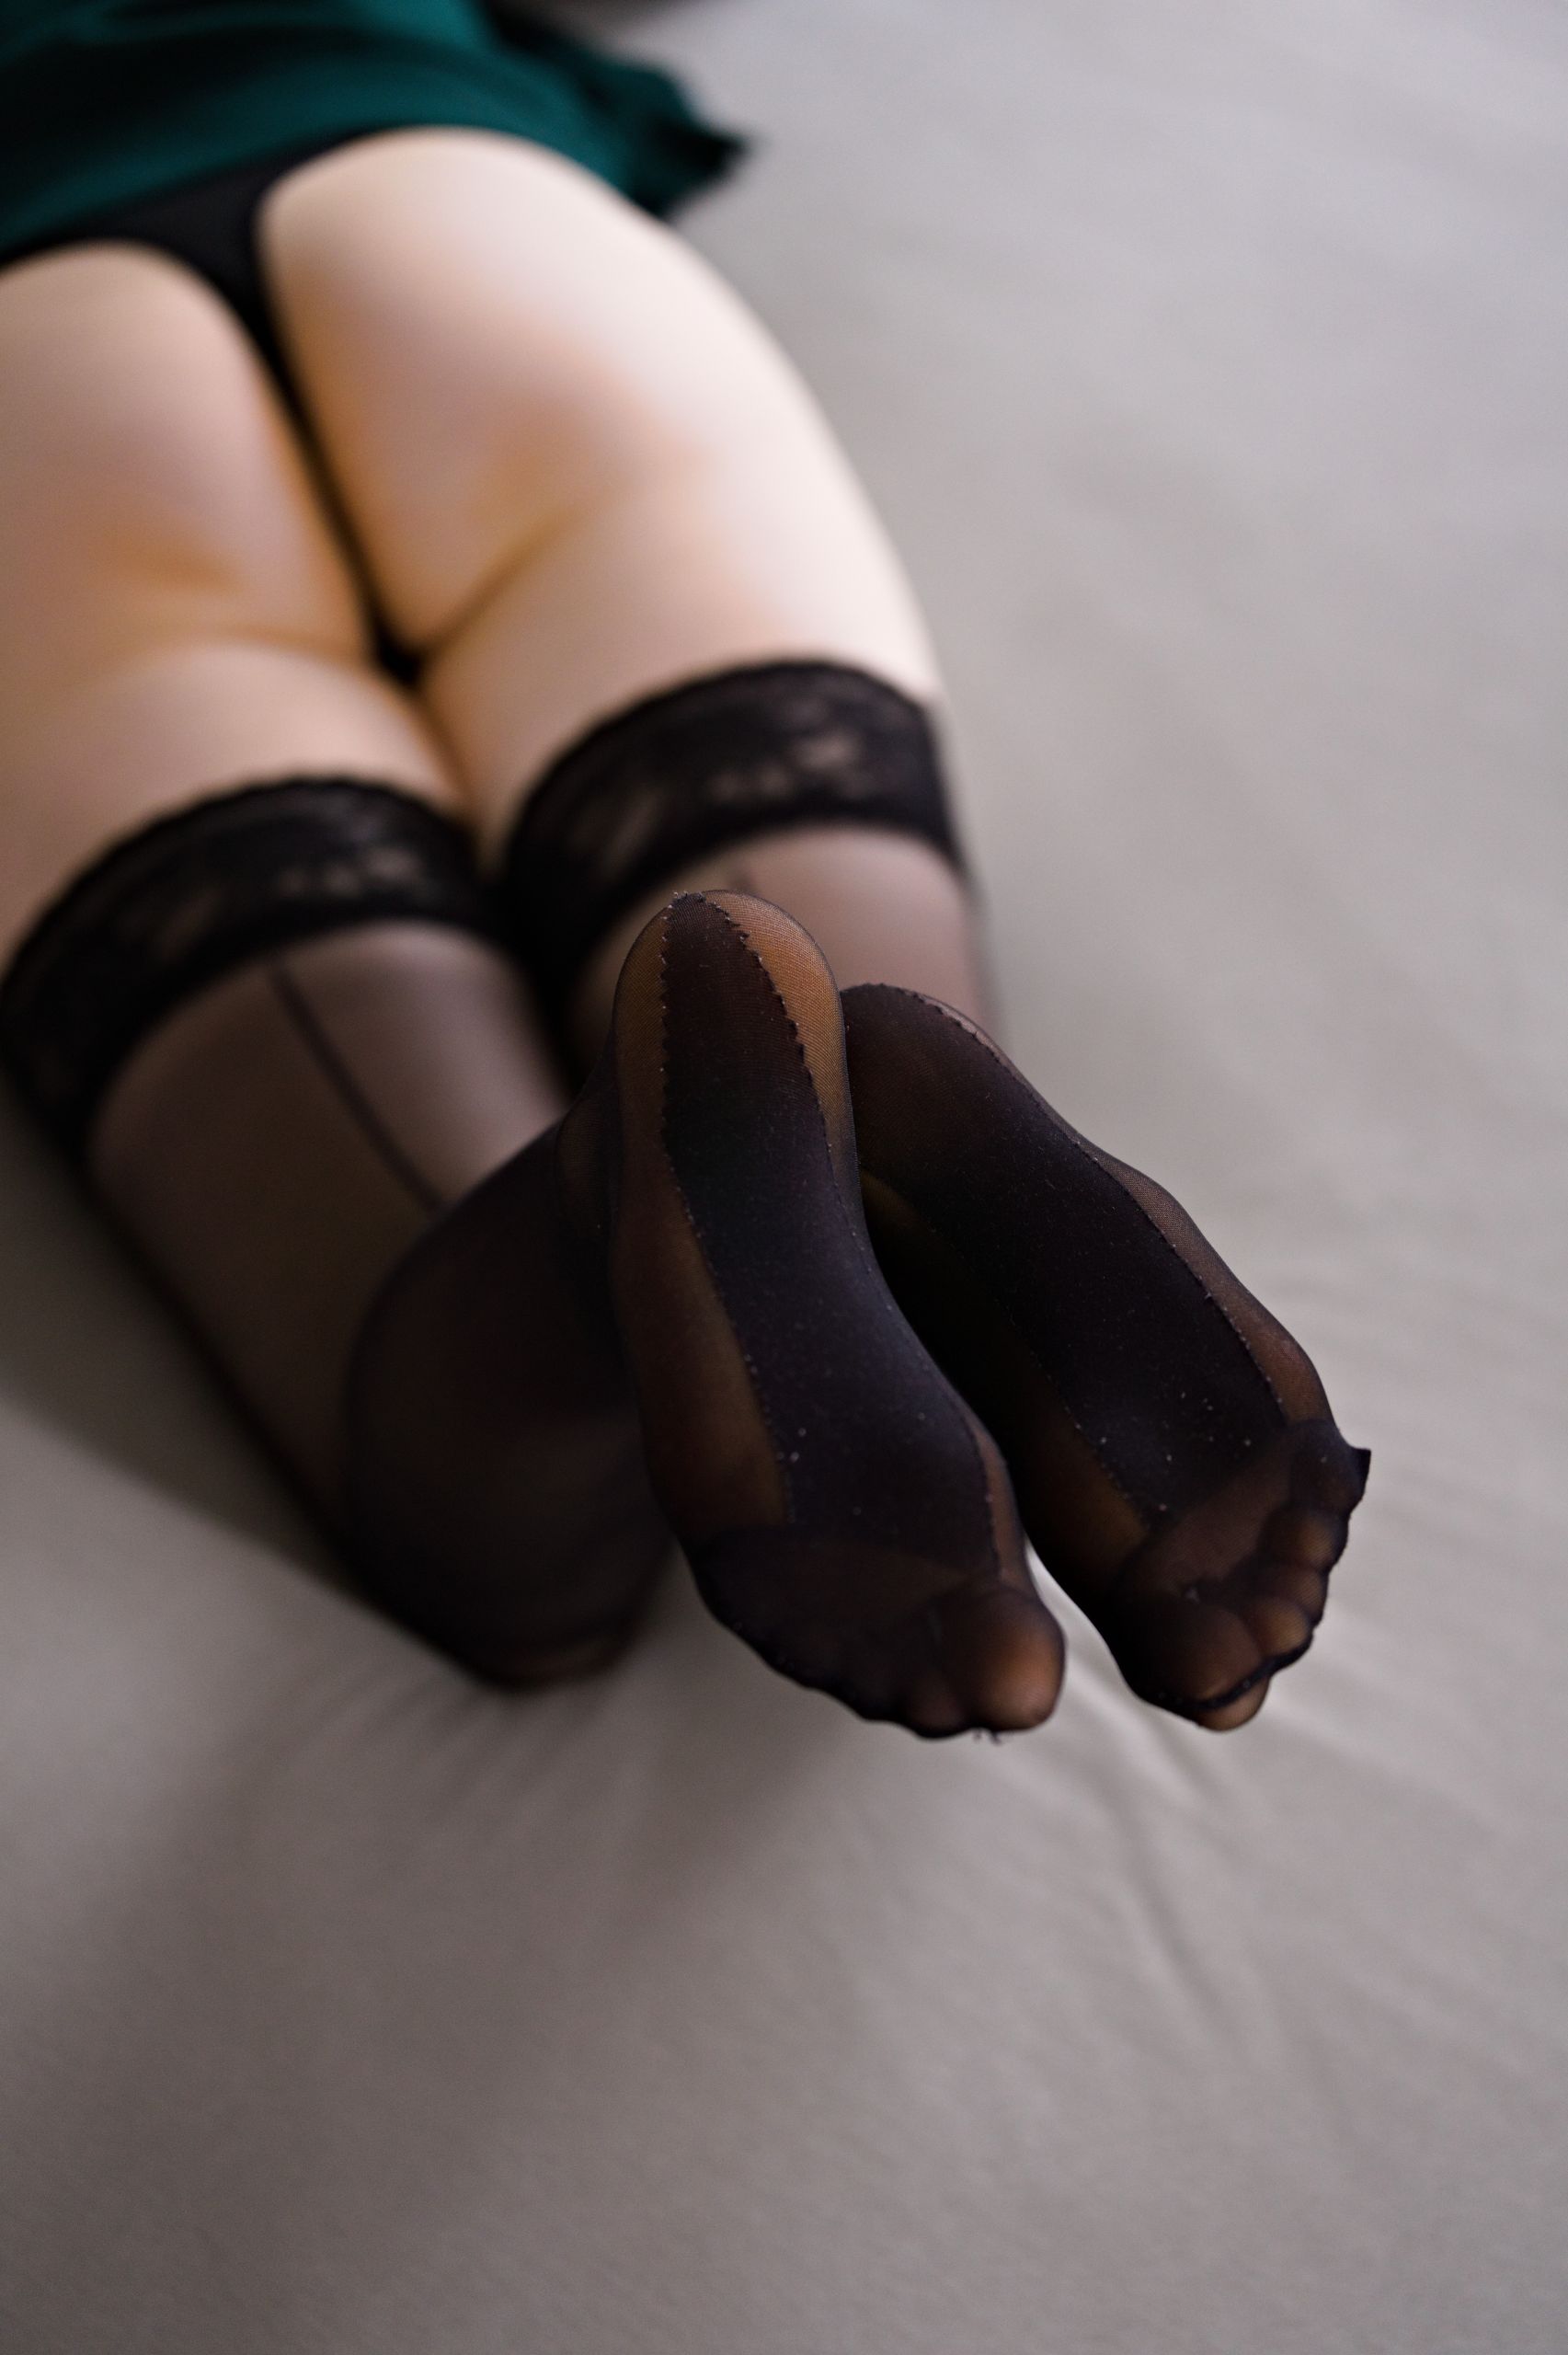
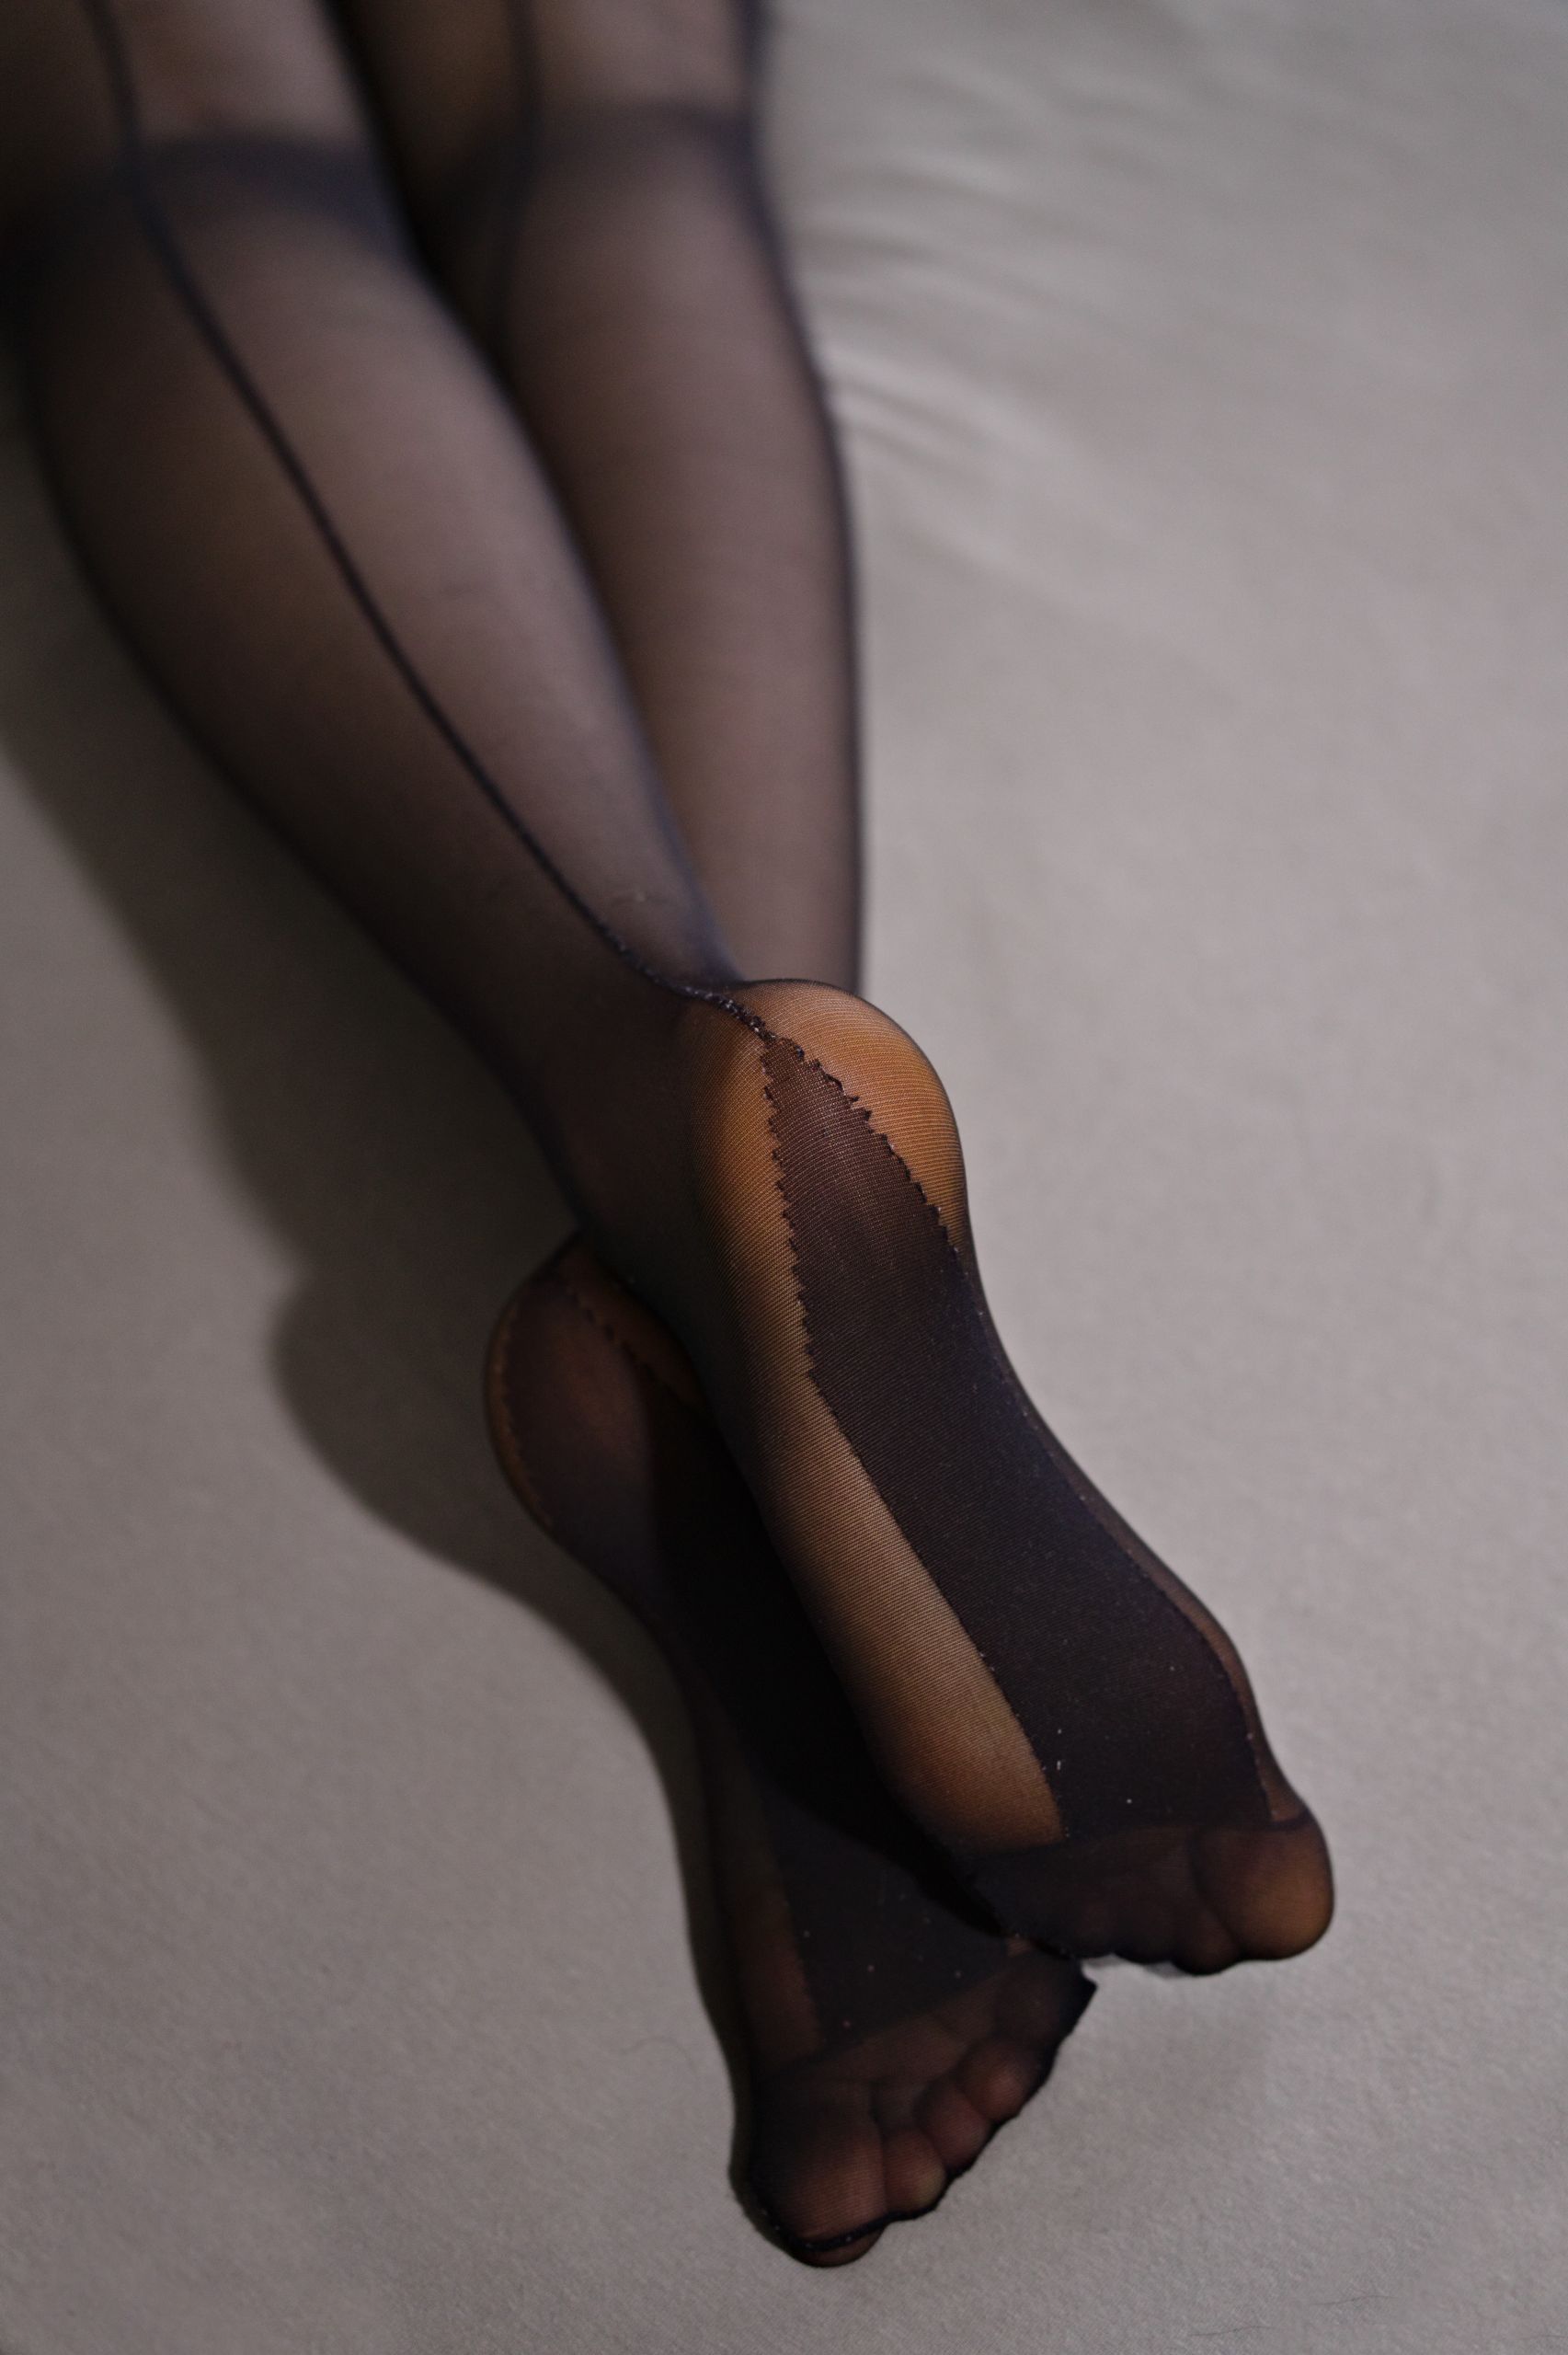
This to me clearly highlighted that:
- Creating a defined front-back “directional stockings” has its benefits
- Besides the main “cone” for the majority of the leg shape, there are funkier shapes you can play around regarding the feet itself
How we ended up needing to sew our own pair of stockings
I have always been fascinated by Azazel’s Dark Reign Nurse designs, so much so that a couple years back I decided to finally pull the trigger and order it. I picked up both black and white sets from the original supplier – Waimengshe – and these sets rely on fabric-backed latex for harness, gloves and stockings.
Waimengshe’s stockings are cut and sewn as a typical “cone”, thus they heavily rely on fabric stretch. They used a special, loosely-woven, 4-way stretch material to help them contour anyhow to the shape of one’s legs. I specifically used “special” here as despite buying fabrics from multiple suppliers I never was able to get the same exact type as they use. Closest things you can easily get are these matte-but-still-shiny fabrics you often see on the bottom of the barrel cosplays or kid’s dress ups.
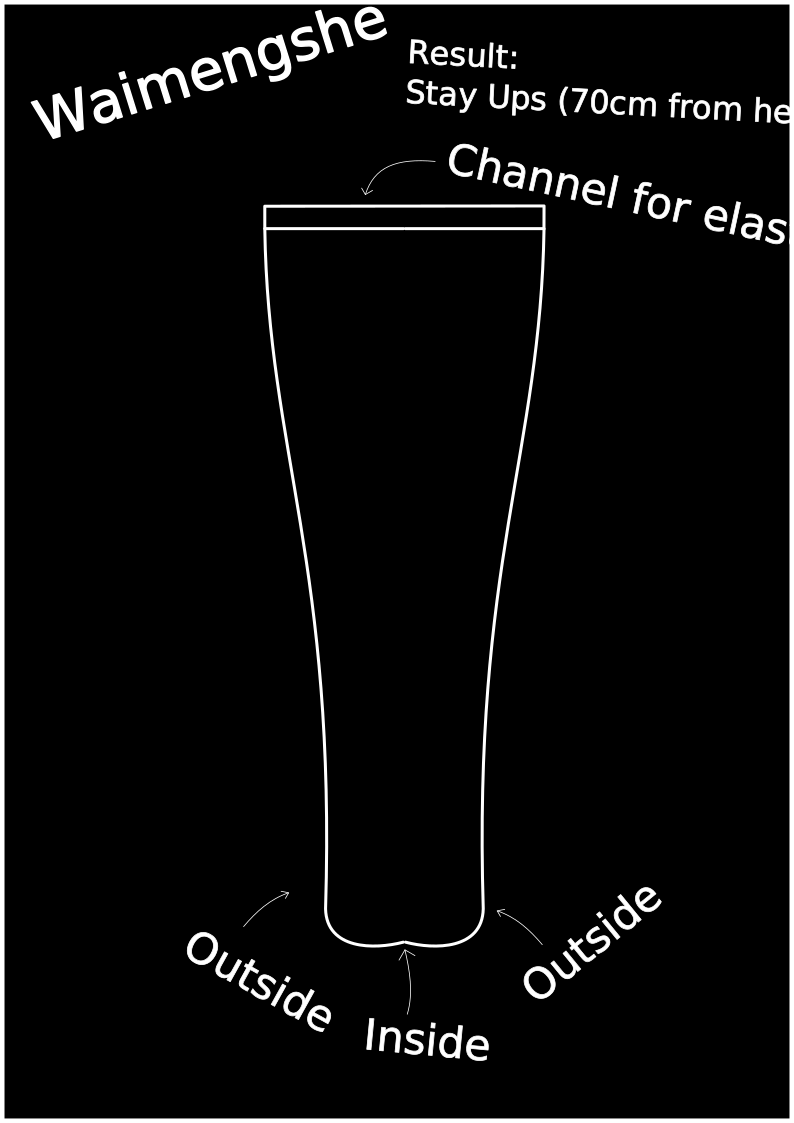
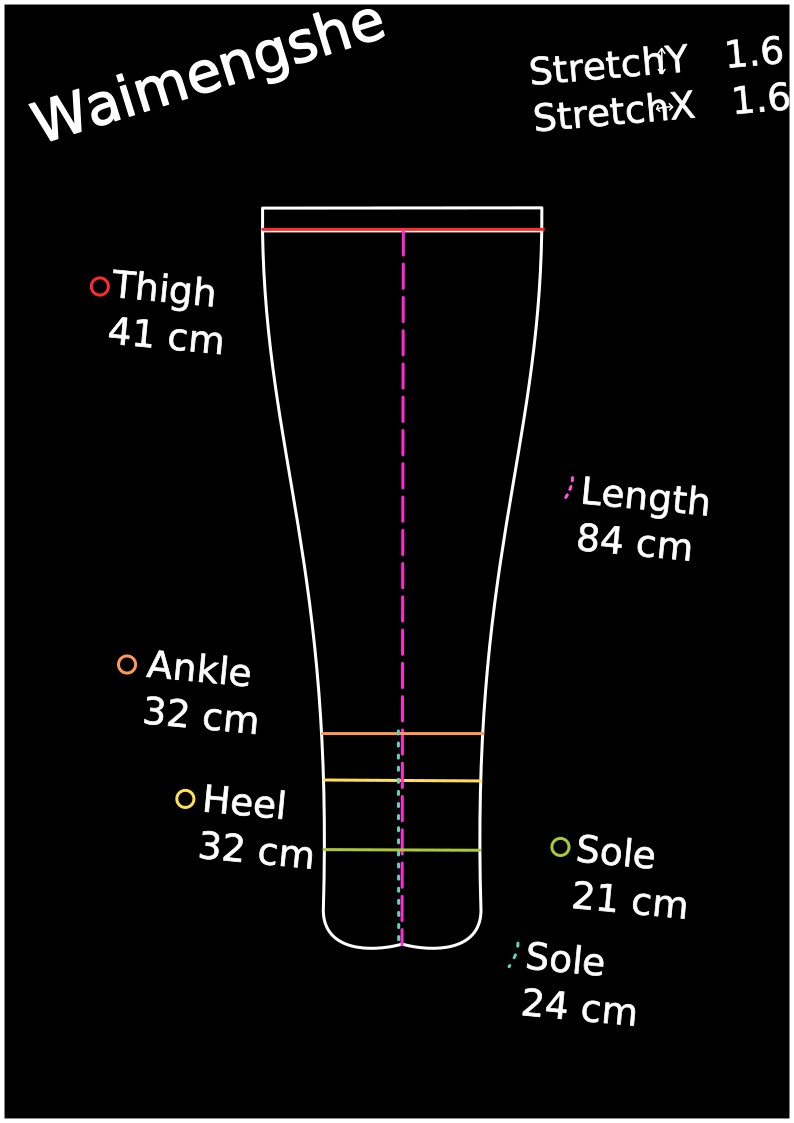
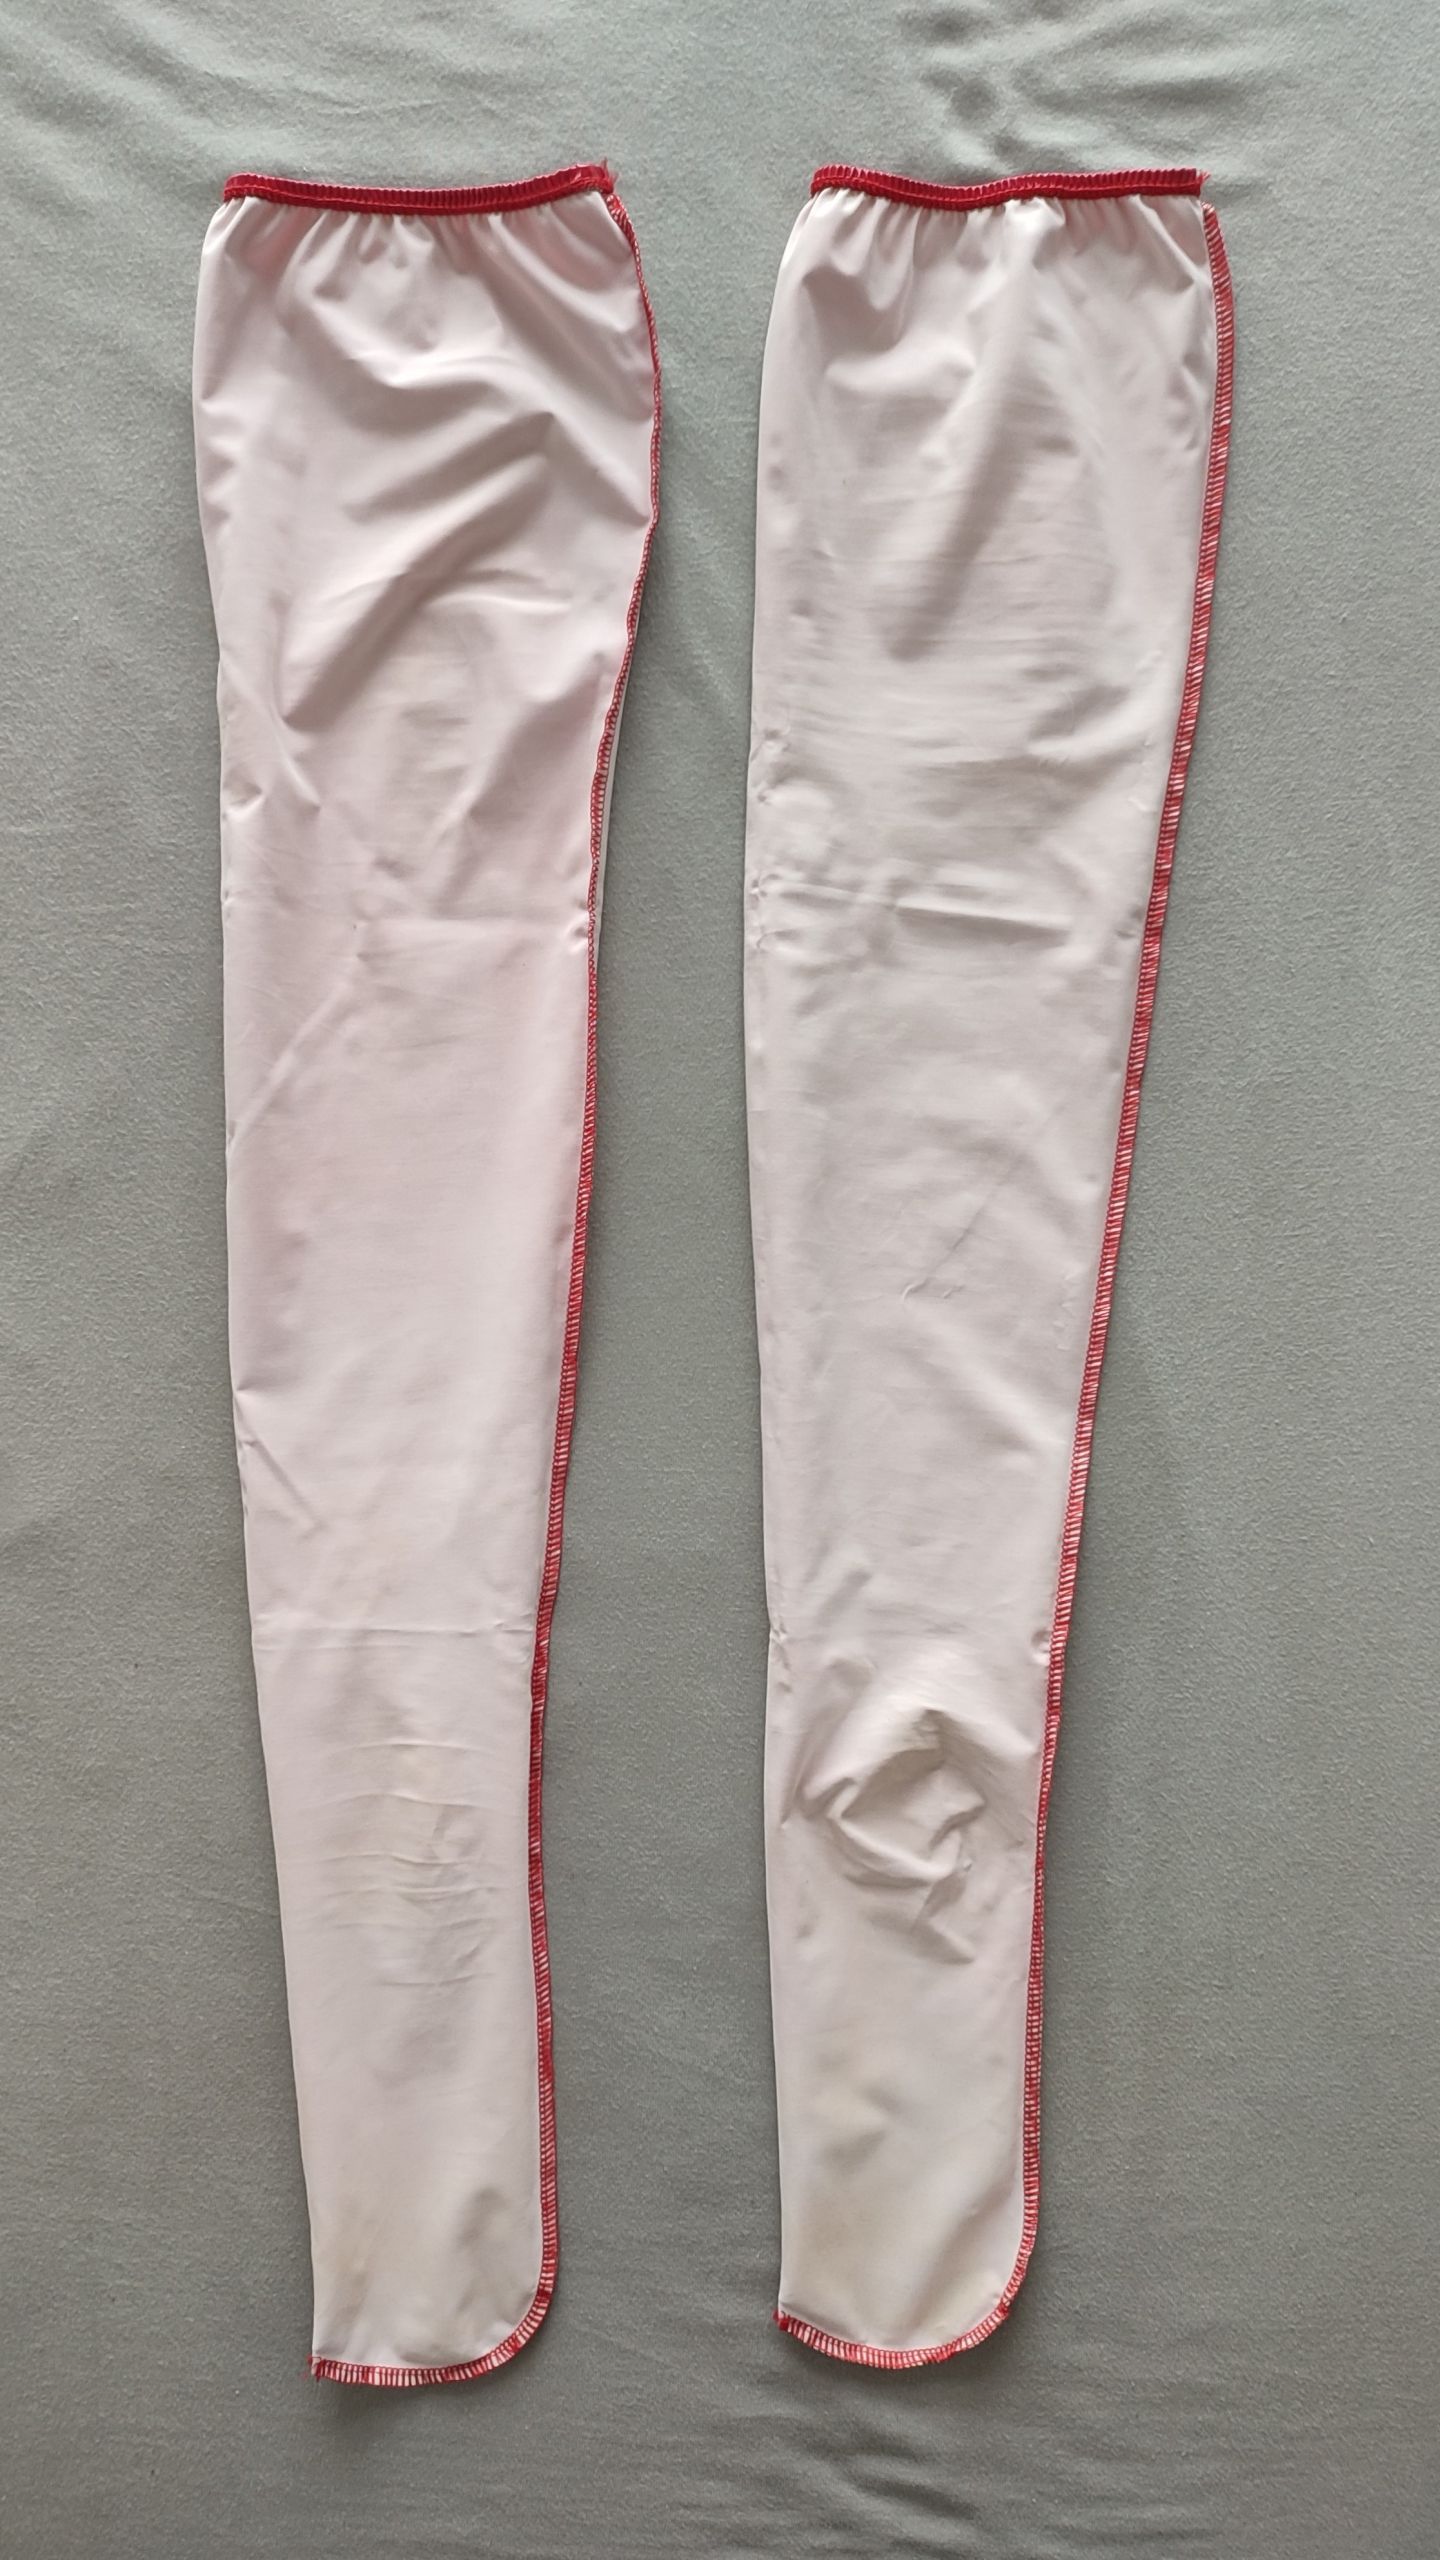
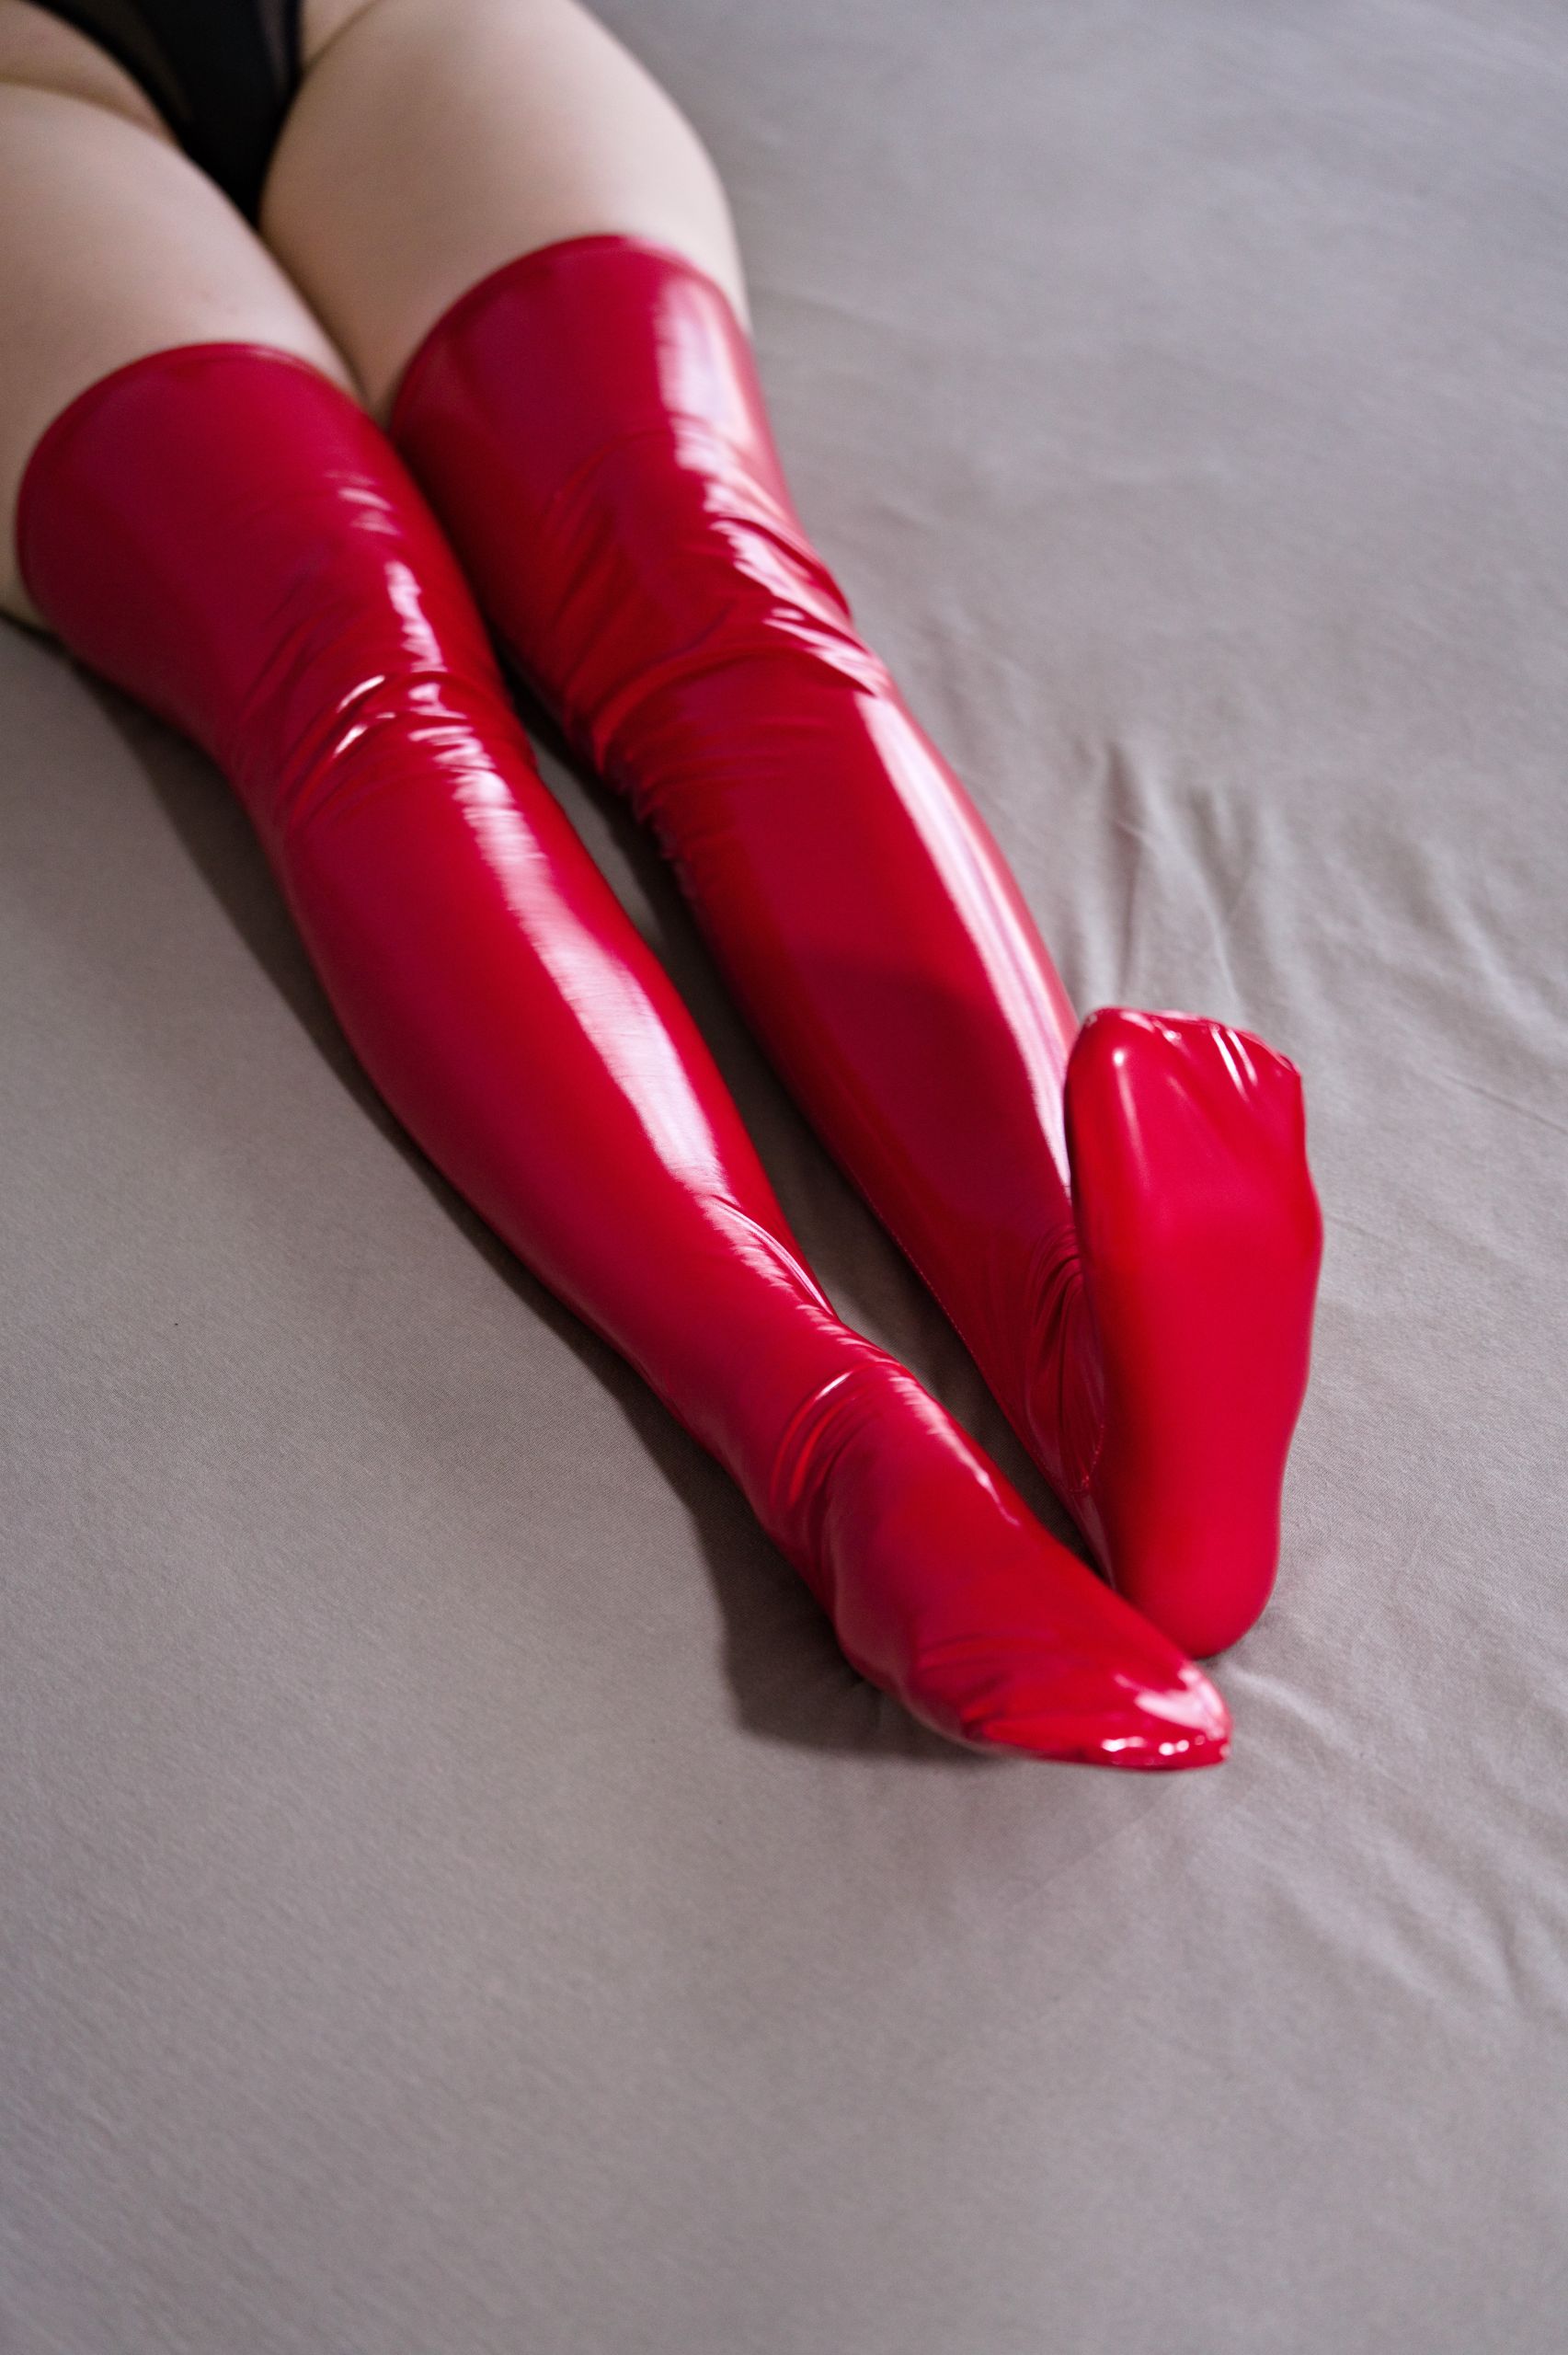


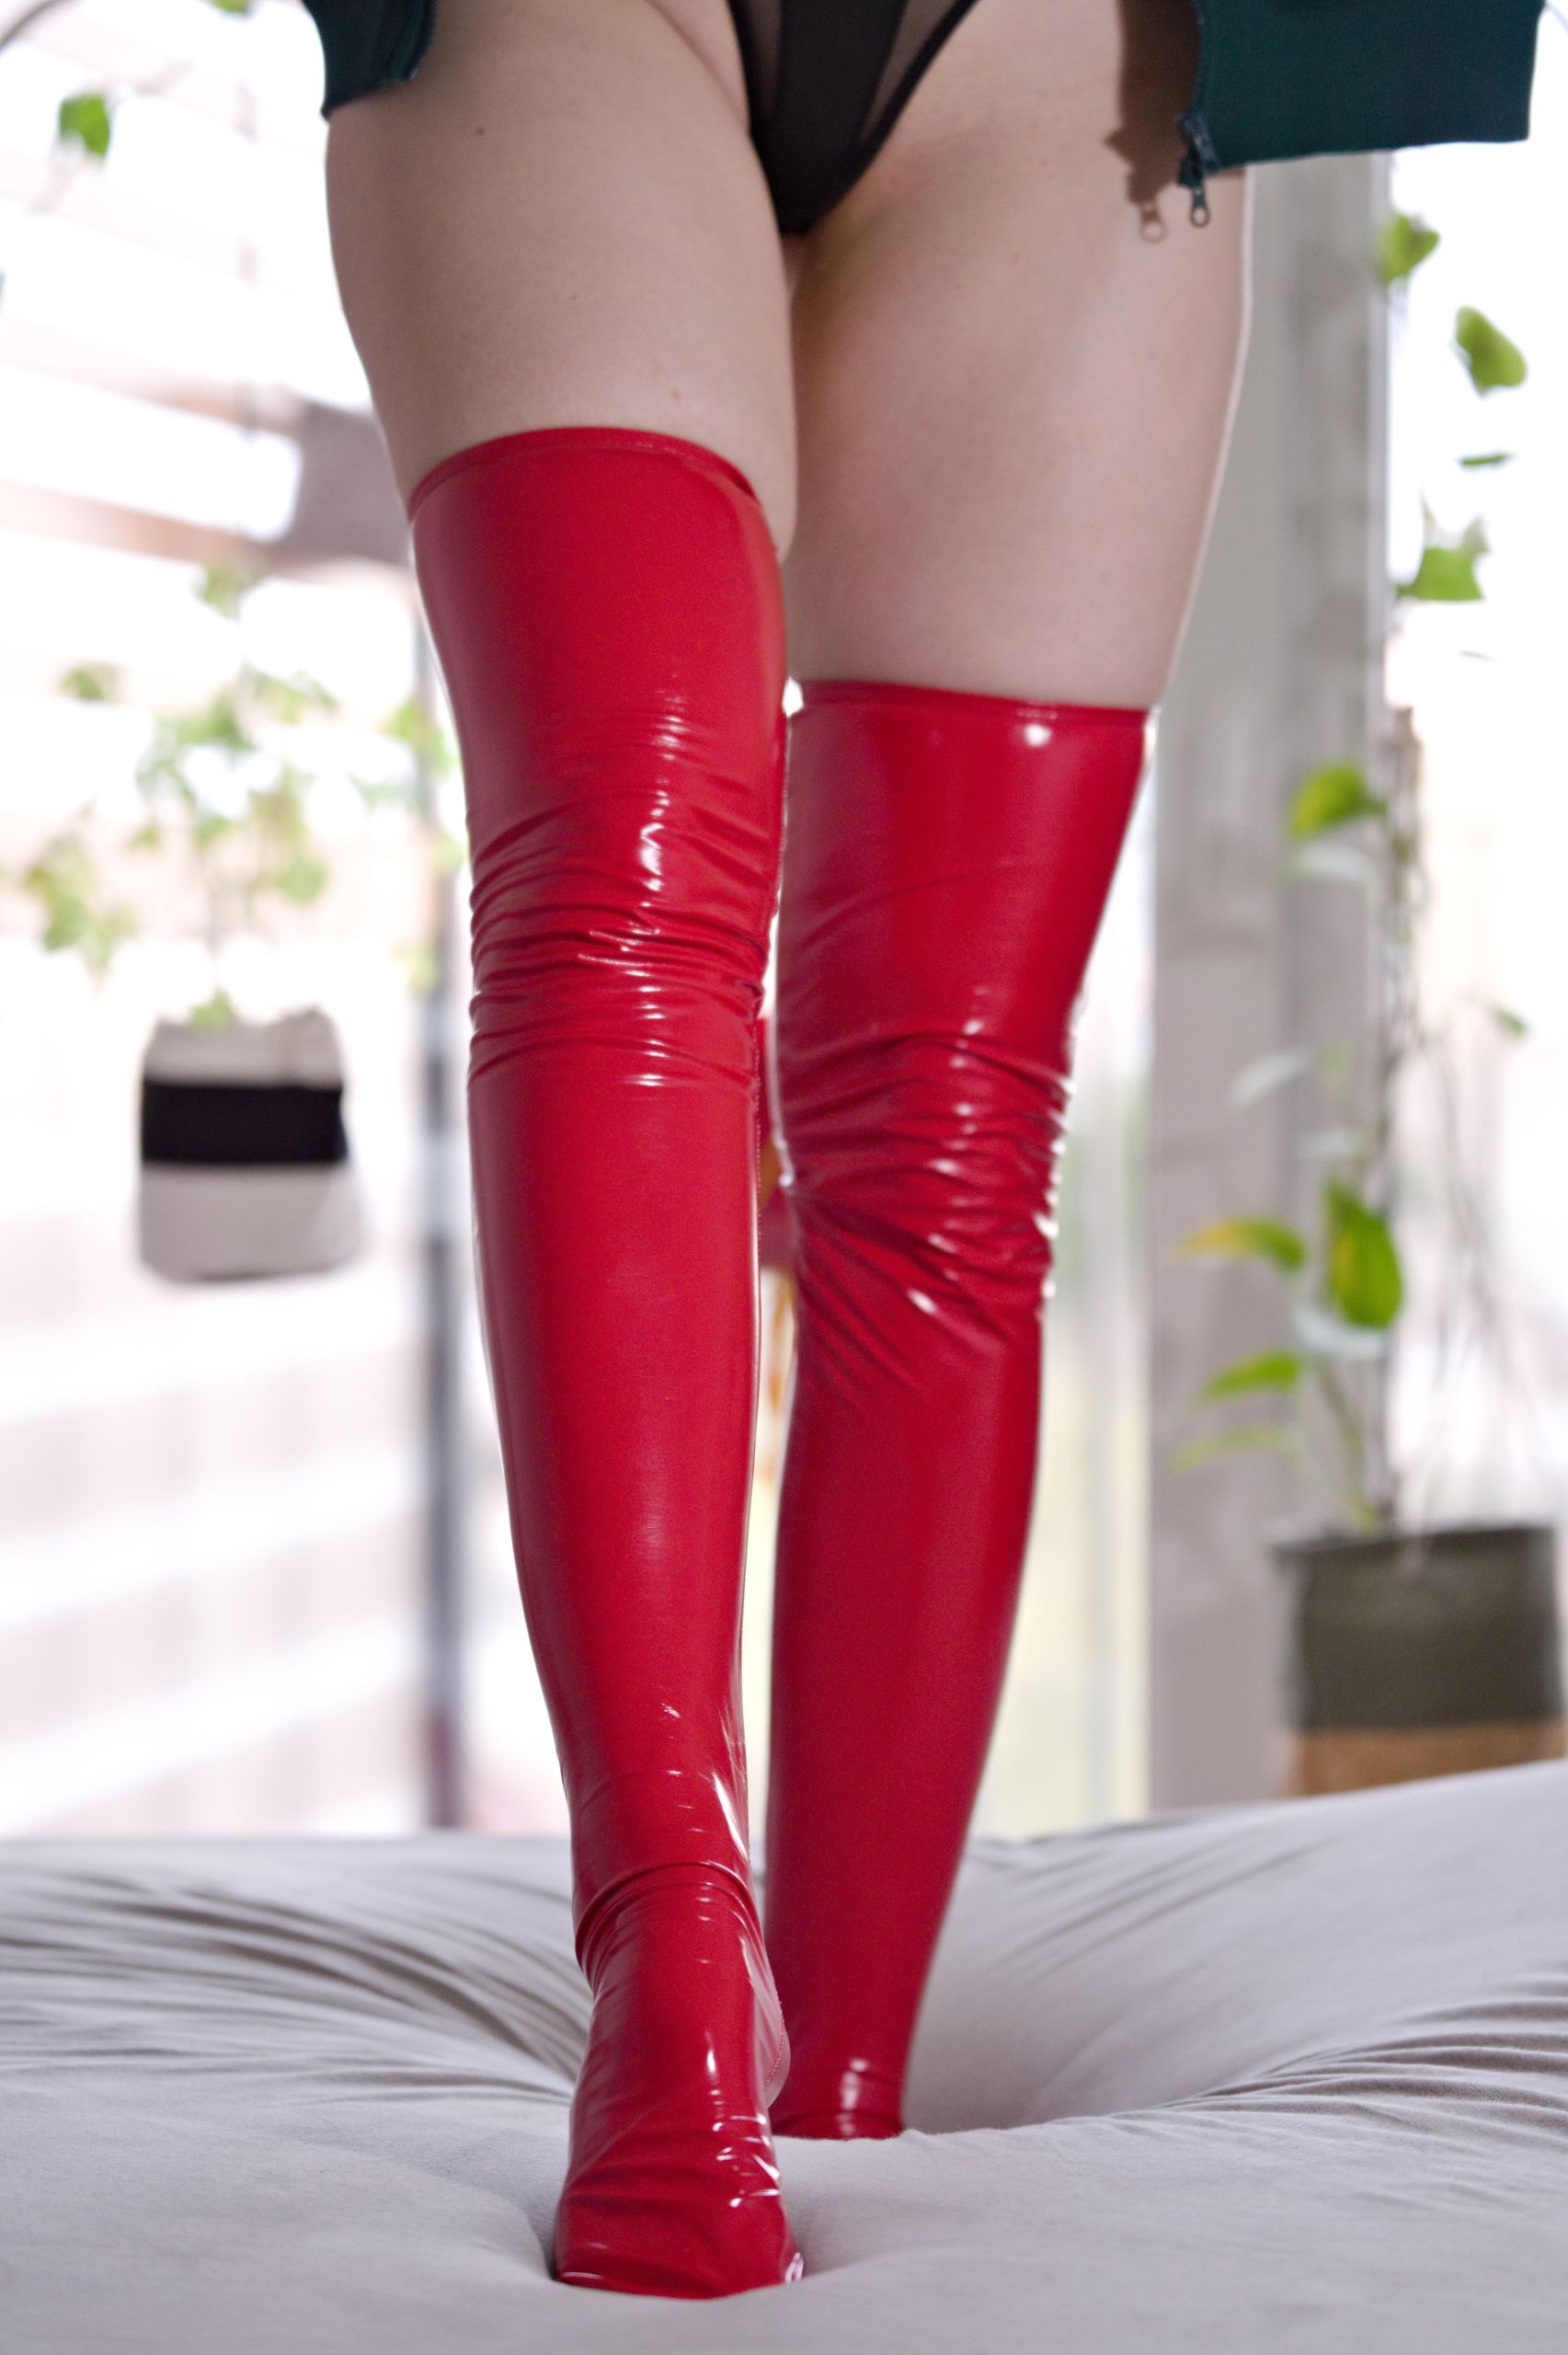


However, despite their material pick – their product ultimately still bears the fundamental issues due to a simplistic and generic pattern. Material vs pattern interaction results in awkward spots of fabric around ankles – with it slightly bunching up in the front and stretching on the heel to its maximum potential.
That last one is the literal killer as this means that it causes a tendency to:
- Overstretch the material and thus make it easier to rip the latex from the backing fabric at the seamsand
- Make the latex layer much more susceptible to any mechanical damage.
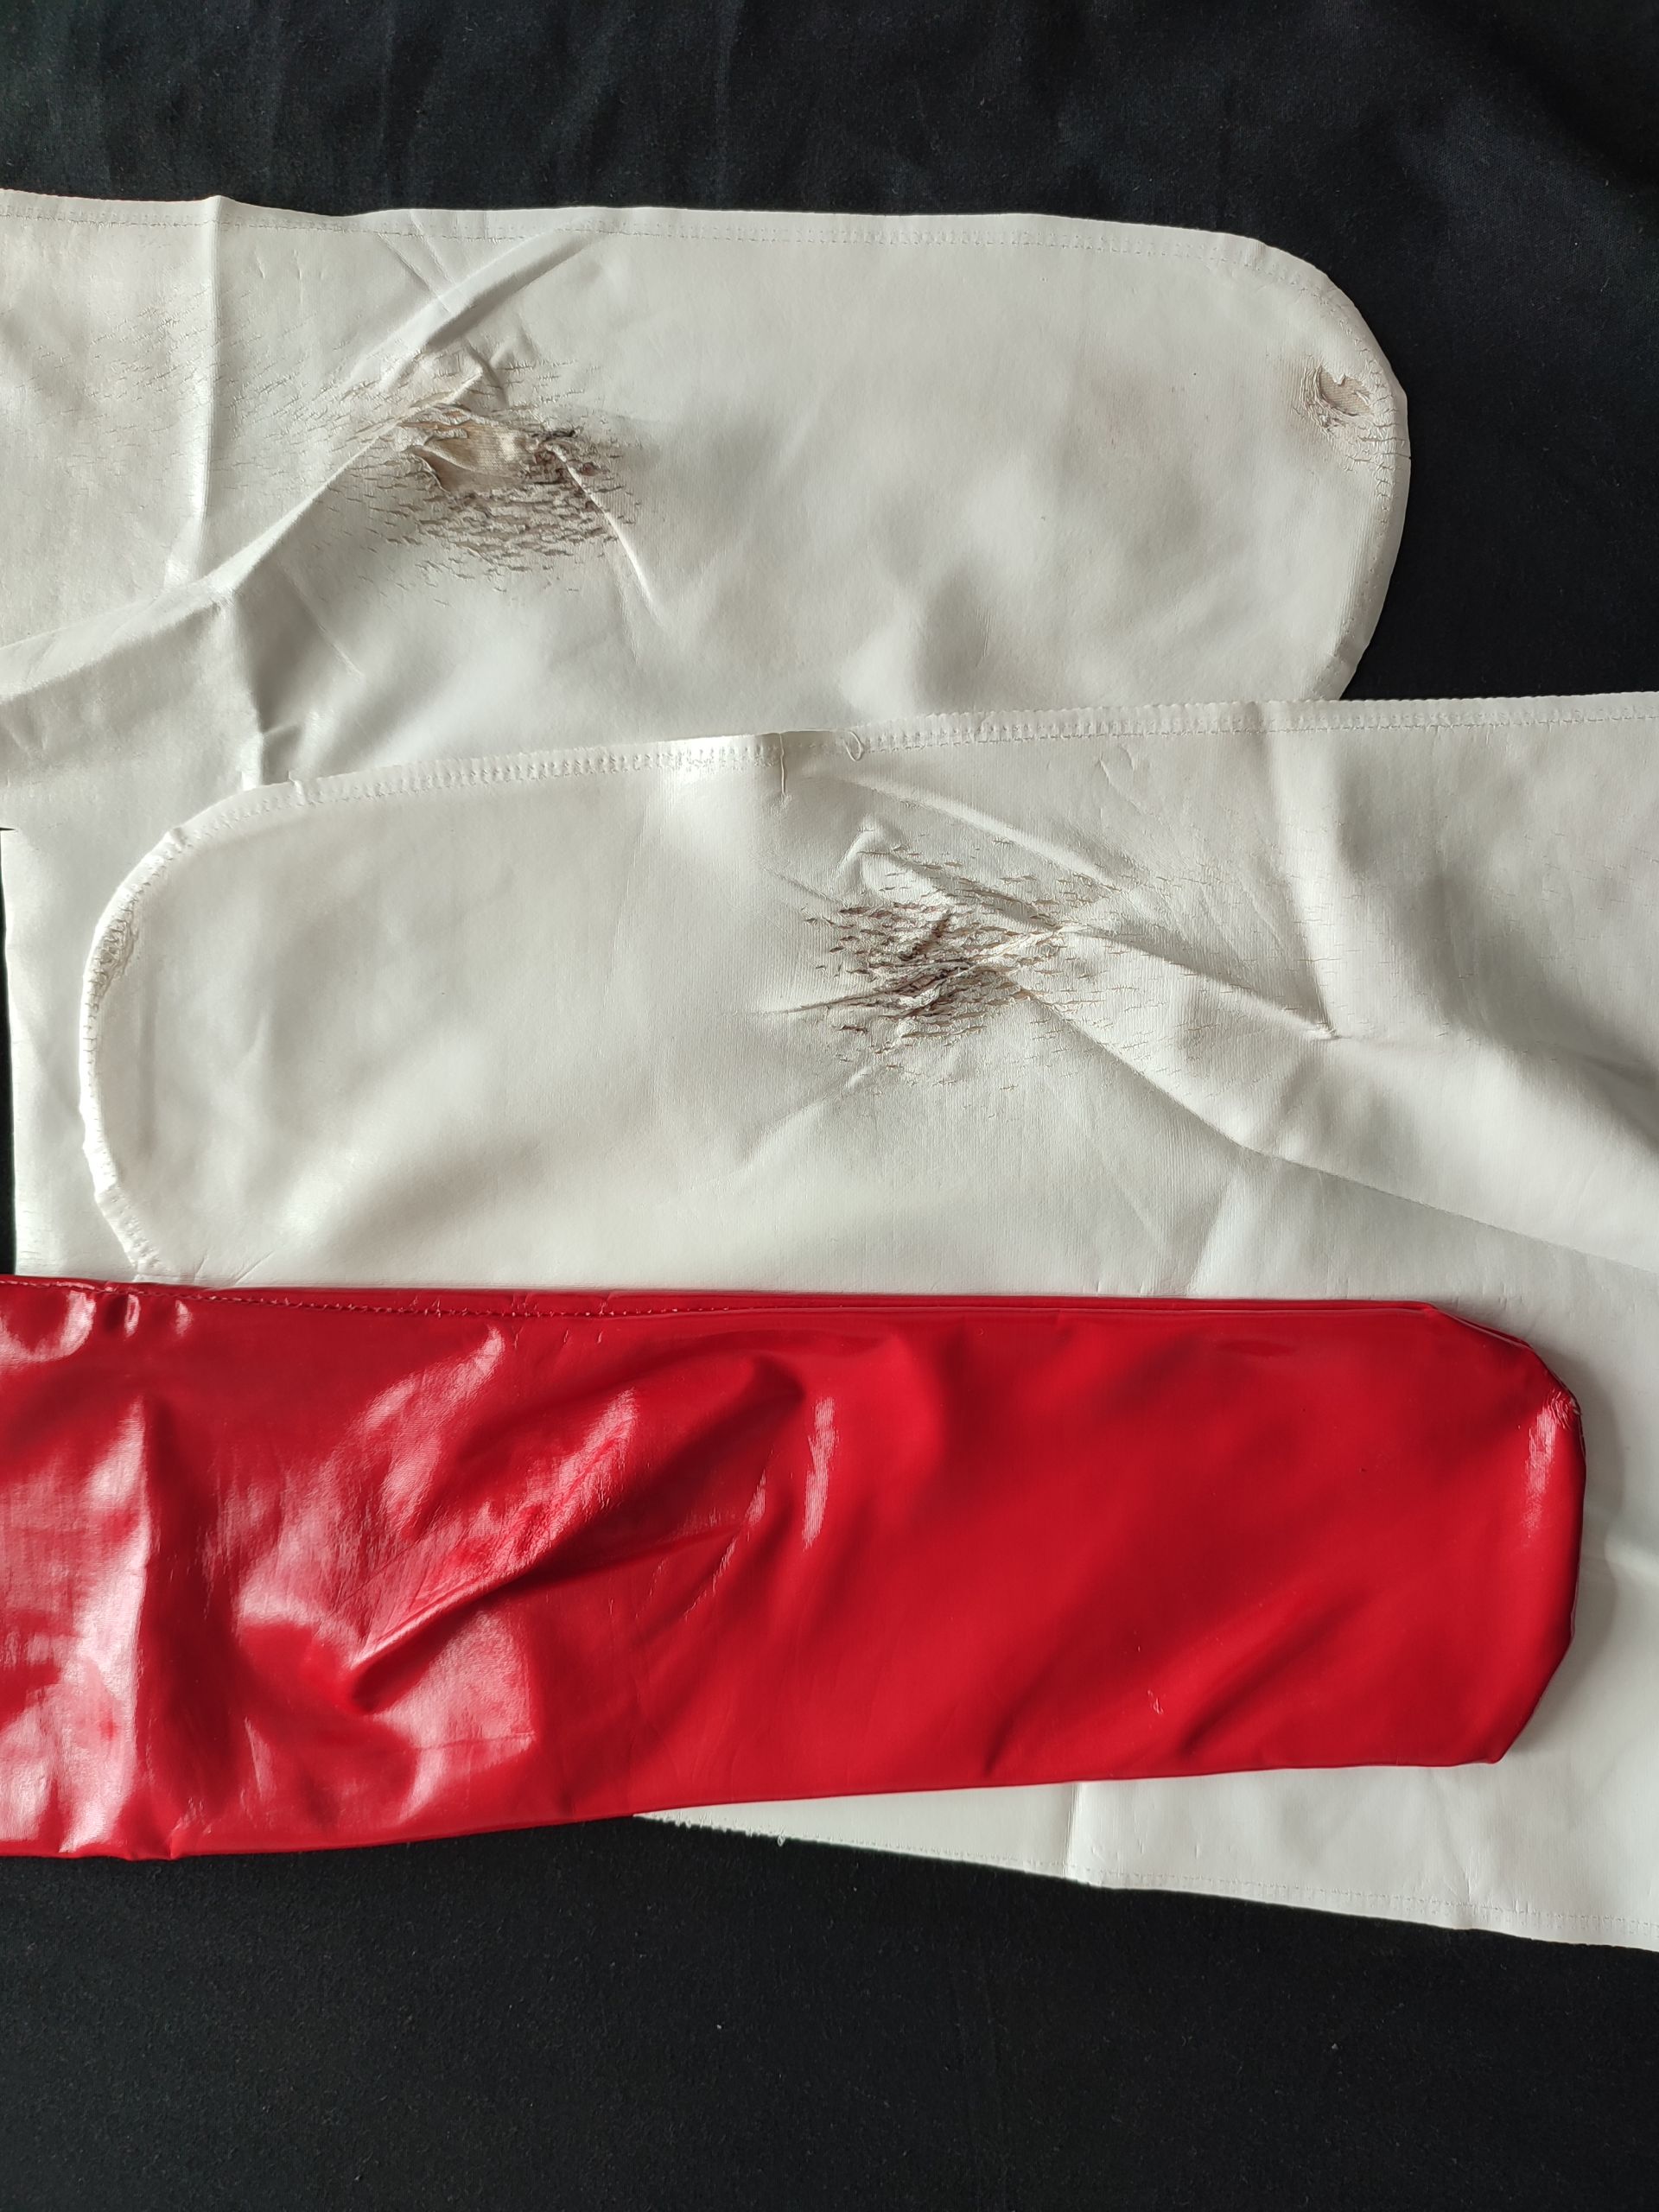
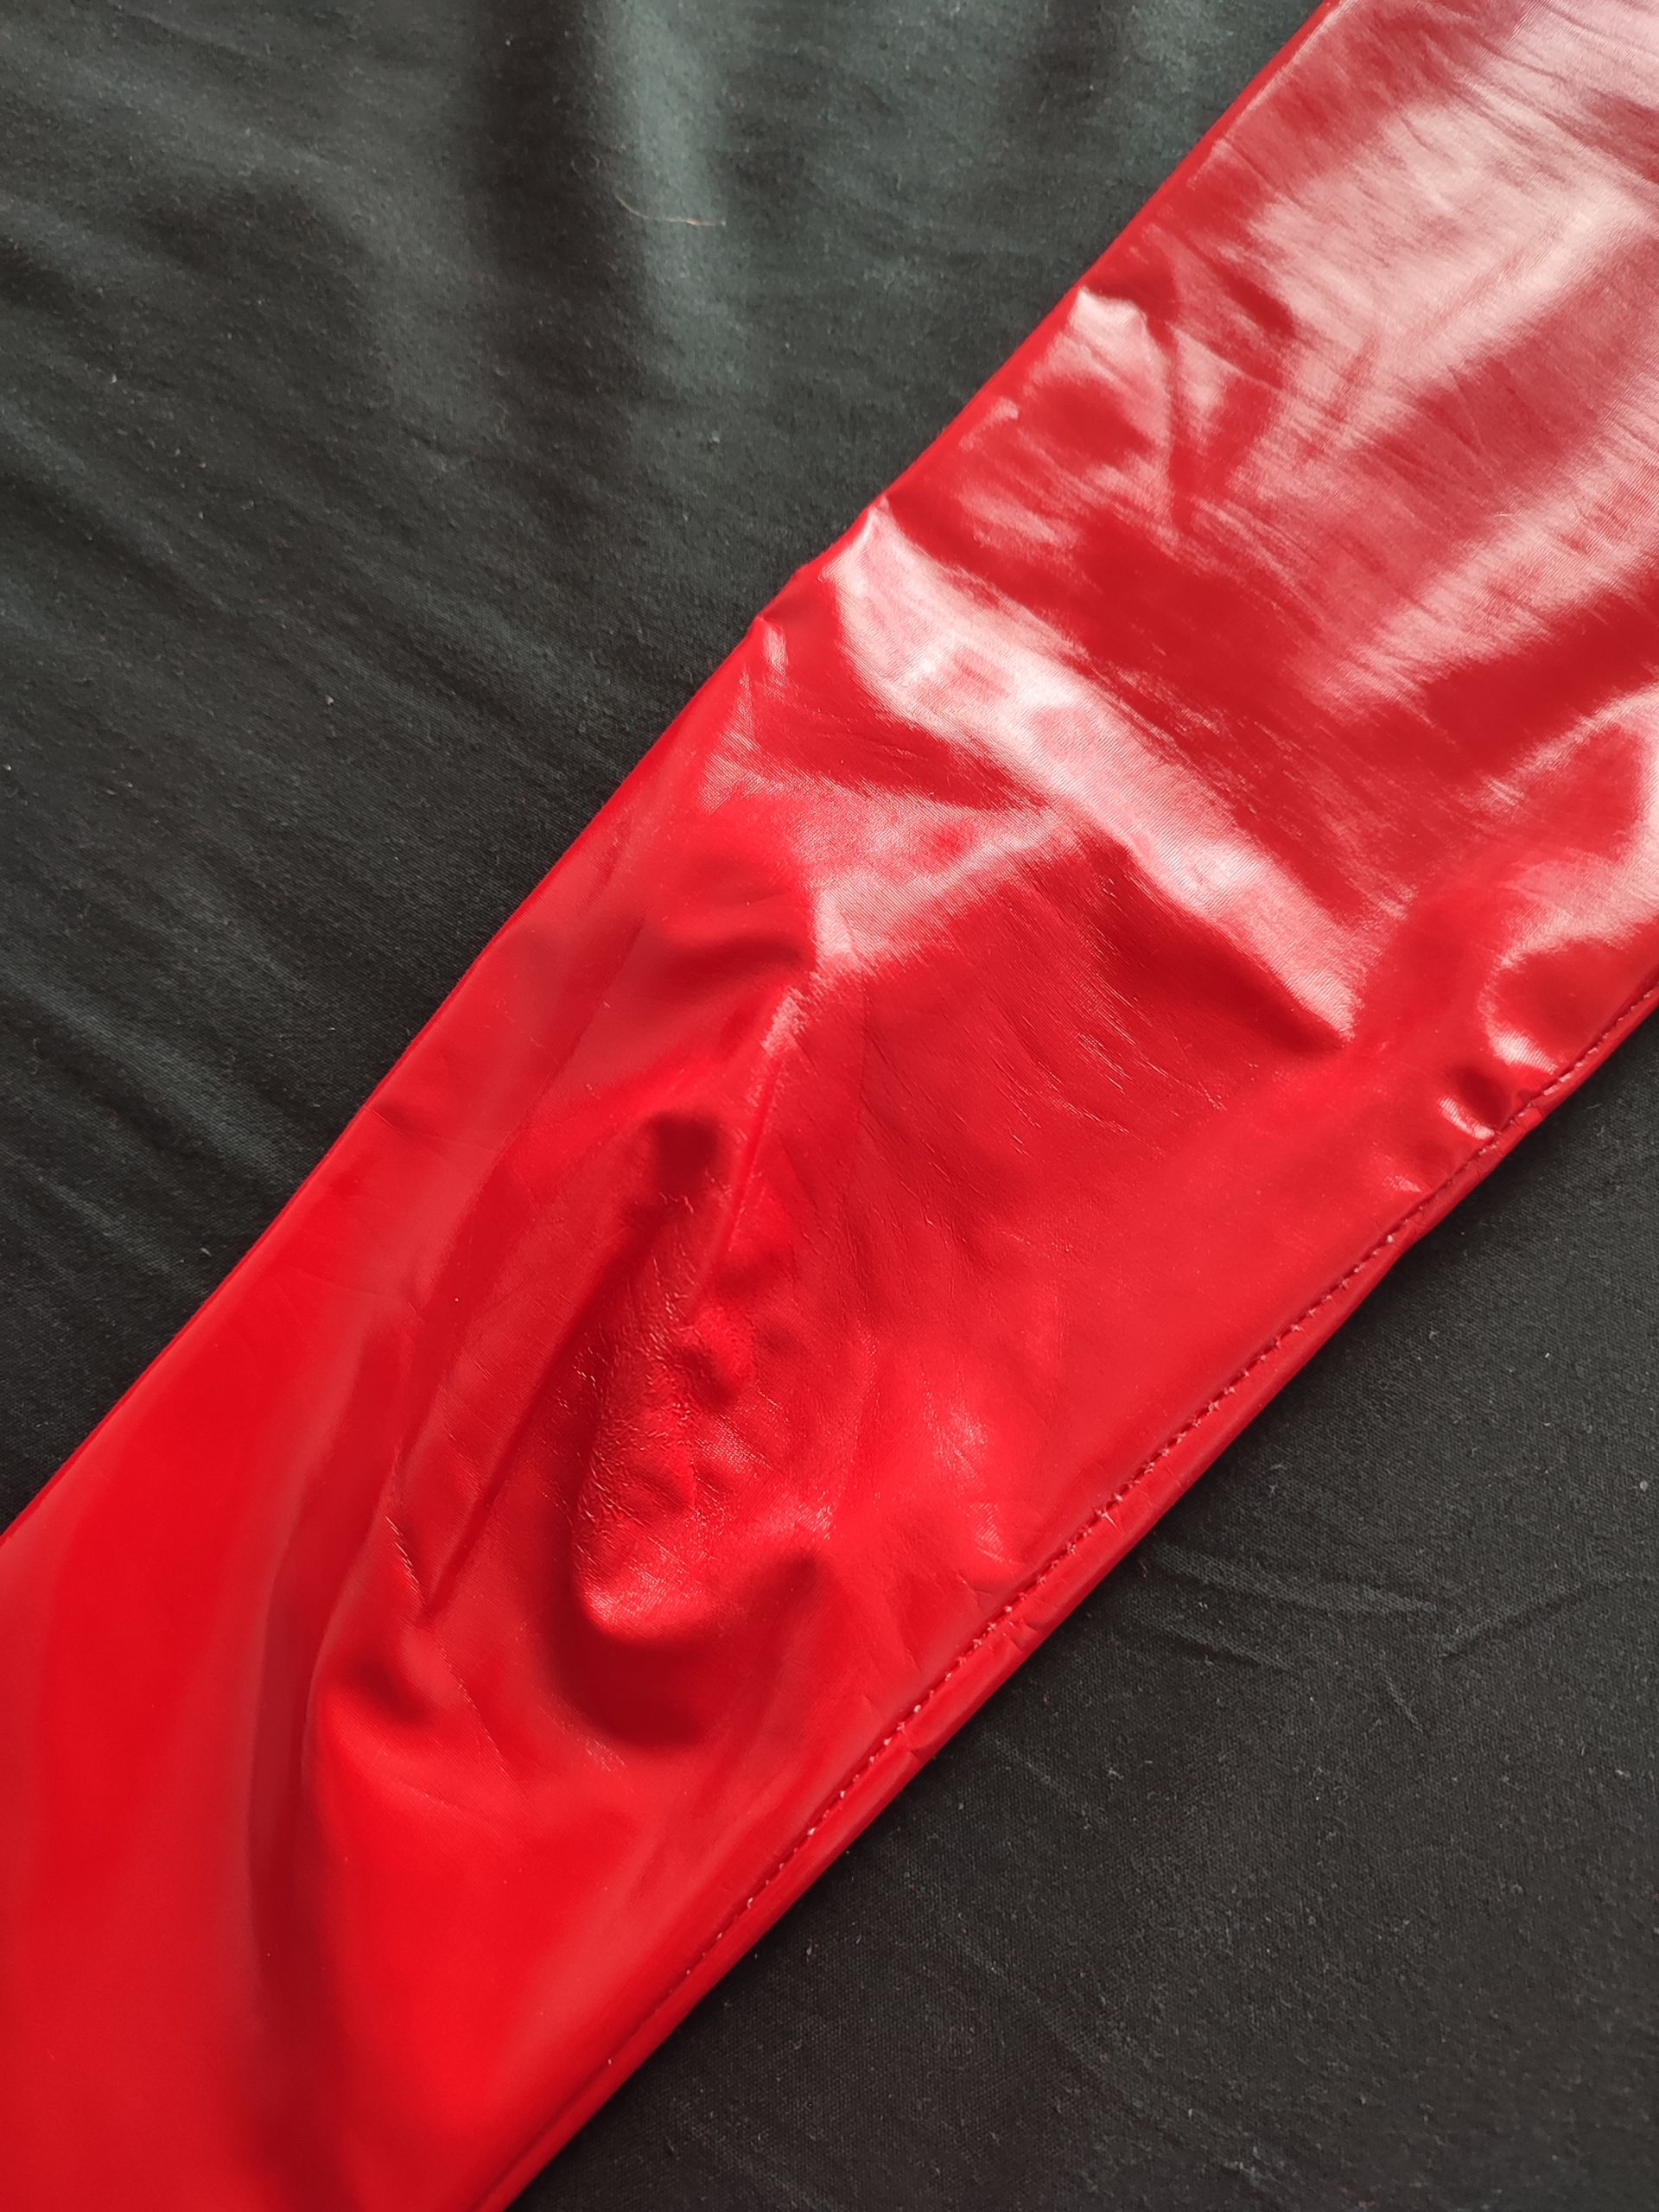
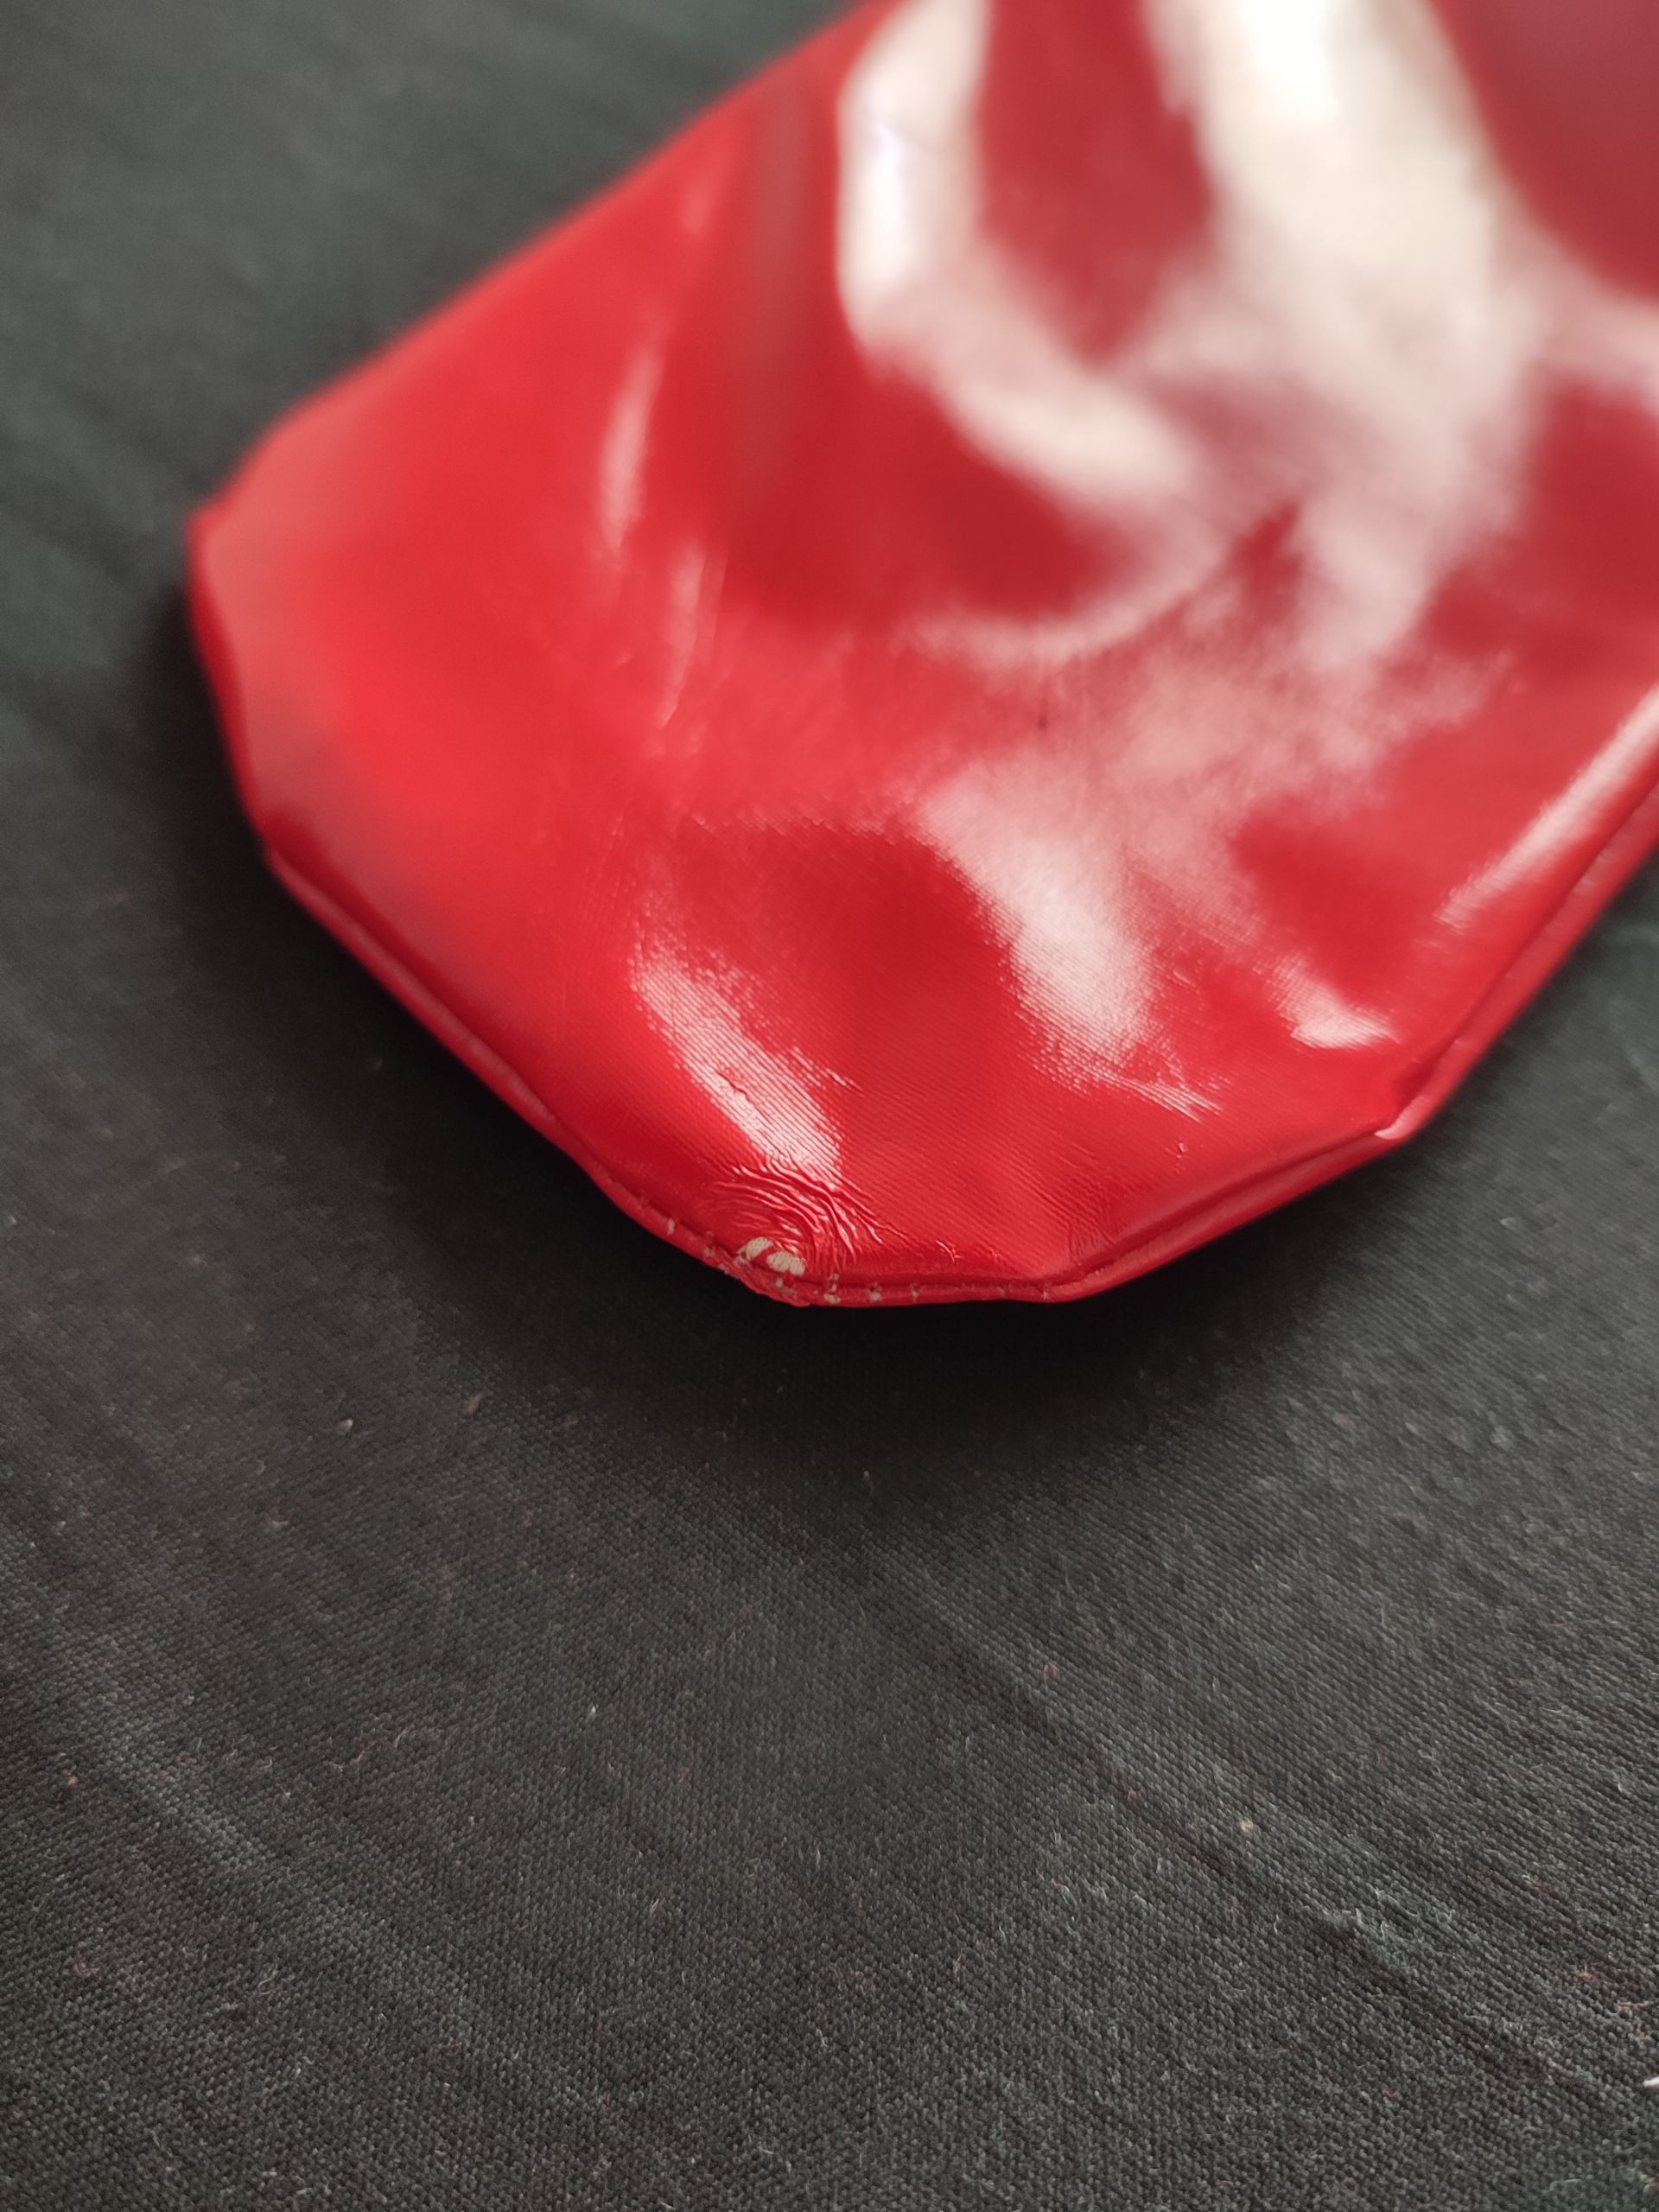
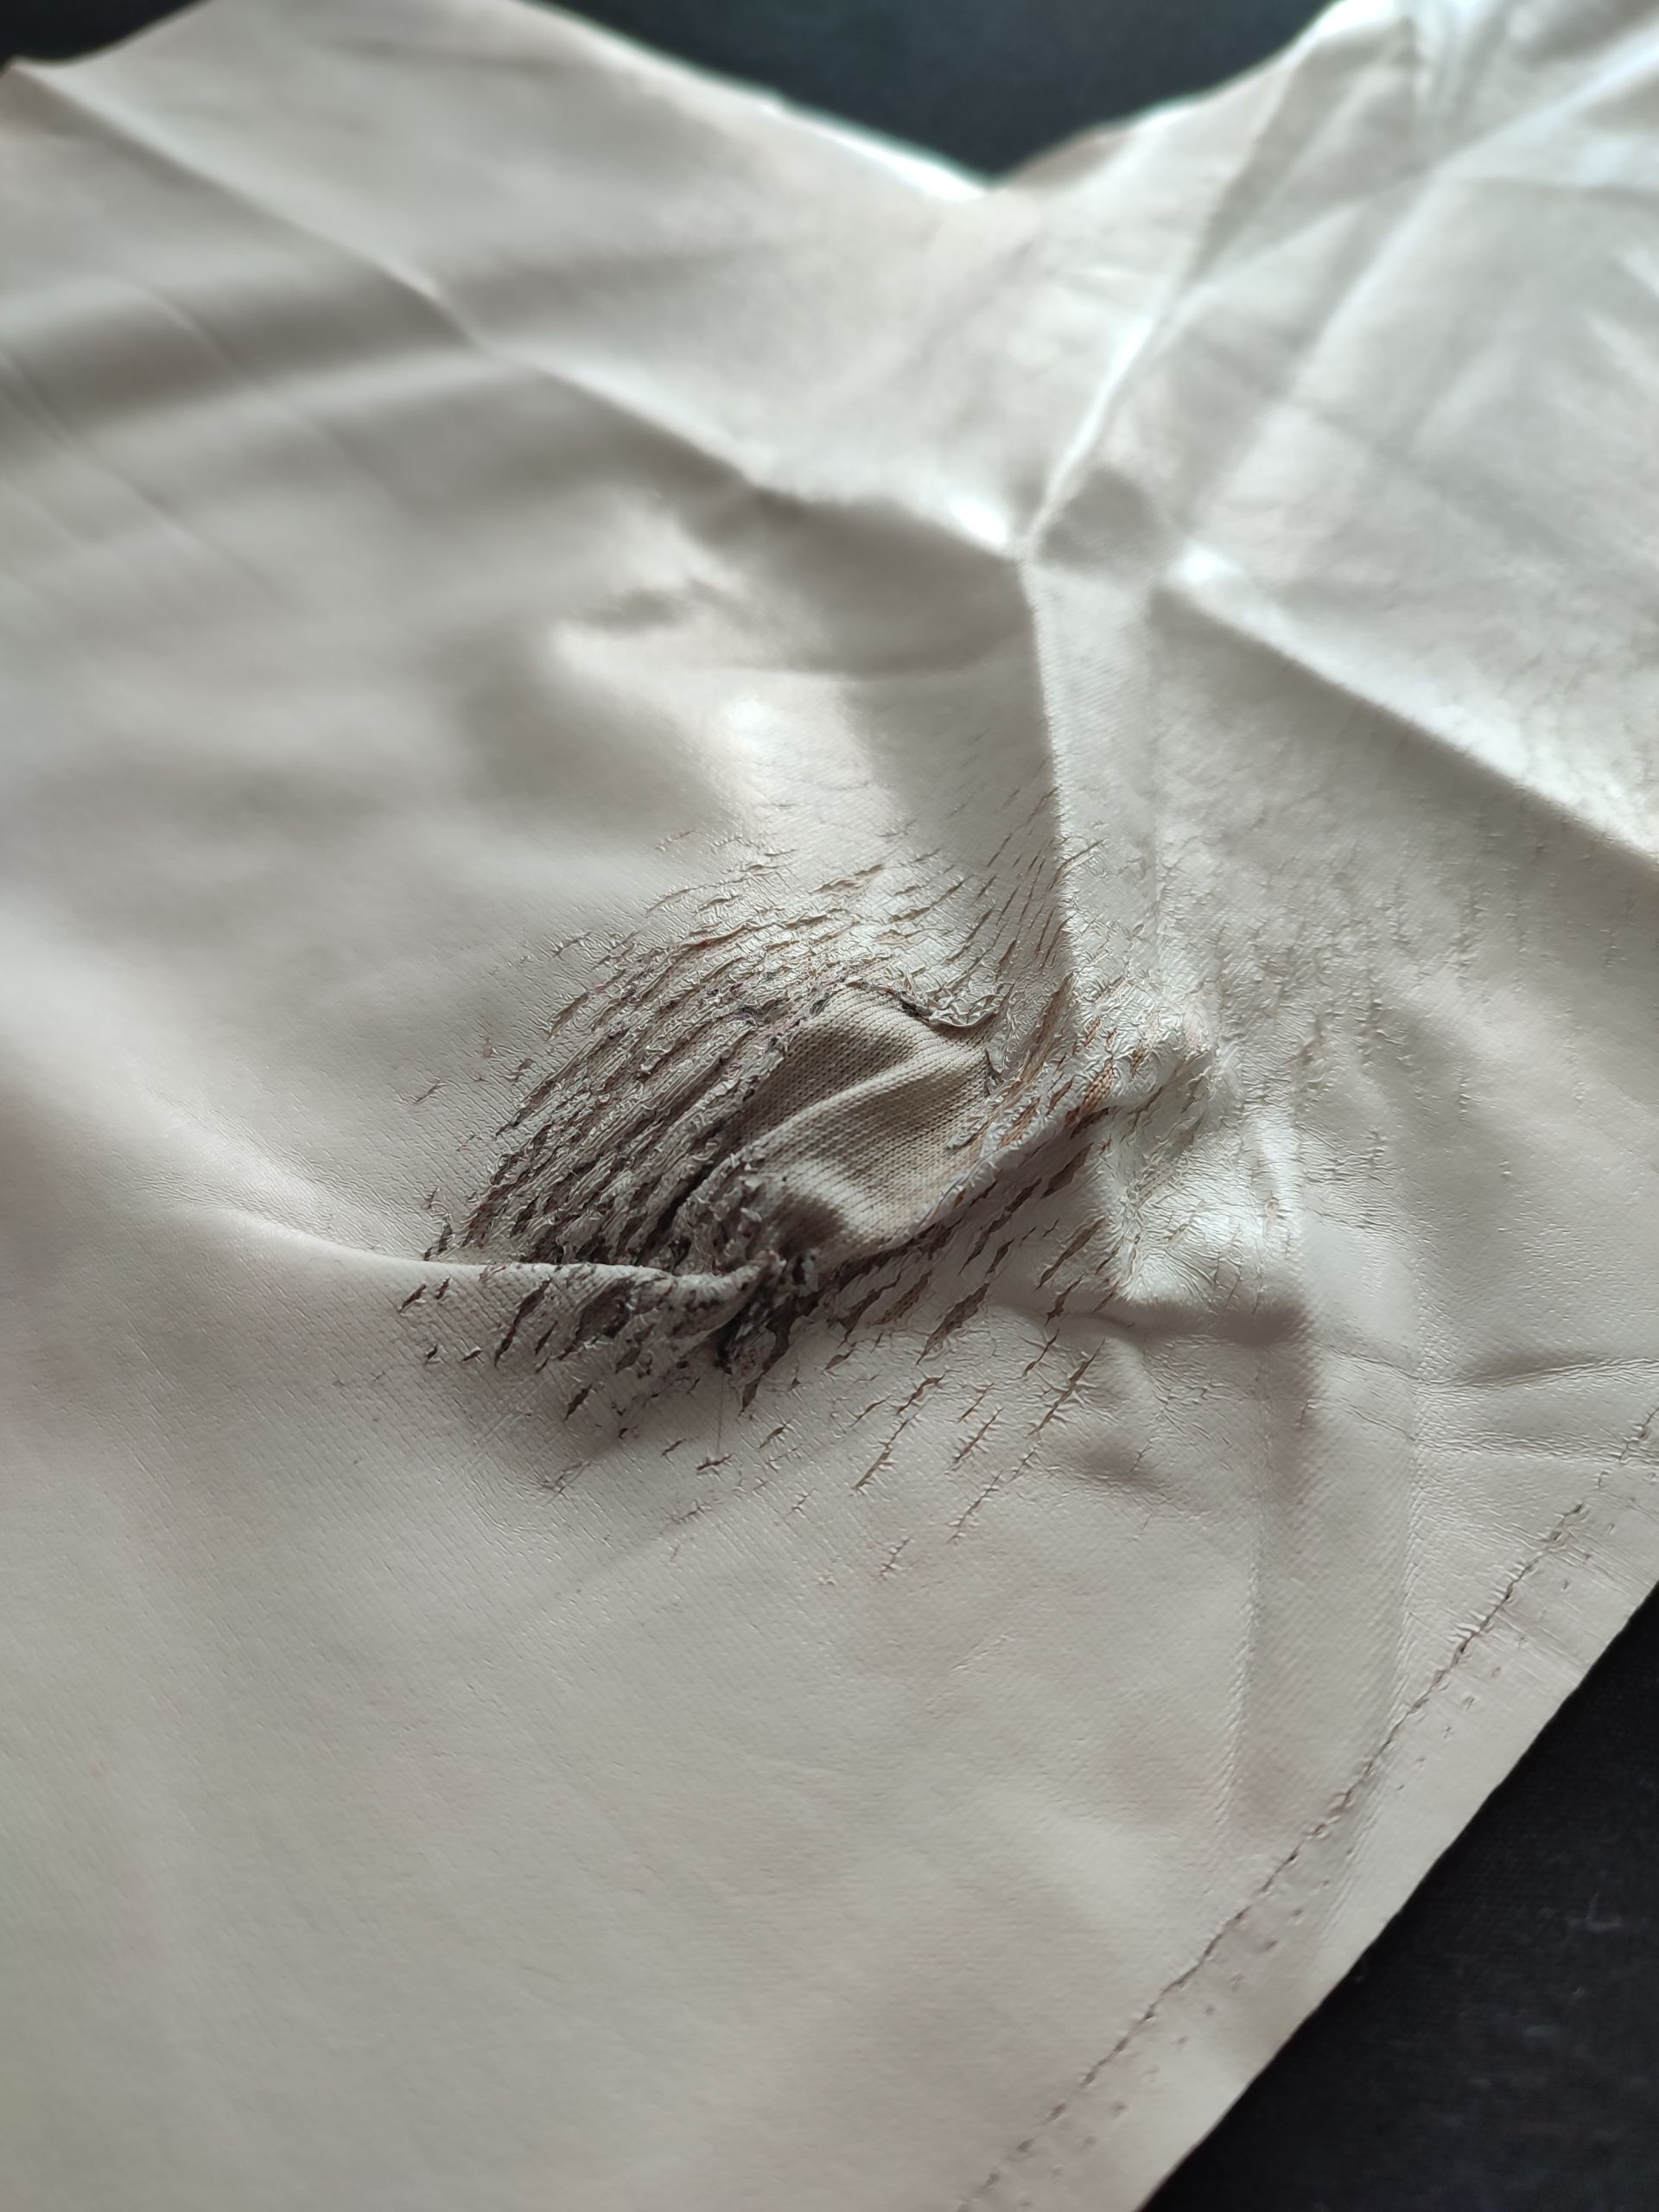
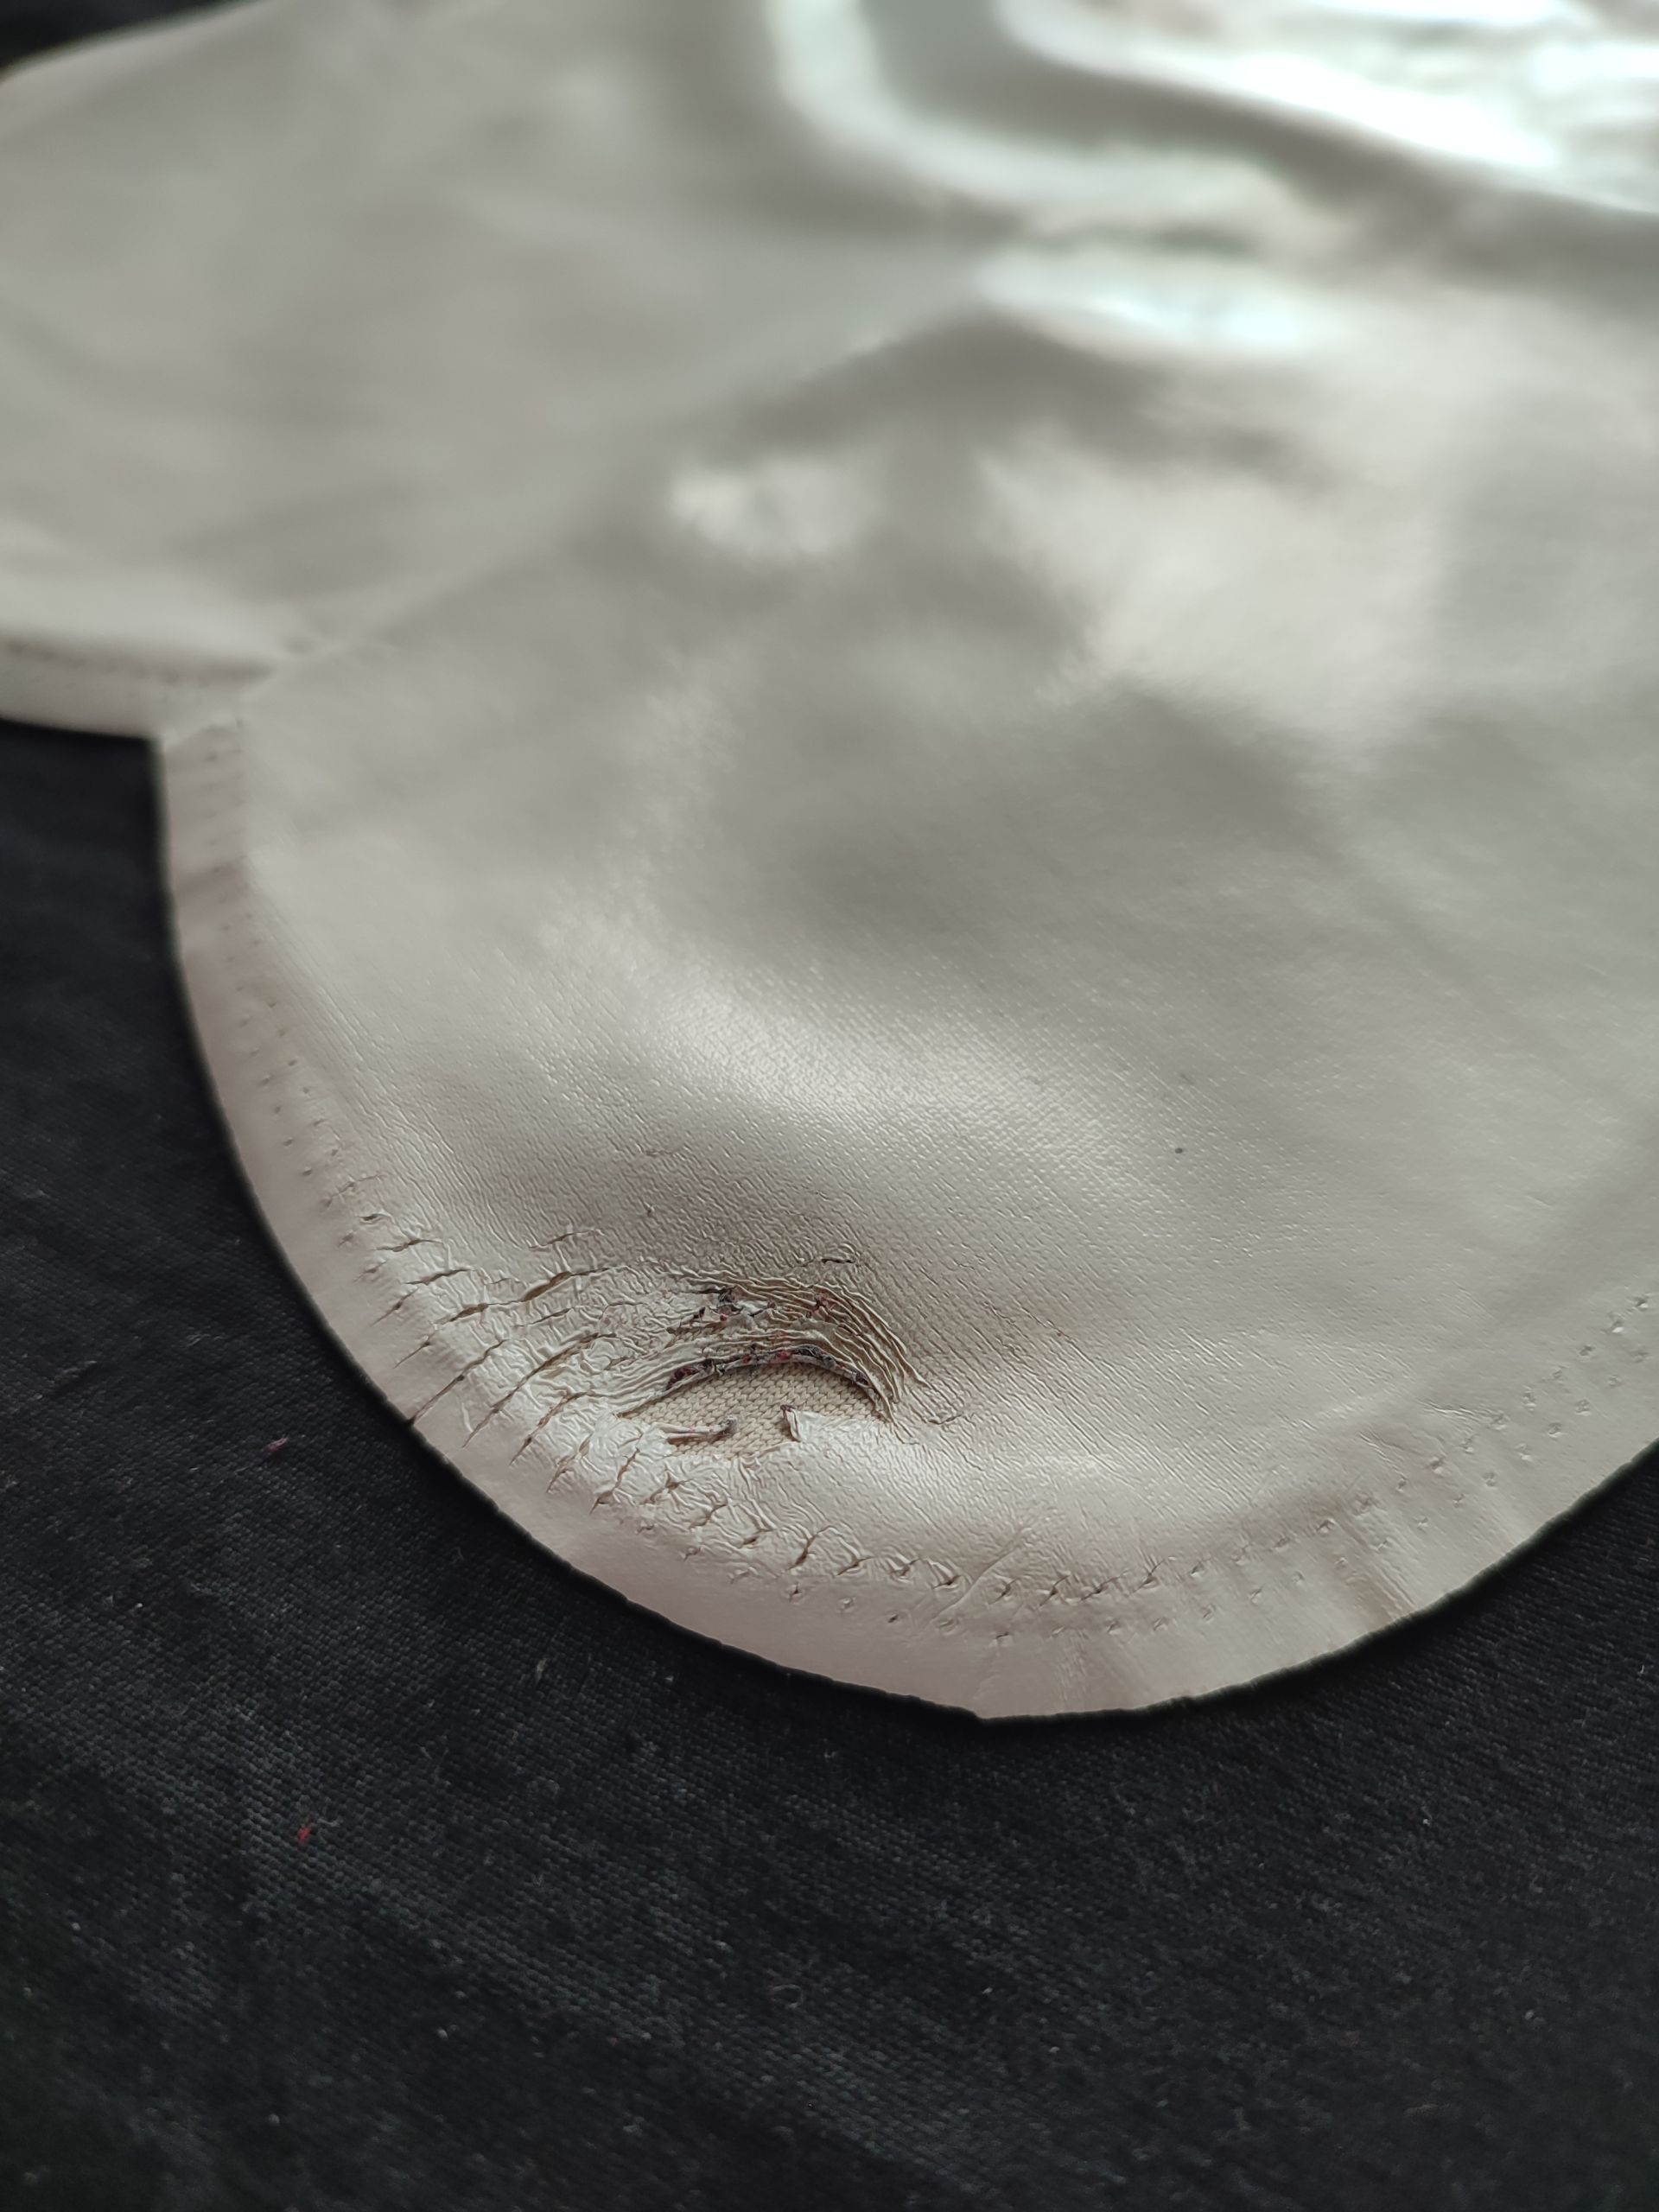
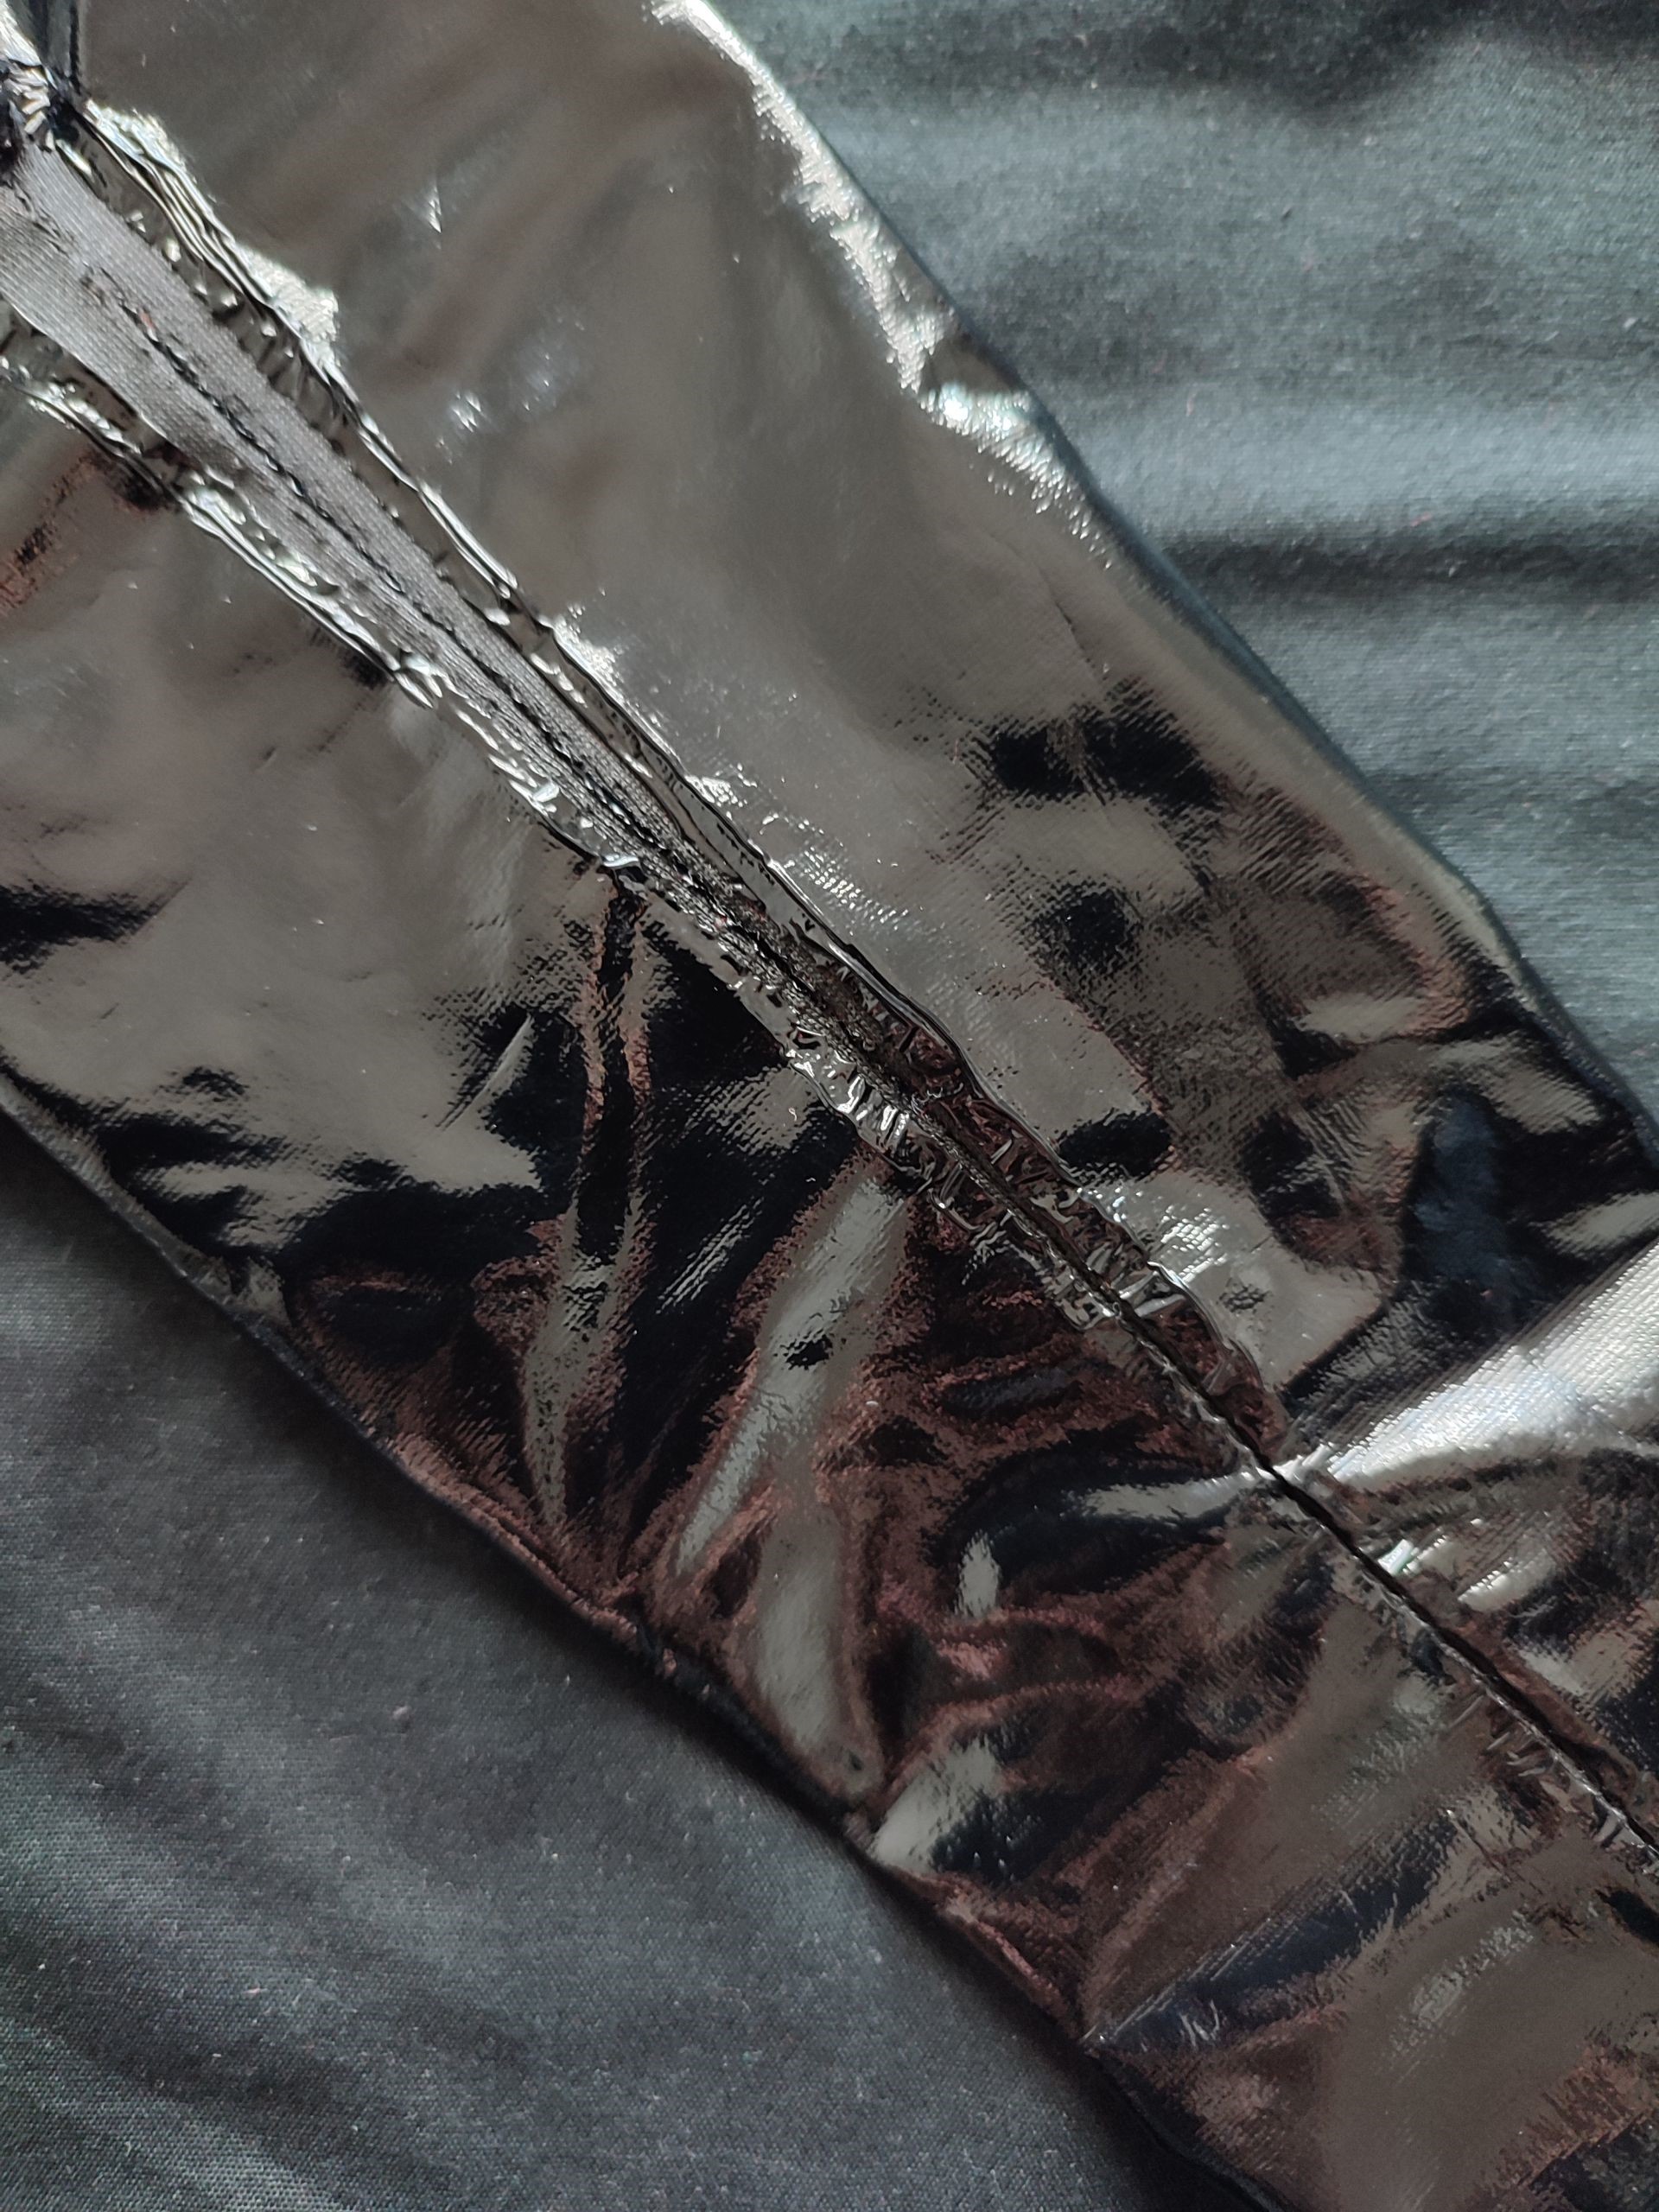
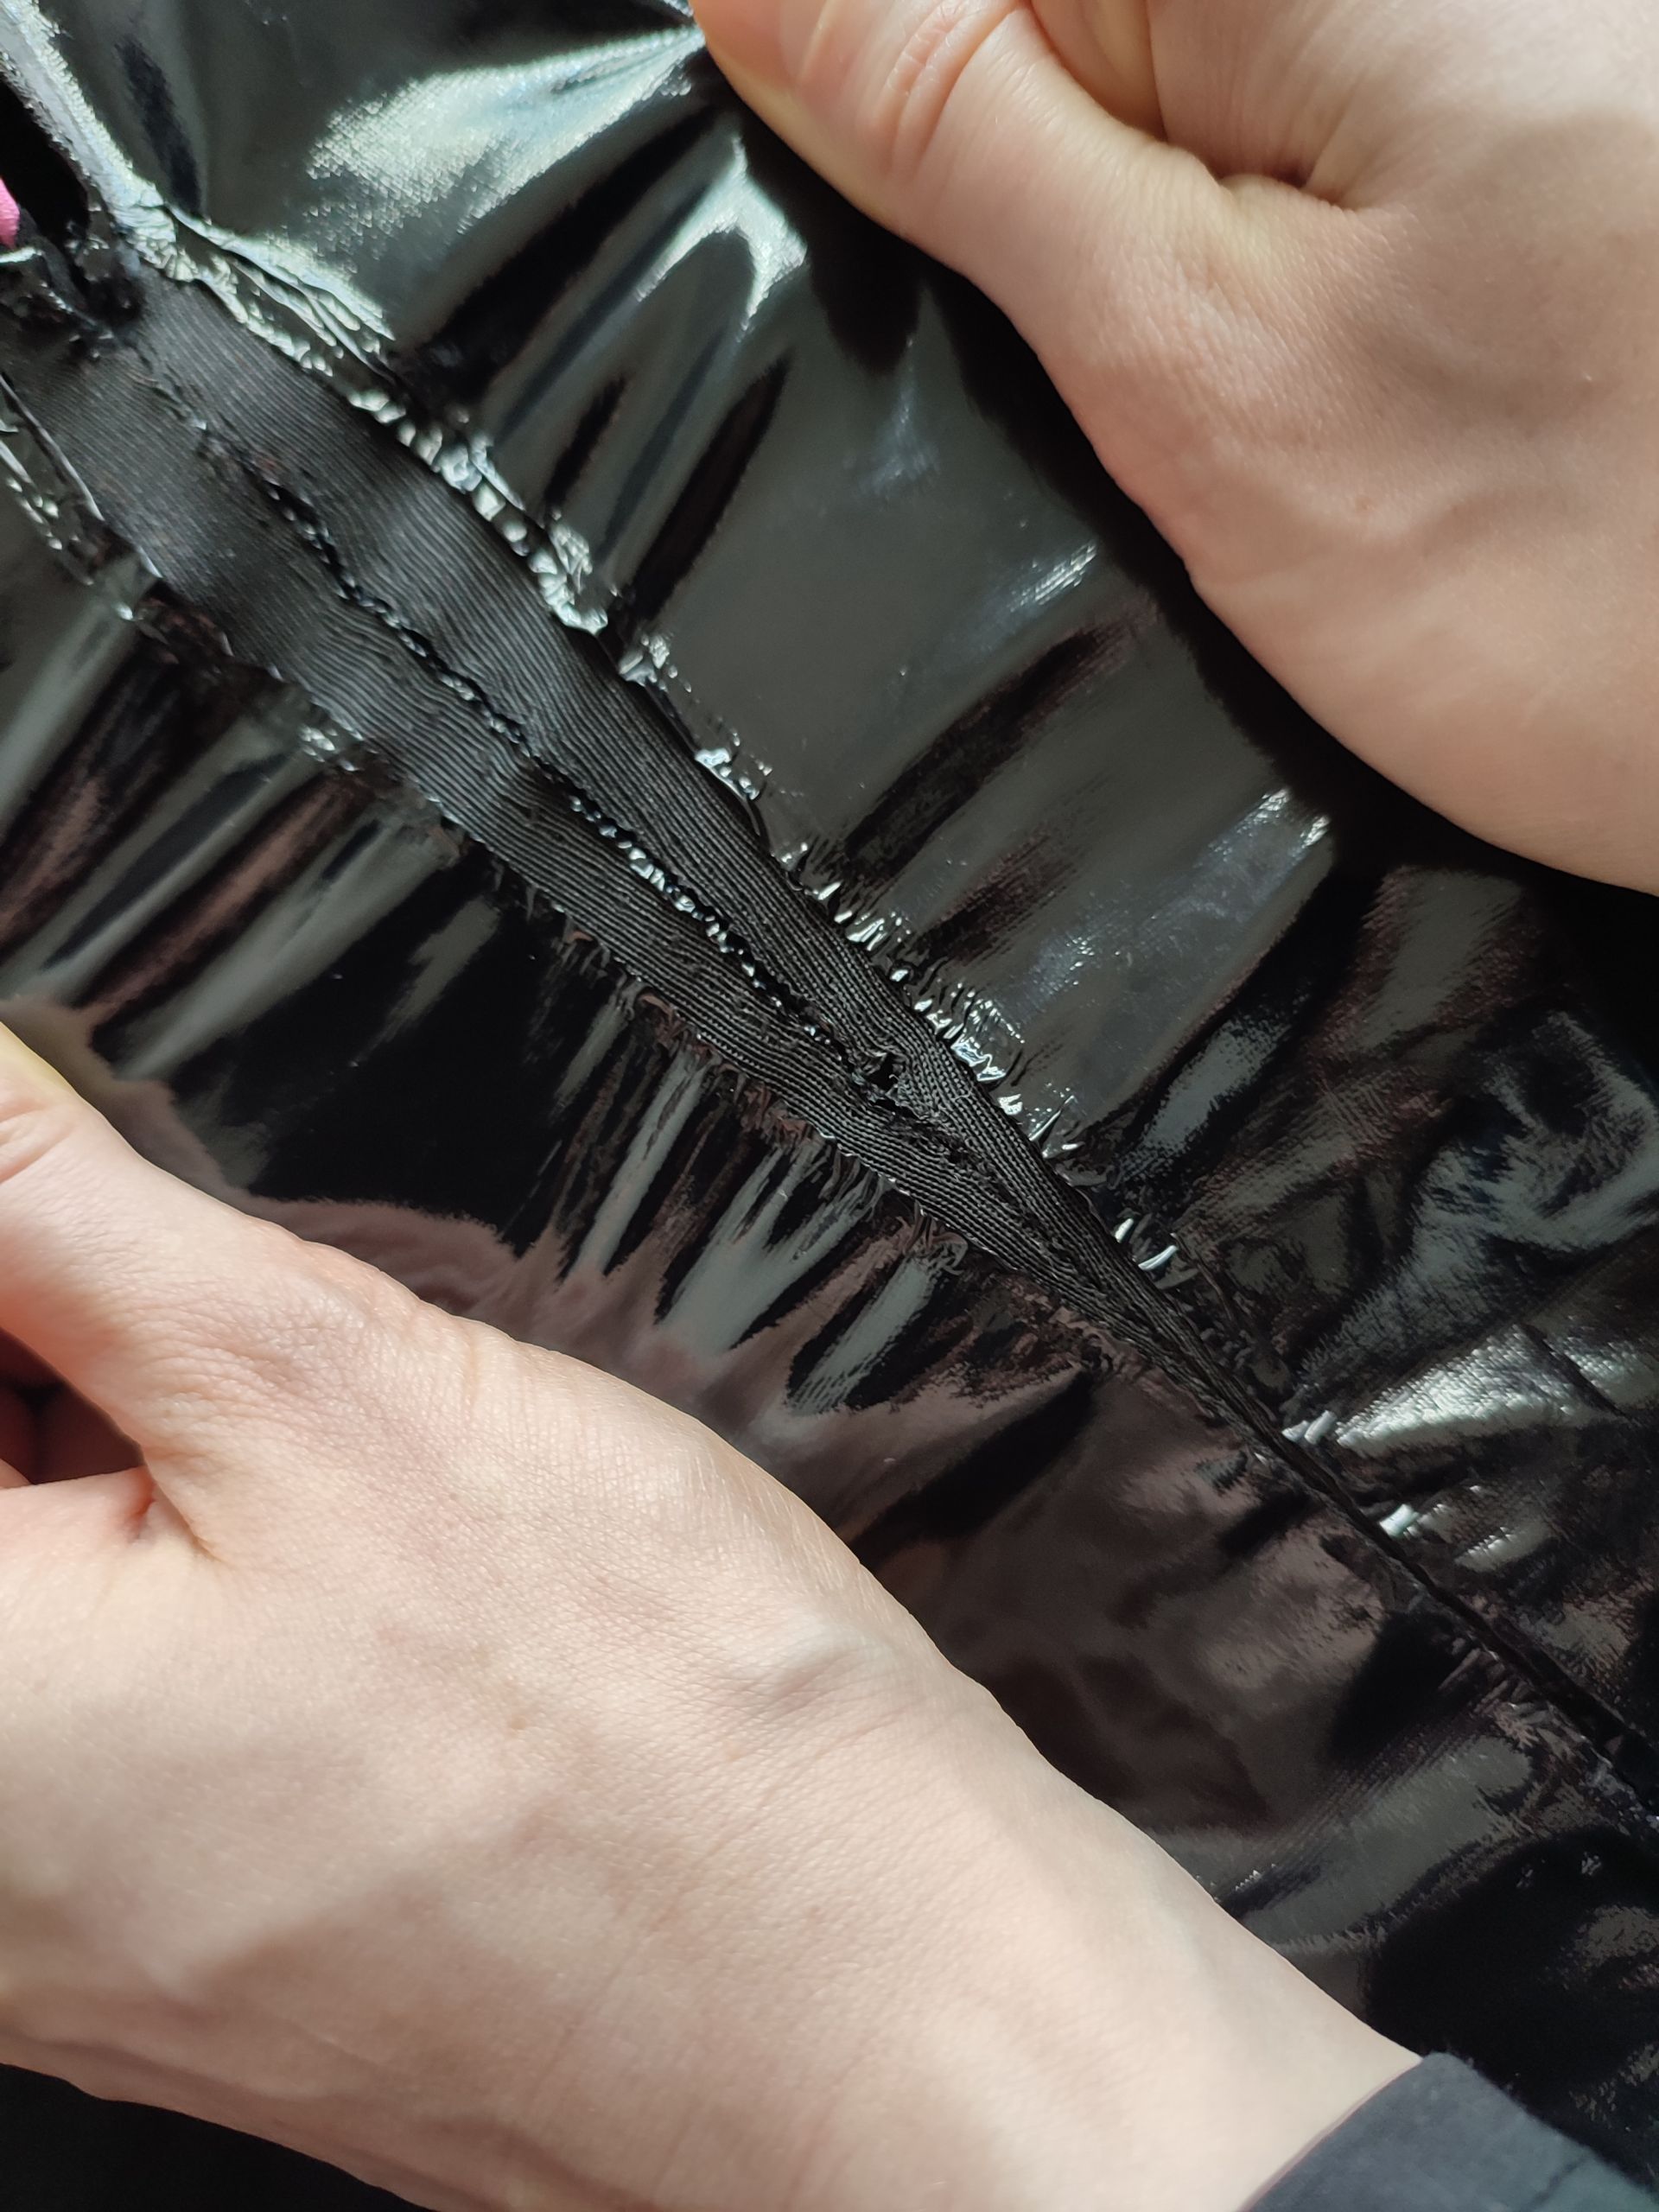
That last one was the smoking gun in our case, as just in the first set we ever used these stockings in - you can clearly see how they went from brand-new to having pinholes on heels in a span of one photoset (so about 2h). All due to simply walking on the floor, where any kind of debris caused small amounts of additional stretch on already stretched out thin latex, thus damaging it.





And sadly, I know that this isn’t a one-time occurrence as not only all three pairs gave up like these, but also other cosplayers like Enji Night have posted about similar failures in the past.
What was the DIY spark?
Disappointed with the lack of quality and longevity I began to look for real latex alternatives… but I quickly was turned off by the price. In a last ditch effort I wondered if I could DIY it and found a YouTube video from Lacrymastory on how she made latex stockings for her 2B Nier Automata costume.
While I didn’t go with making a pair of my own latex stockings (yet), this video did certainly bring the same ideology to my attention as RHT stockings – there is not one way to make a stocking. In fact there are multiple patterns that she discusses just at the beginning of the video. Just like her I find back-seam stockings more appealing and thought that this quite simple pattern could work for our case.
Our journey begins
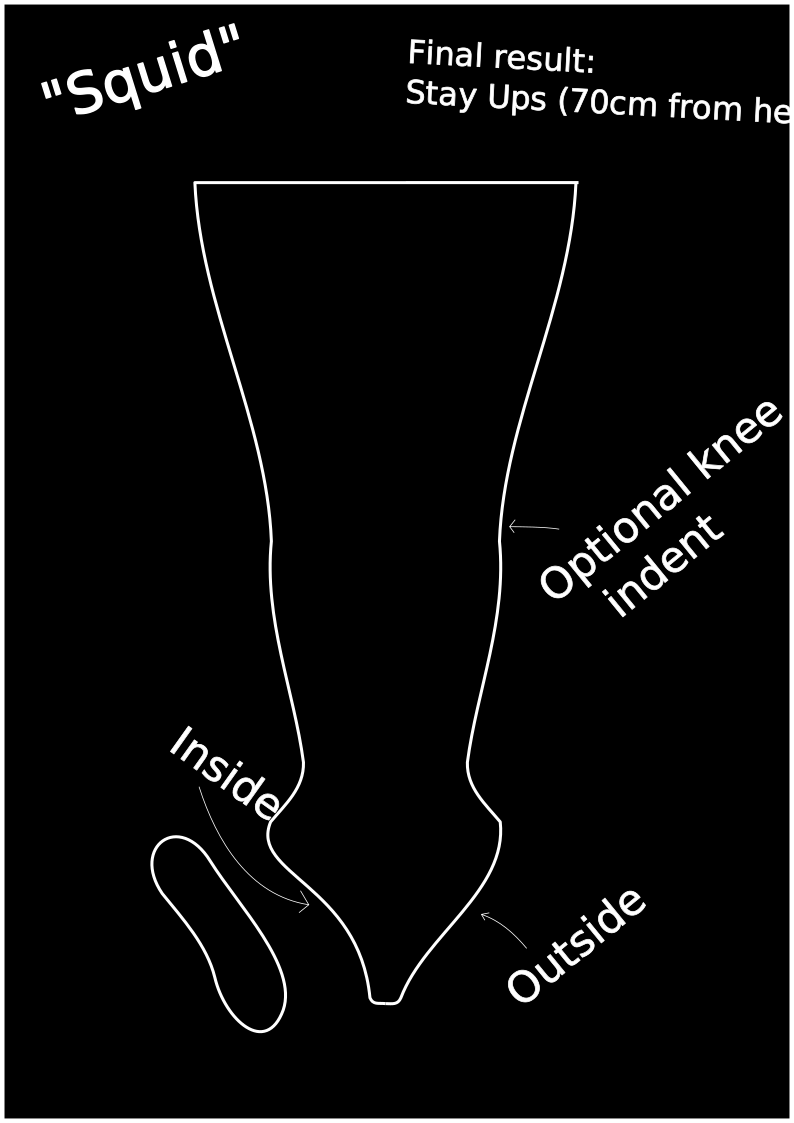
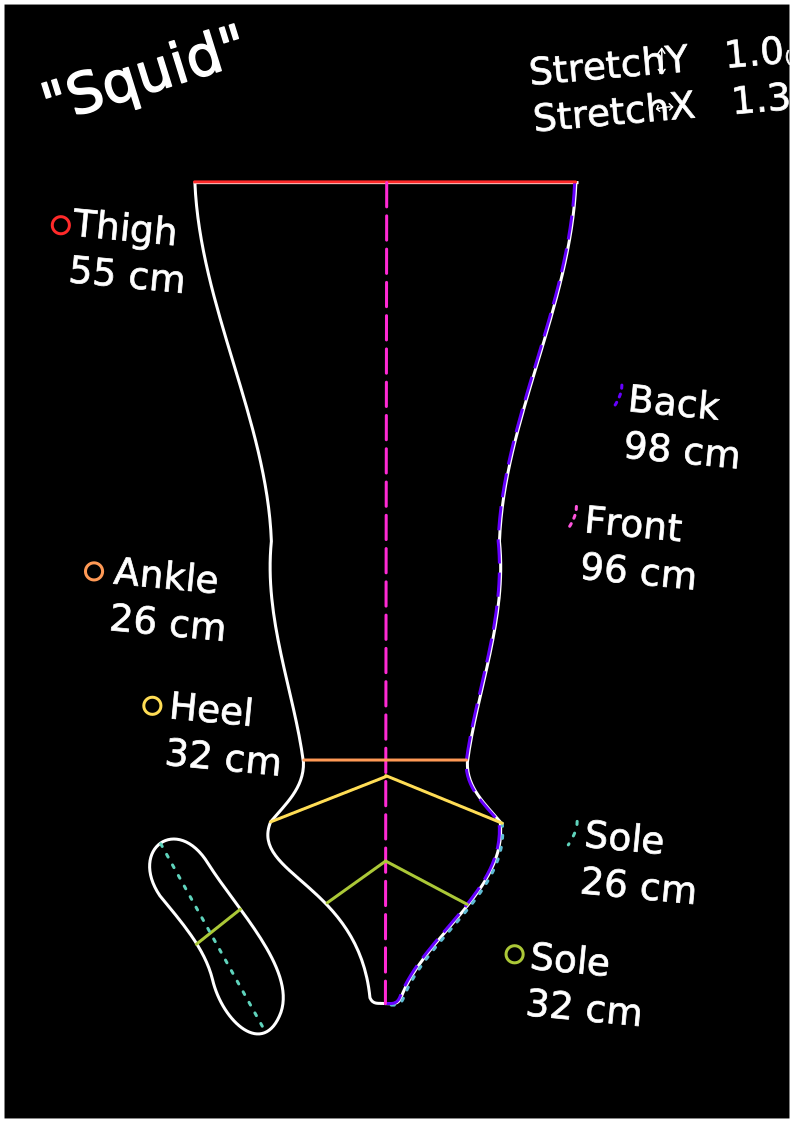
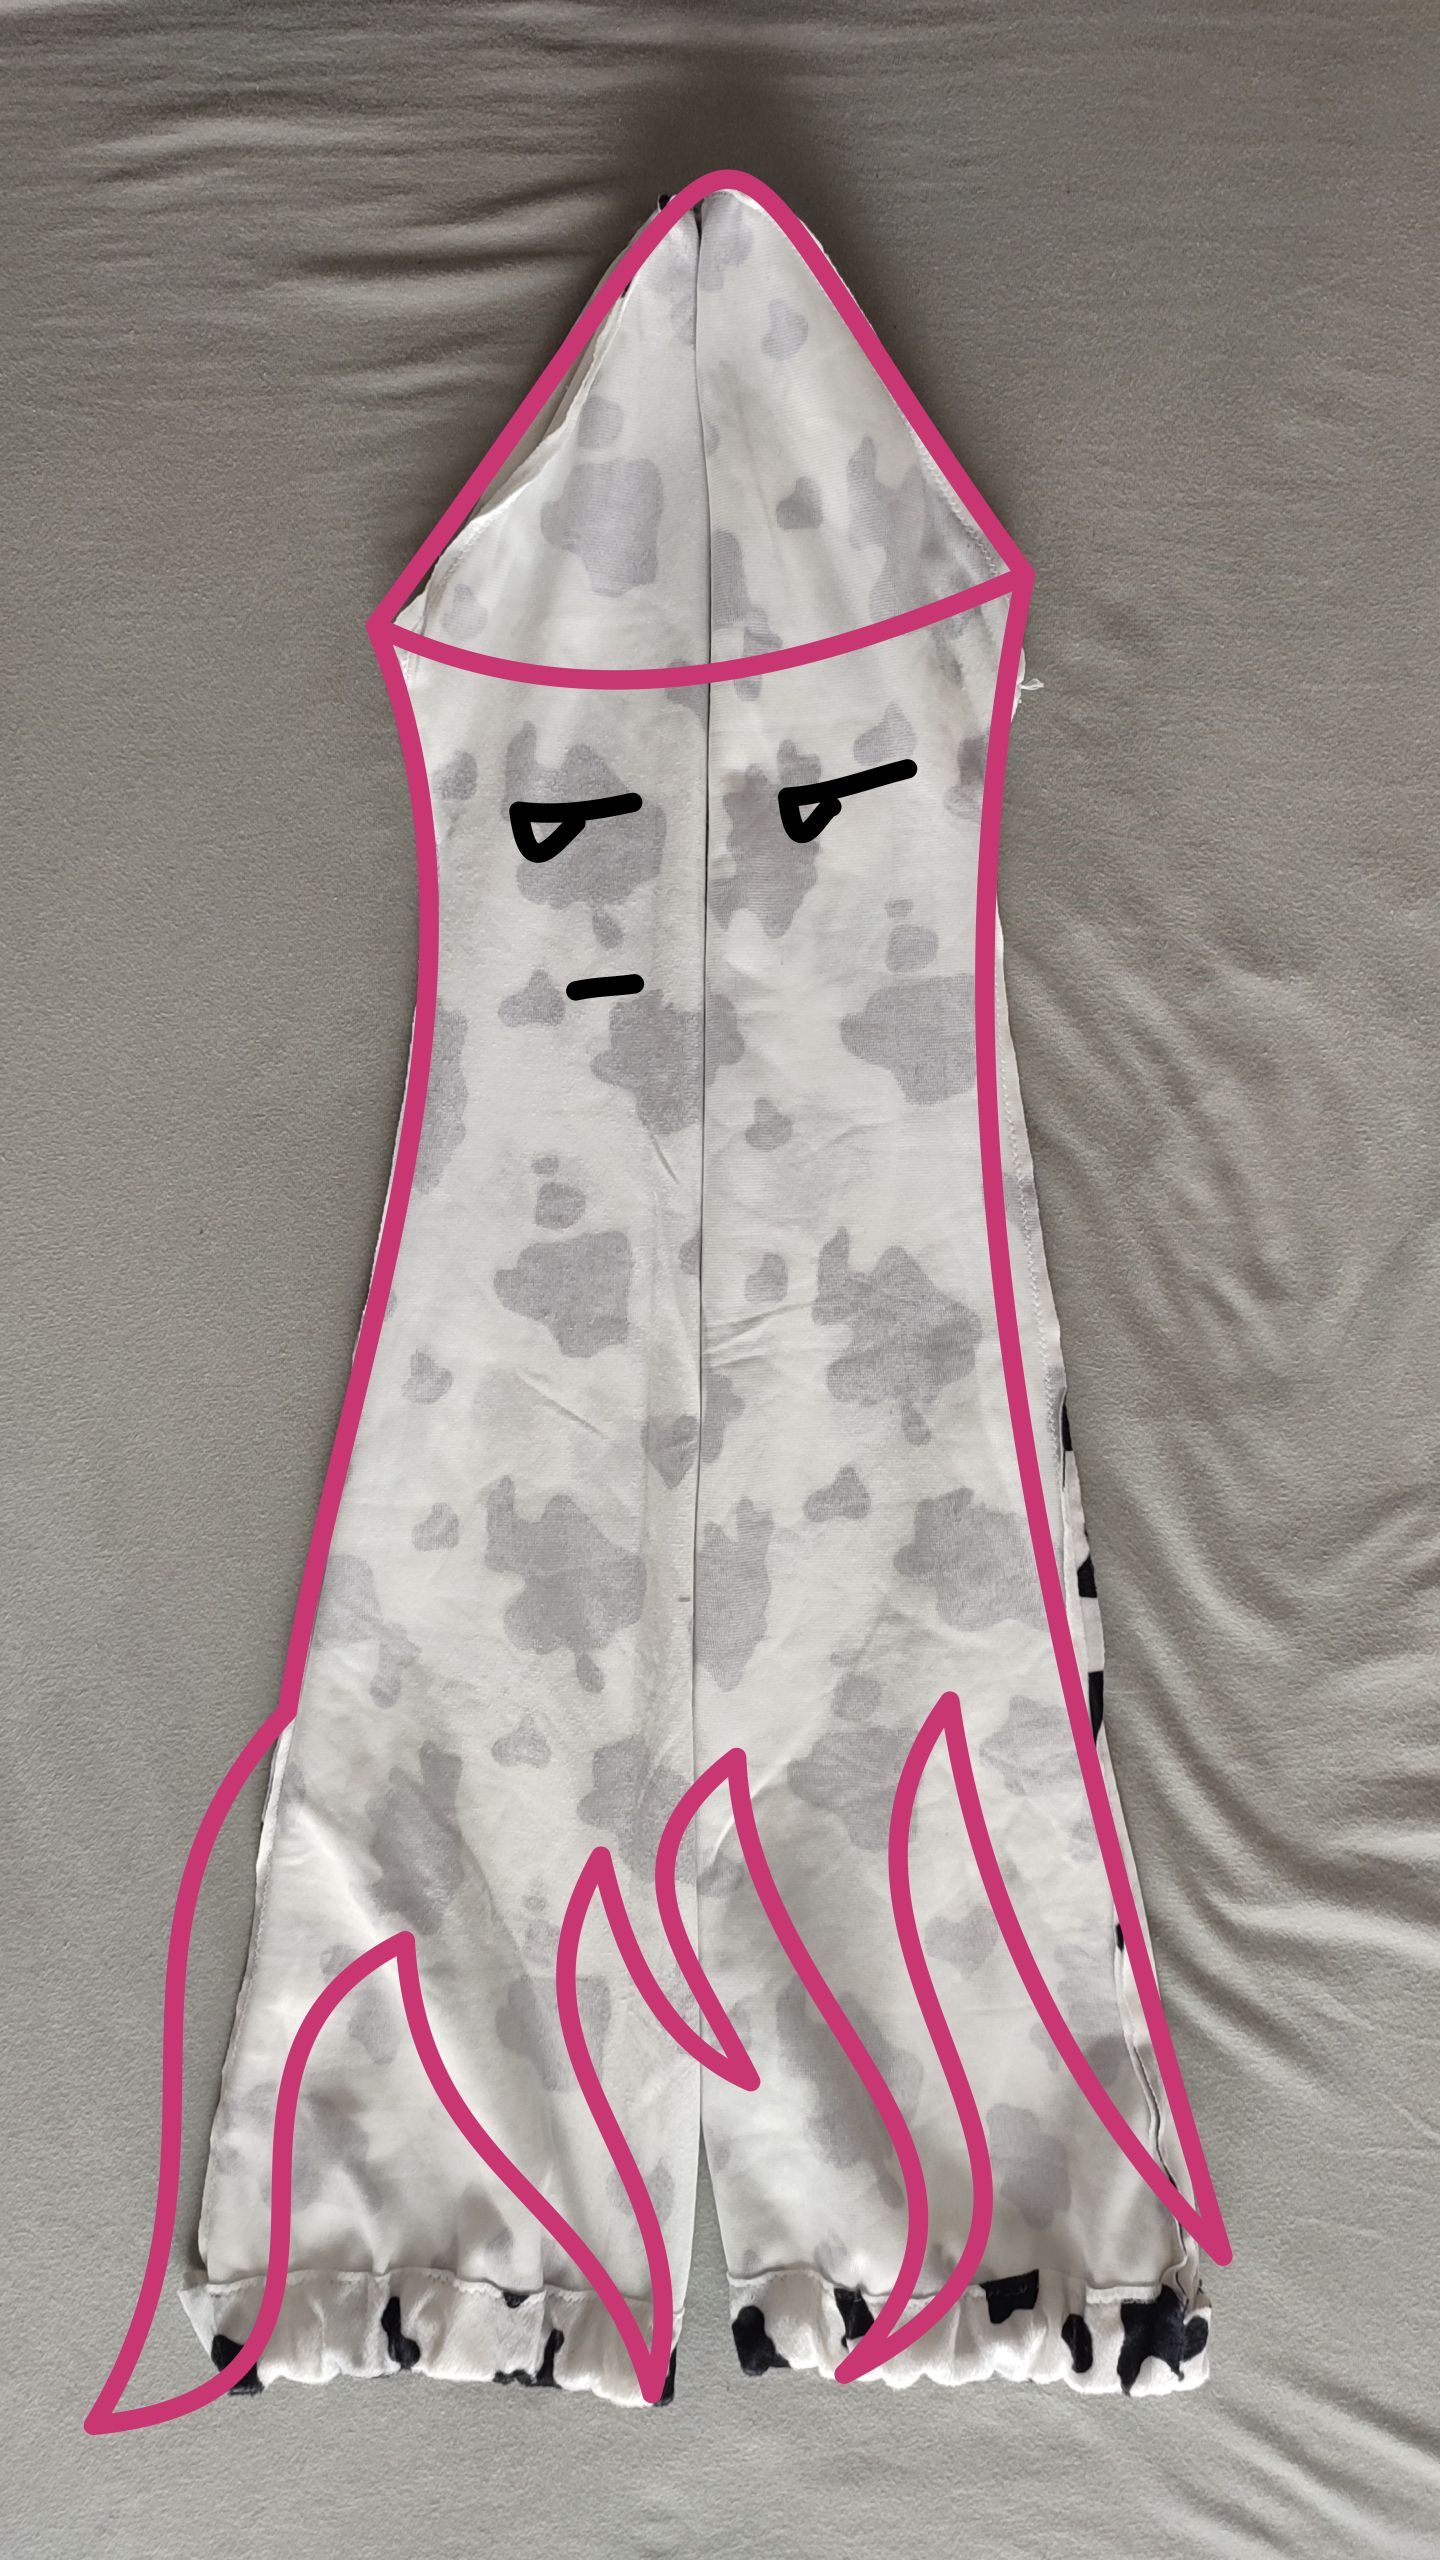
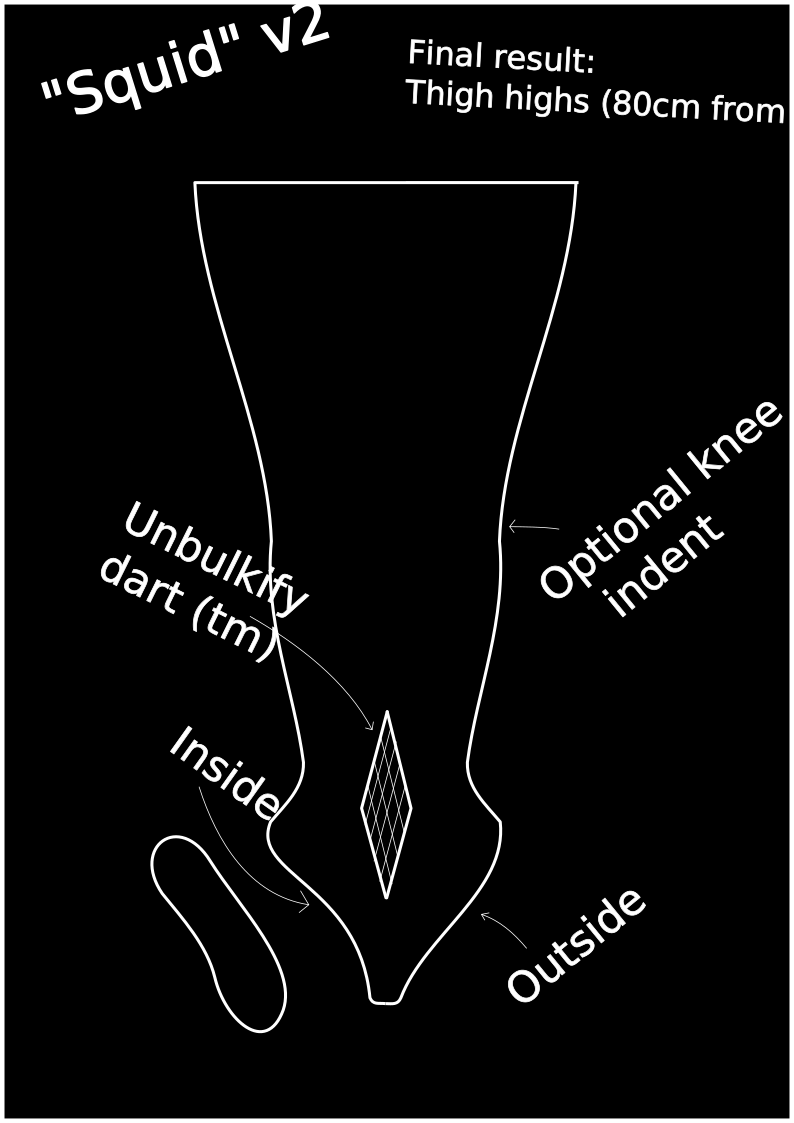
The “Squid” pattern
I call it the squid since if you transpose your entire leg surface area onto a flat plane (without the sole) you get a shape that reminds me of an ink squid.
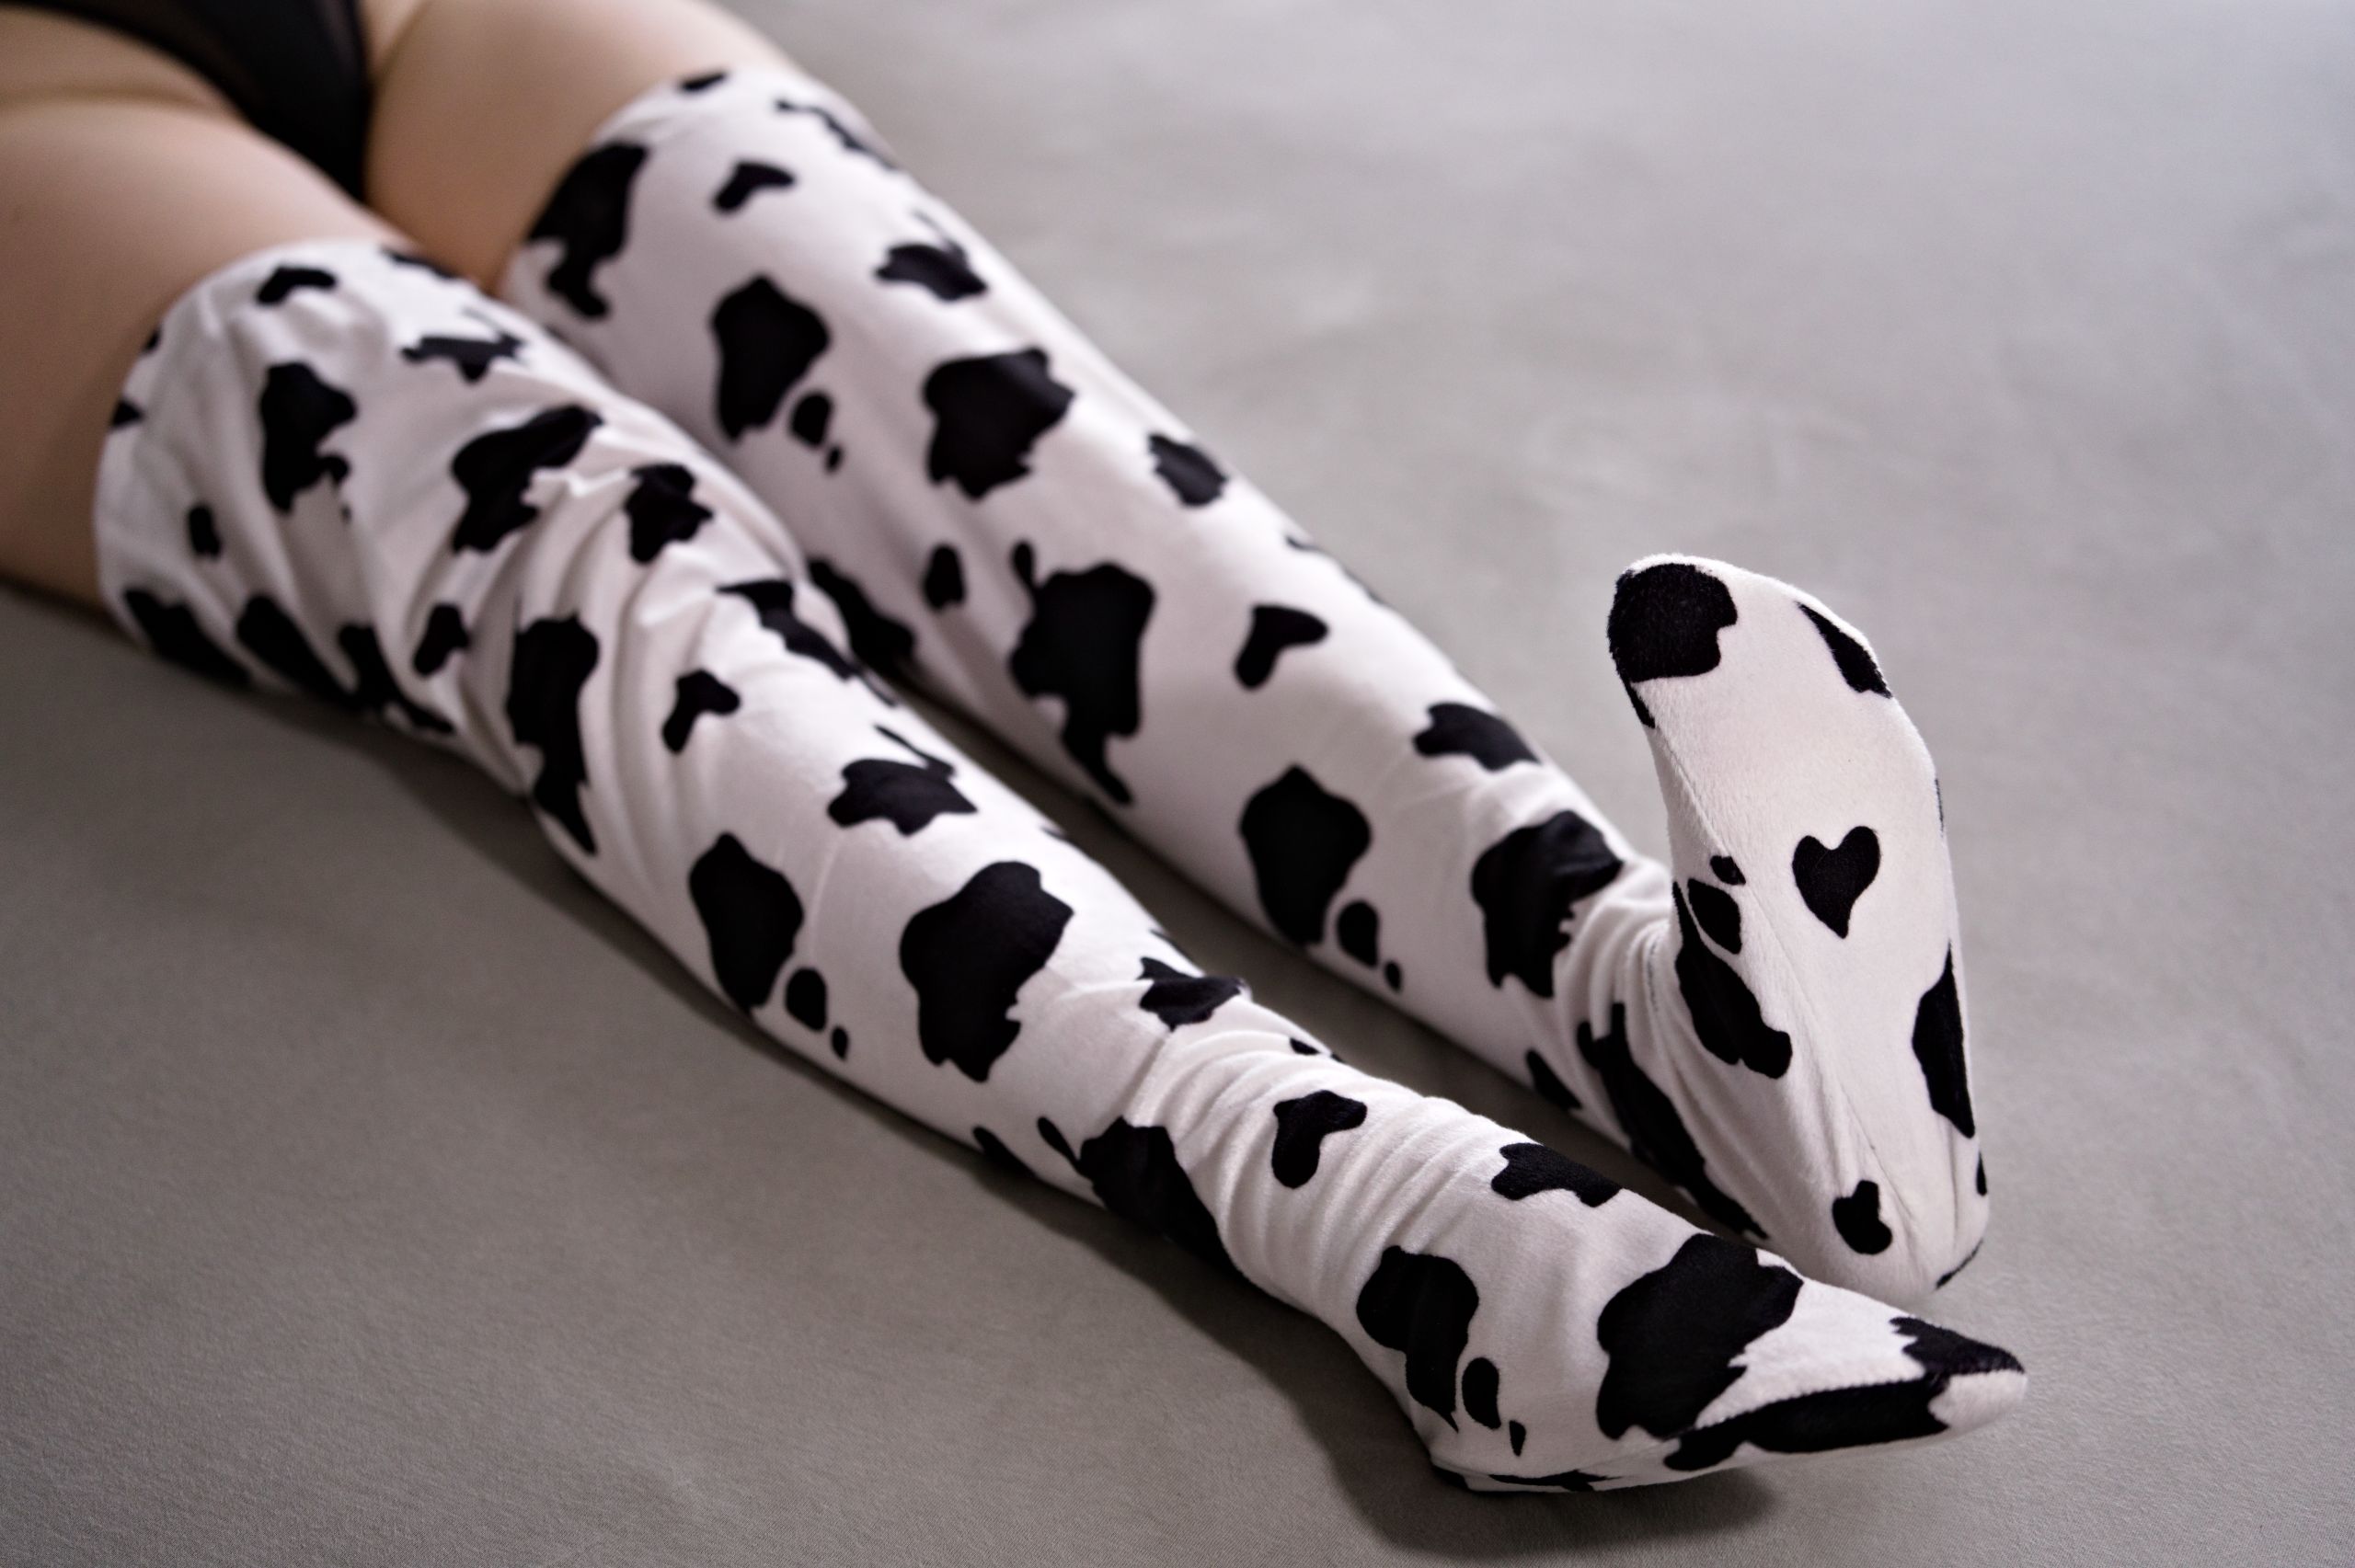
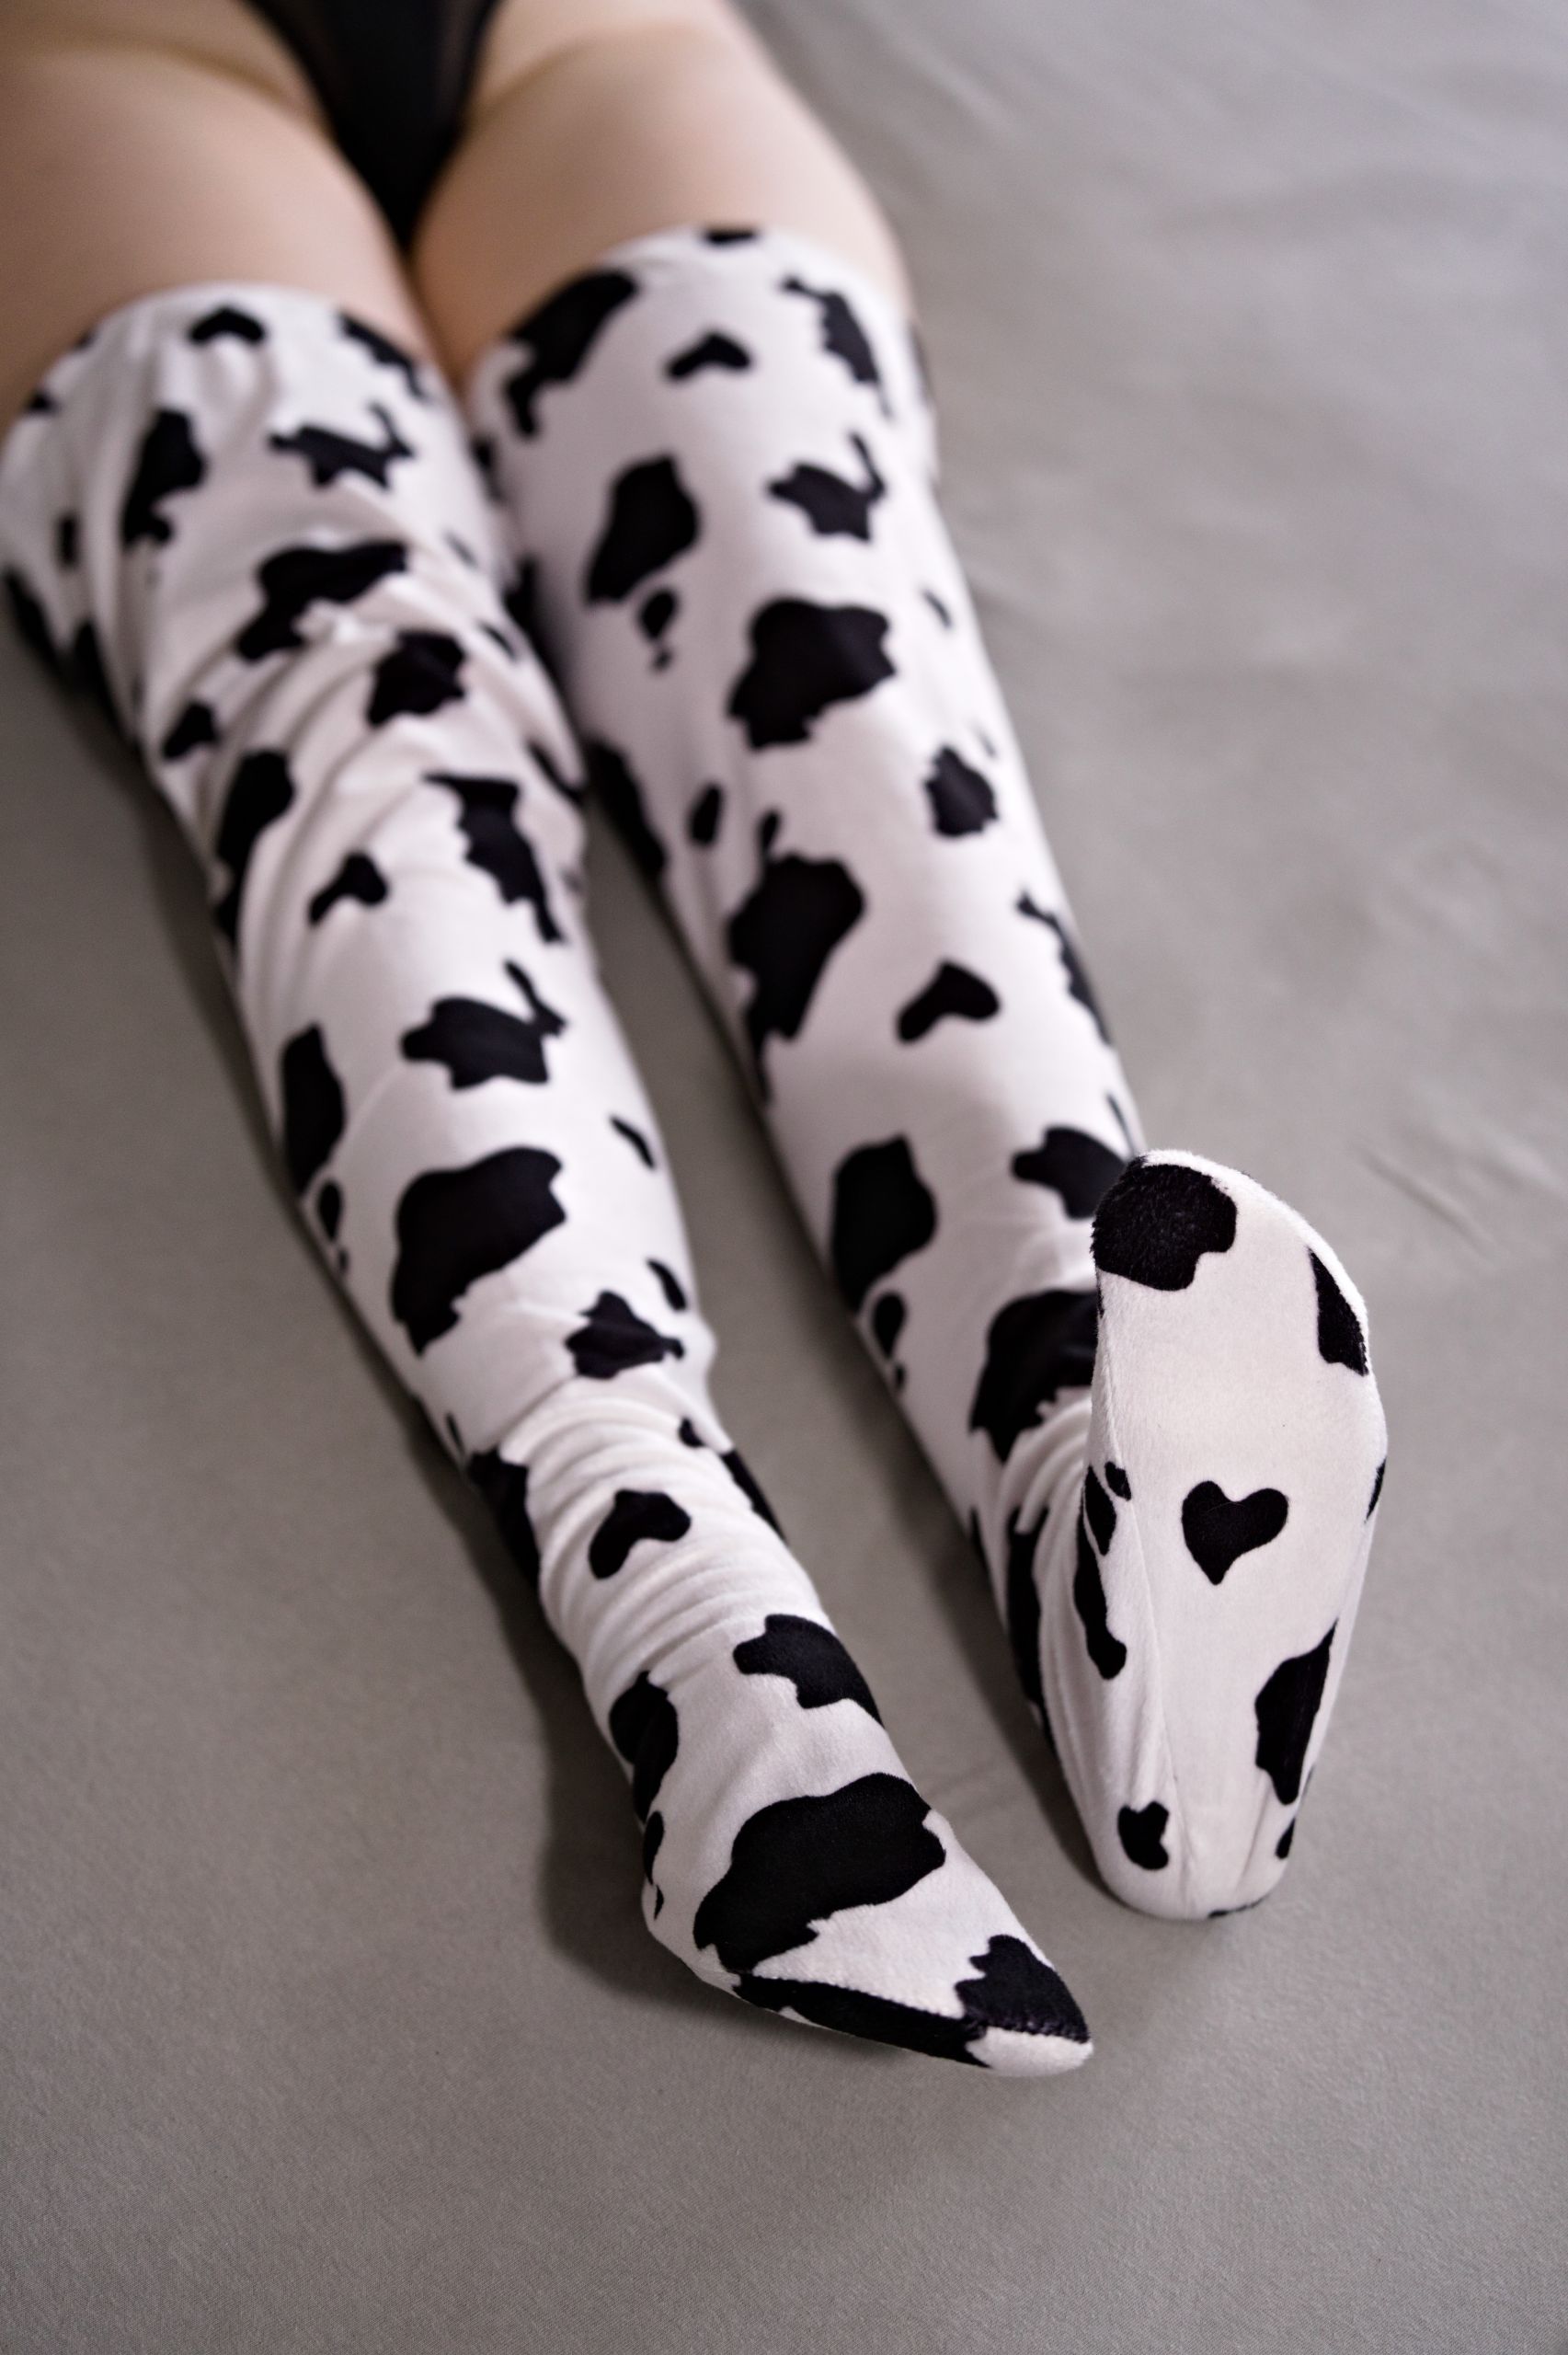
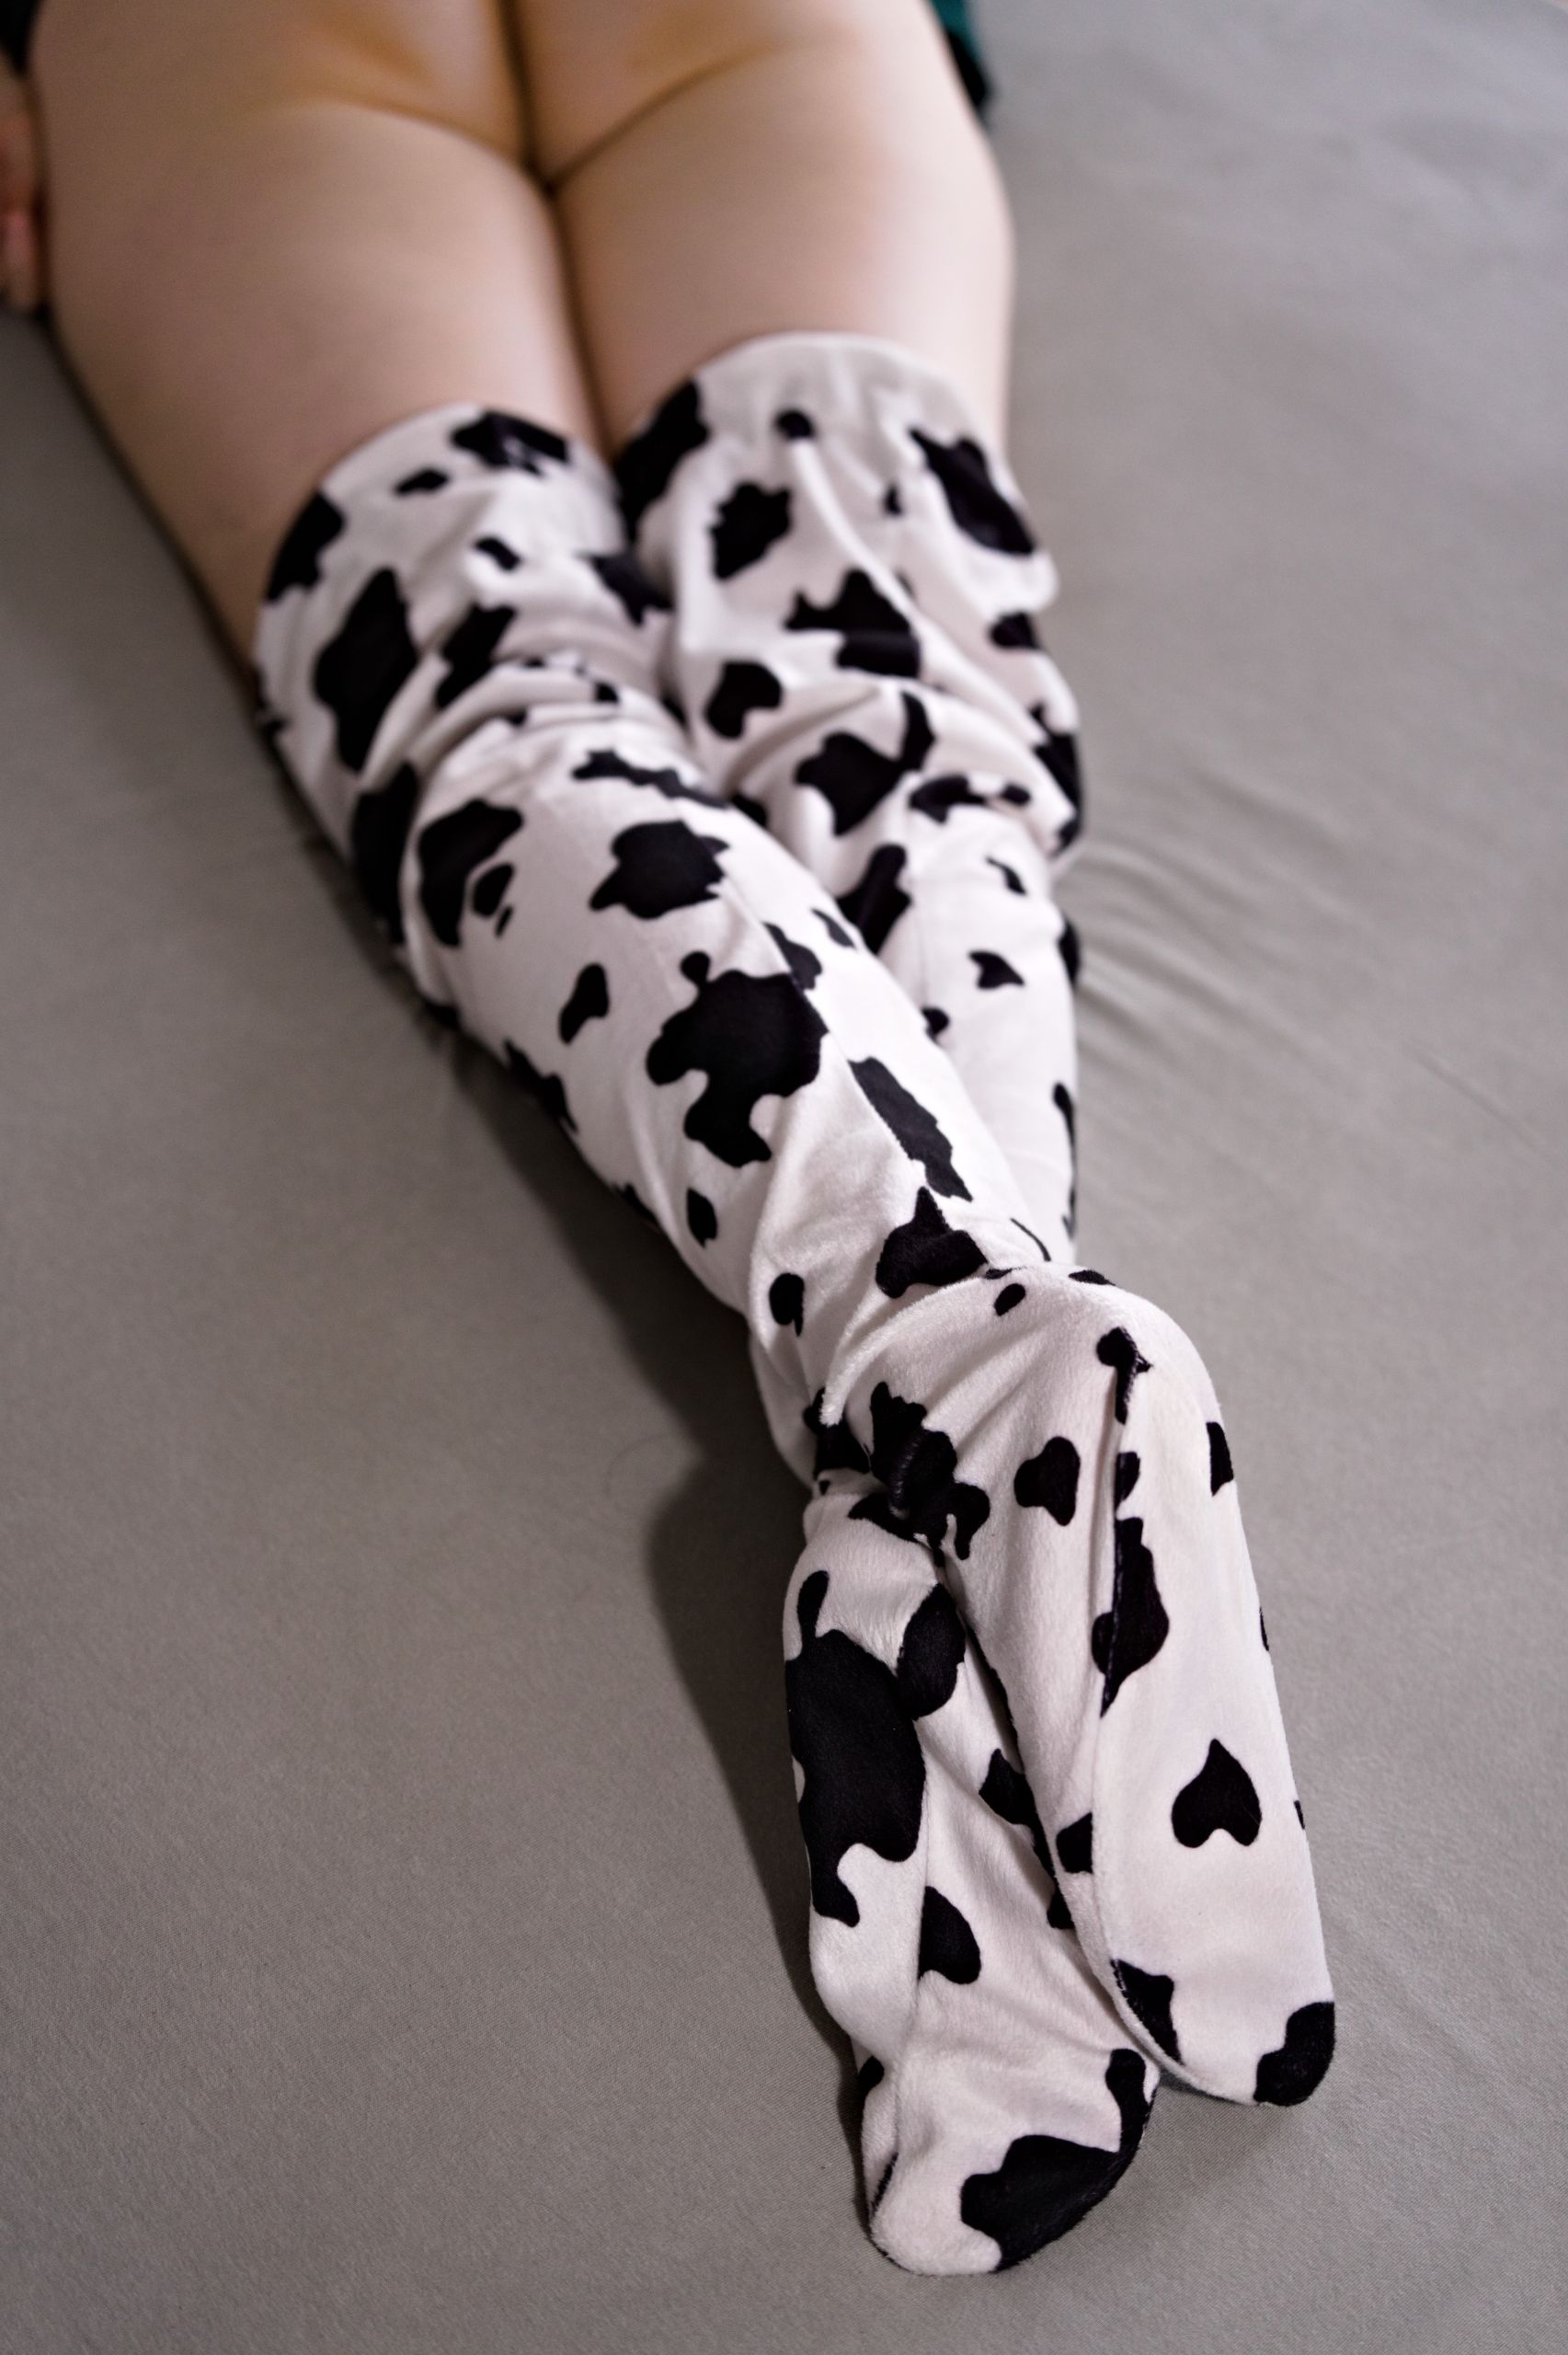
For these first tries I ordered two fabrics – black fabric-backed latex and cow-print velvet. Both of which turned out to be just about the worst fabrics I could have picked.
In the case of the velvet it had essentially zero give, so all the issues I mentioned in the intro with it being “baggy”, bunching up and not wanting to stay on were all true here.
After realizing what we had done we declared this as a lost cause, shot two Cowgirl Plugkini photosets (1 2) with it and threw it in a drawer.
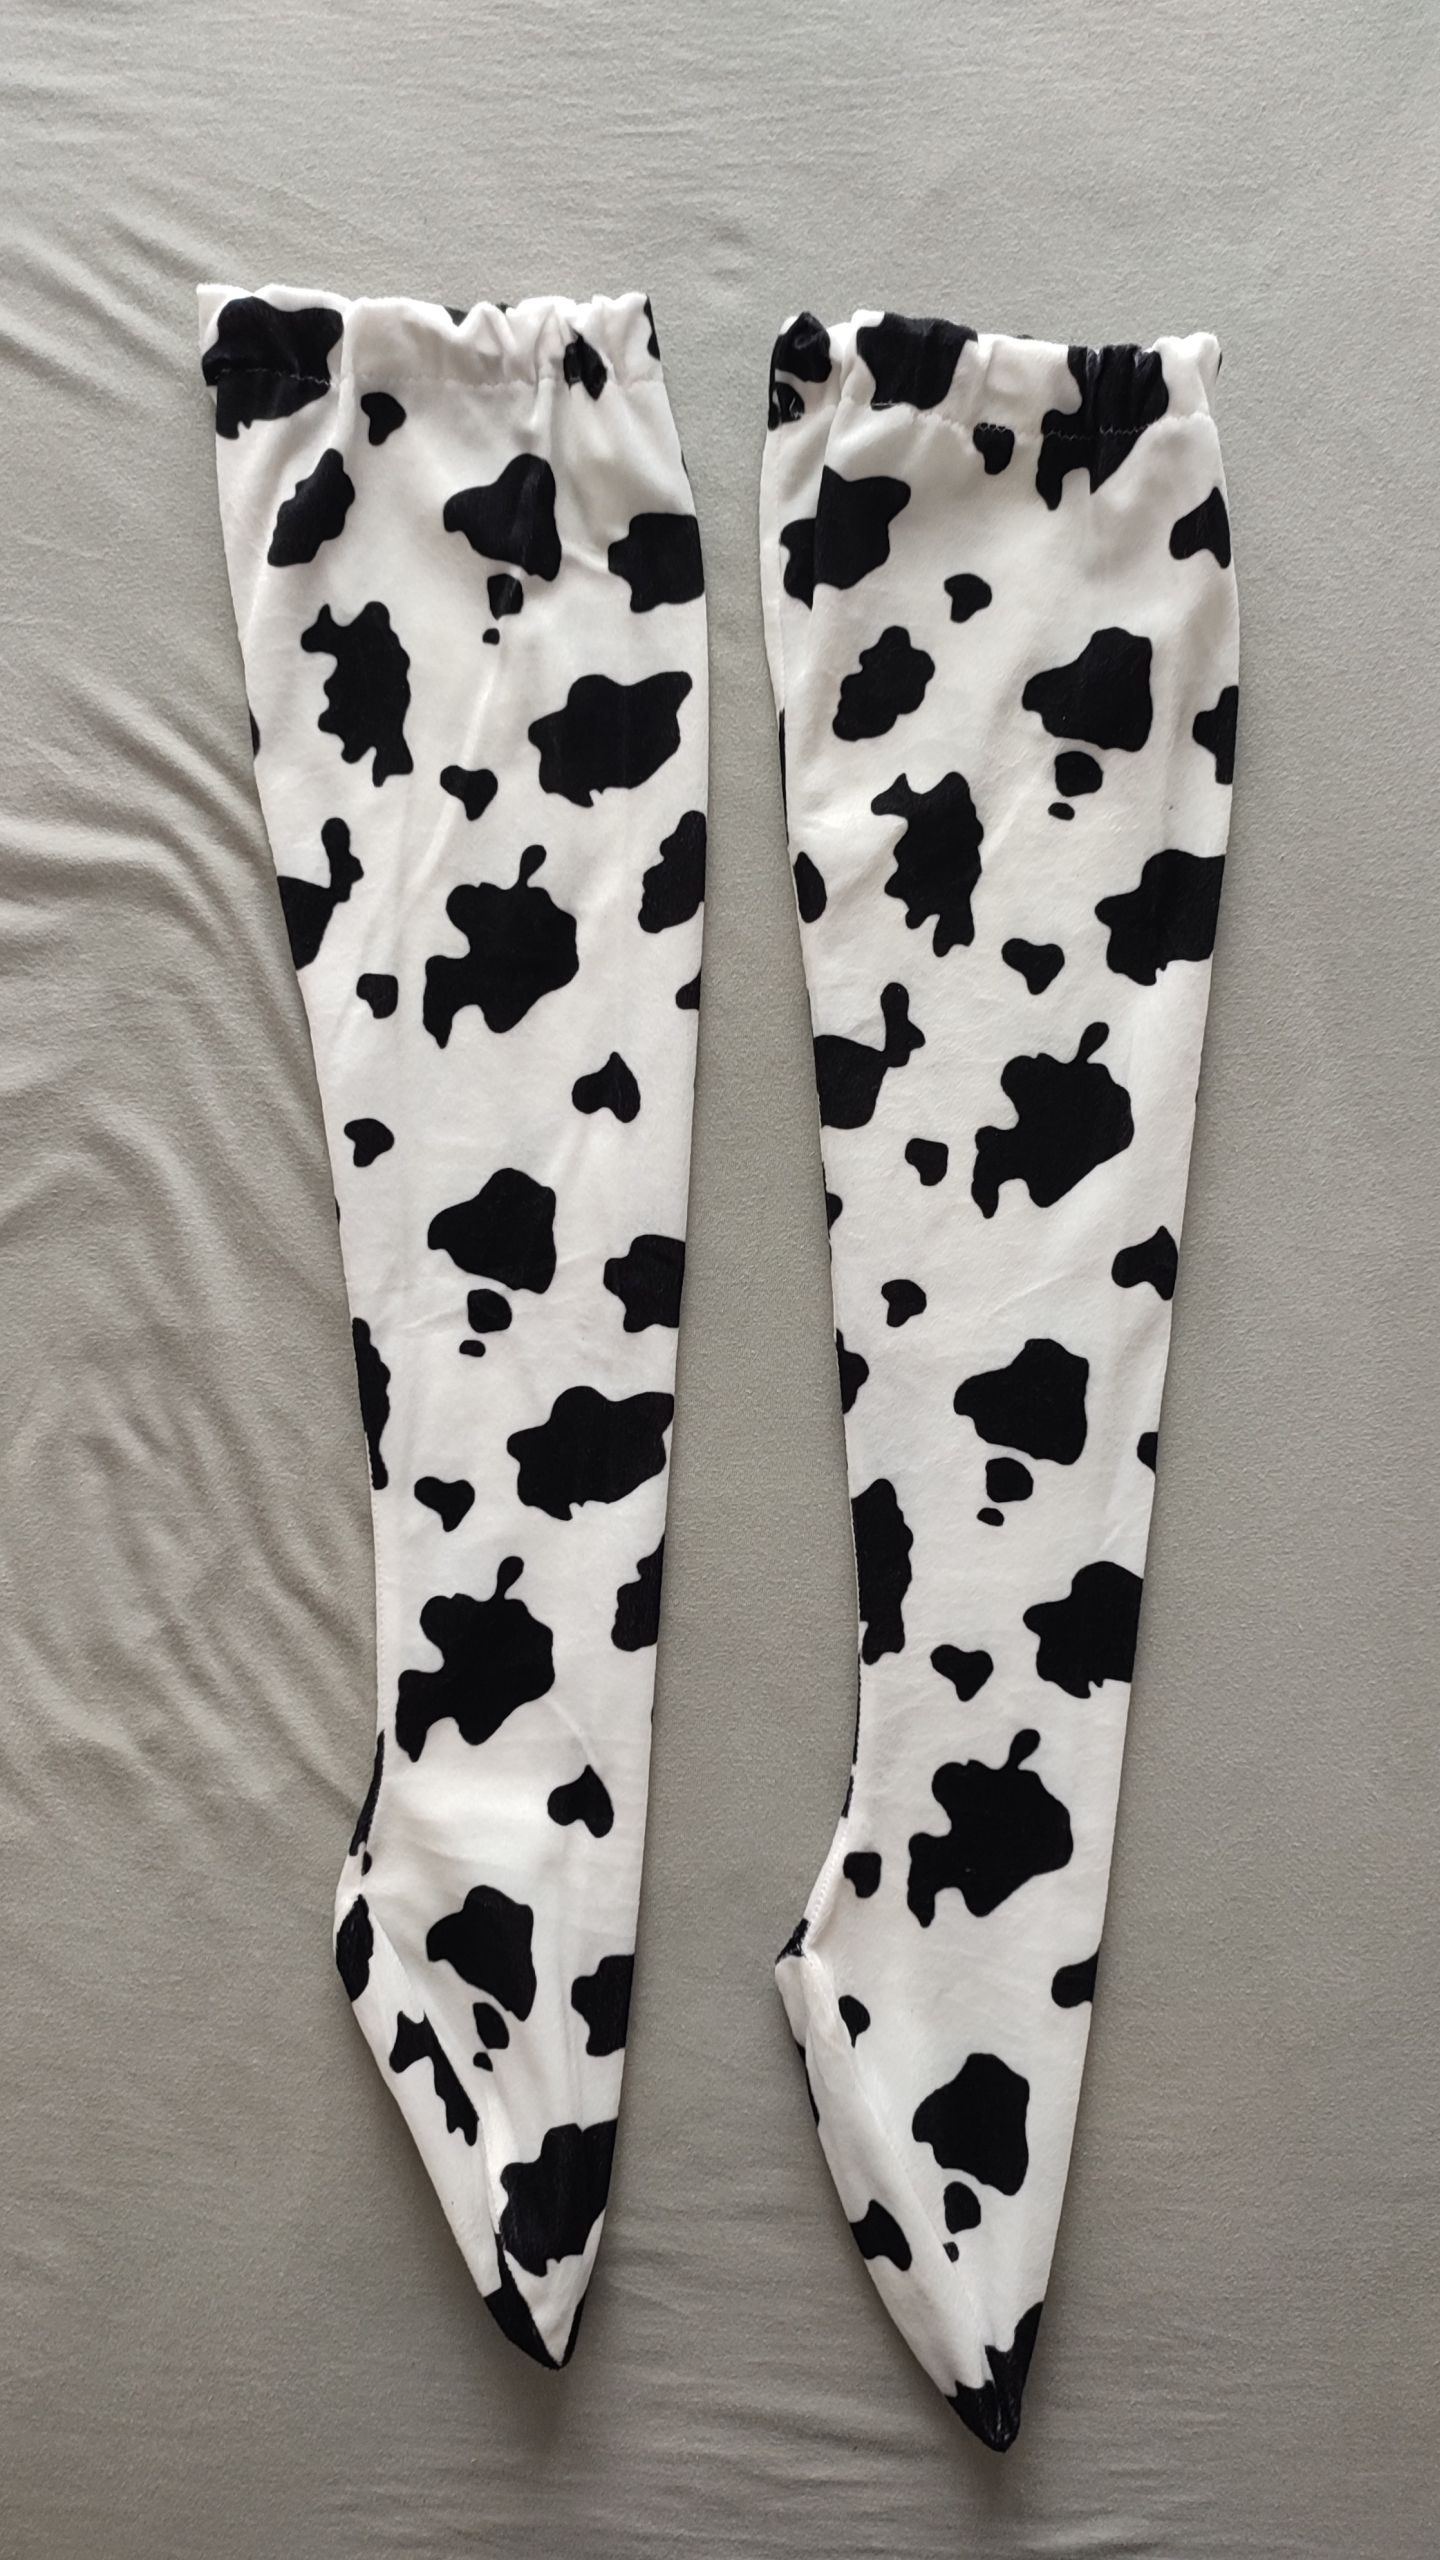
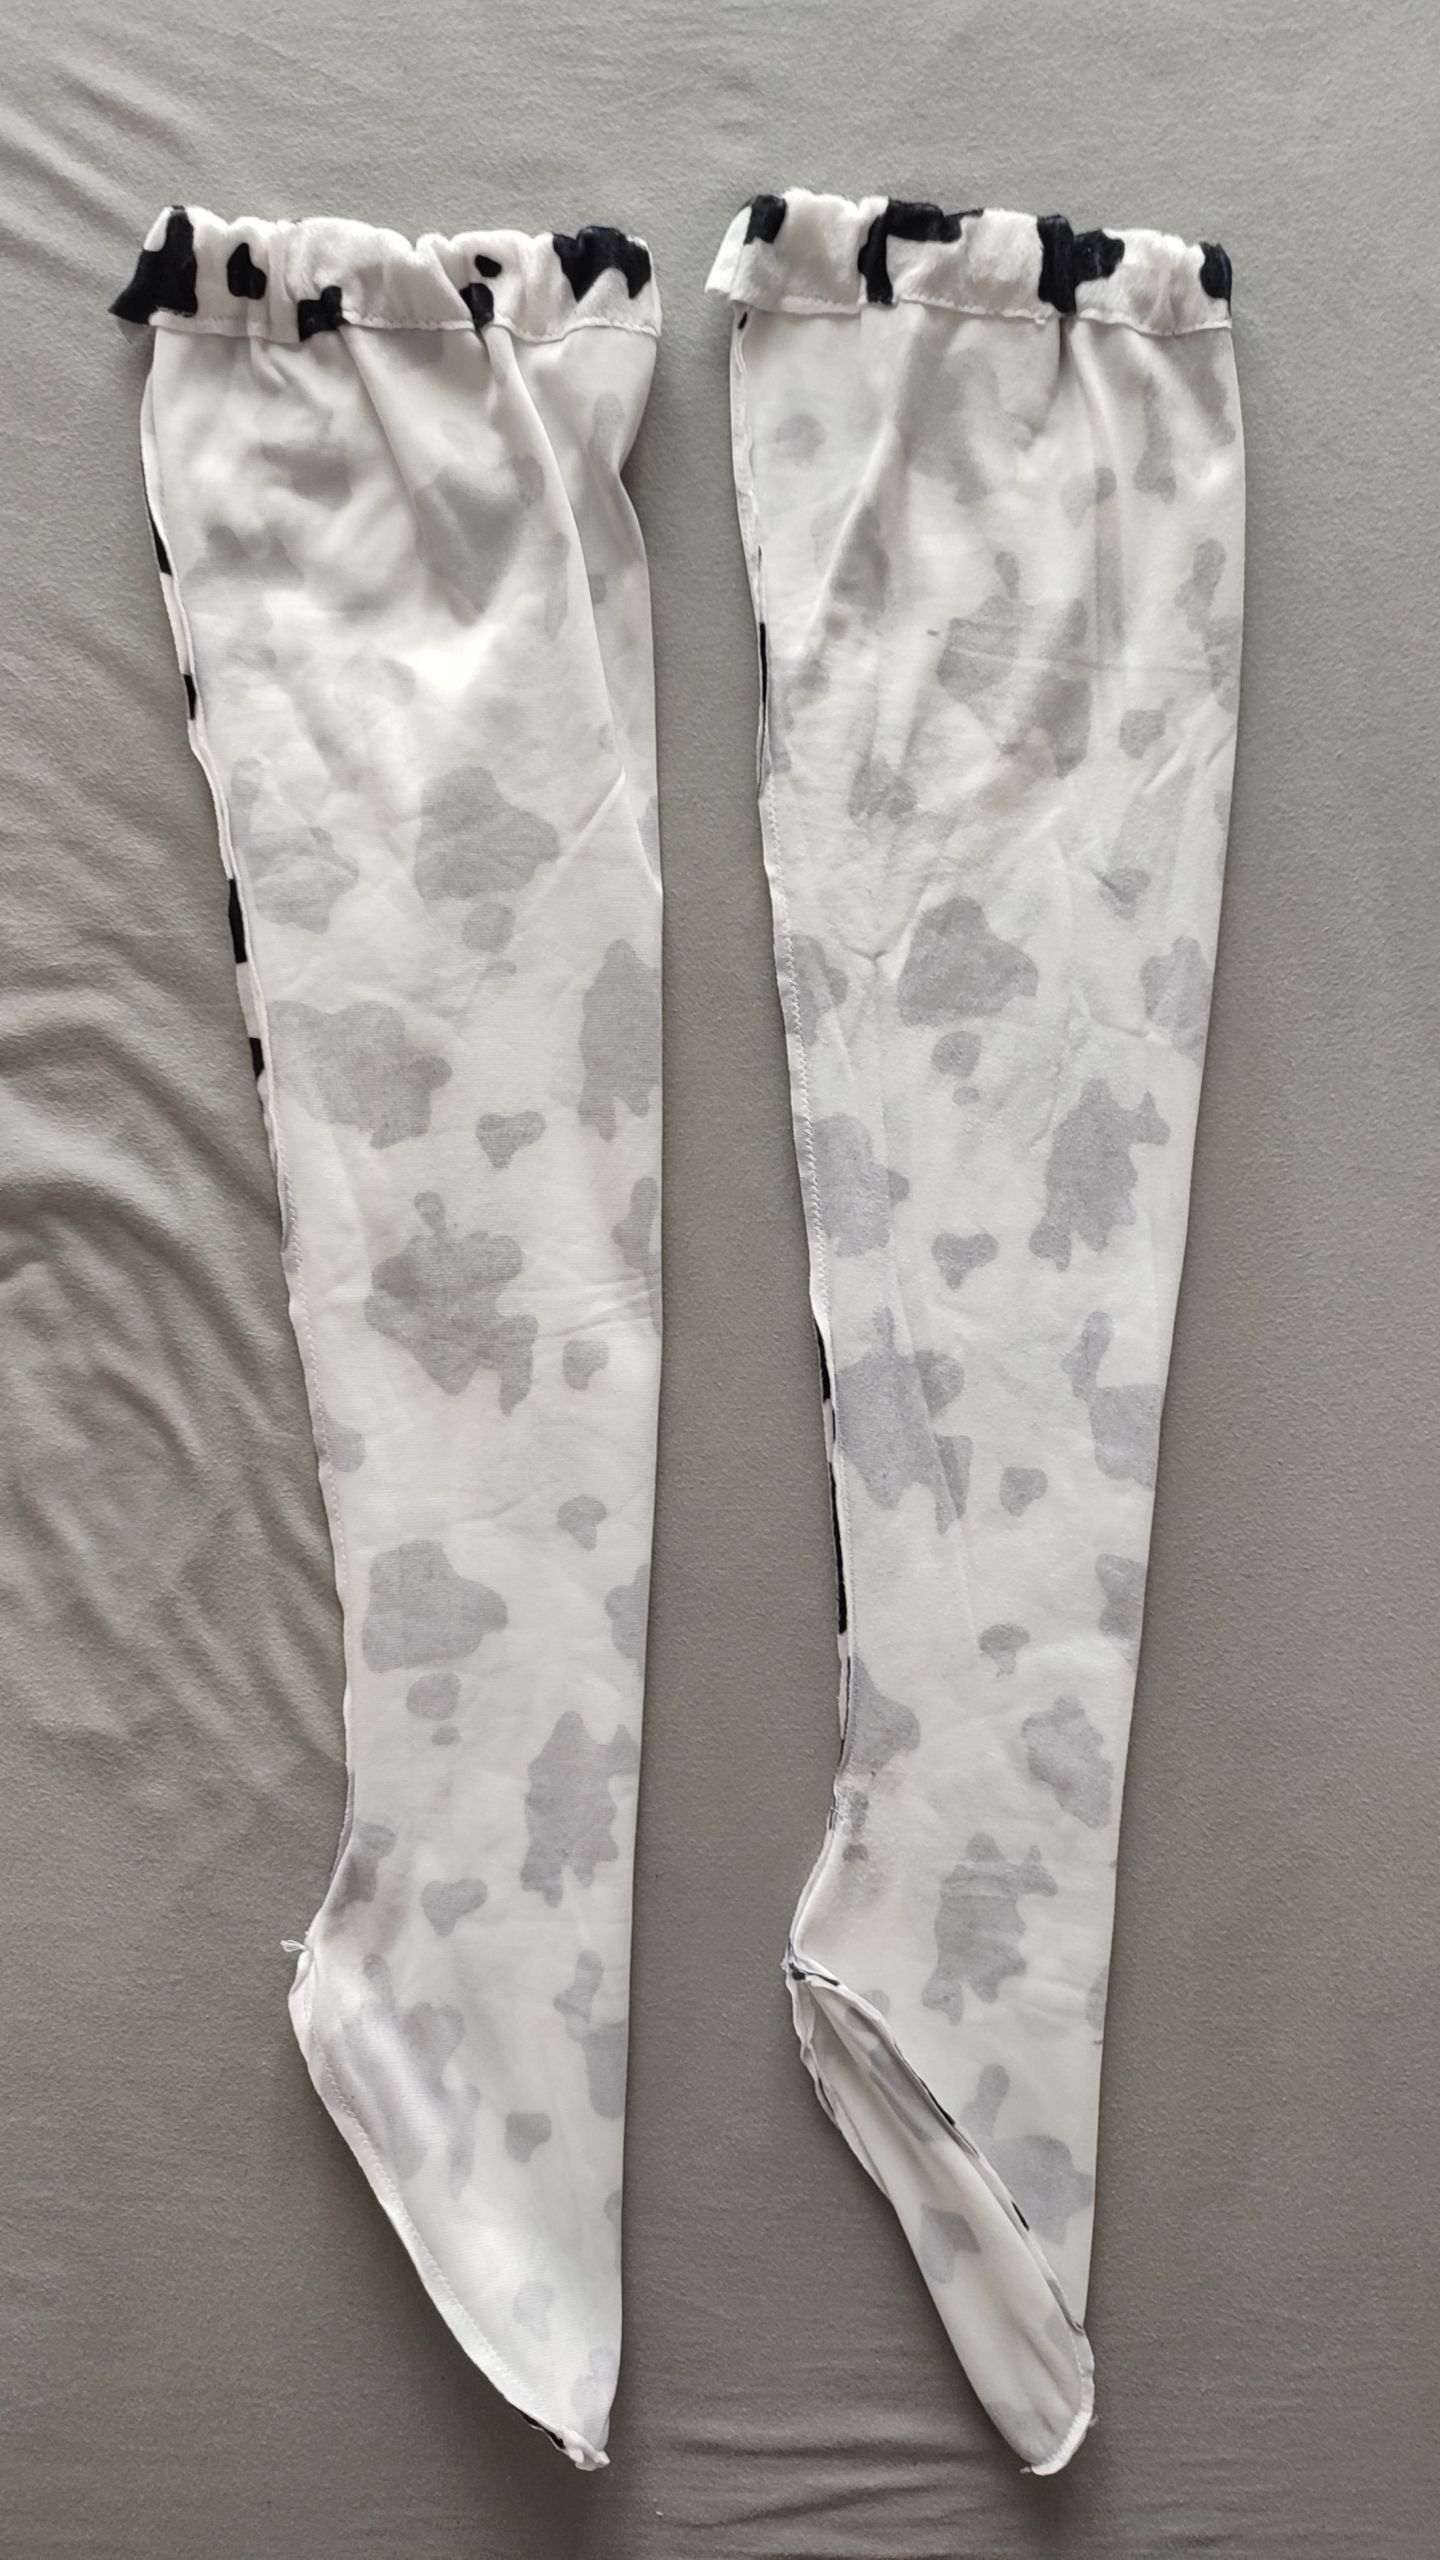








As for the fabric-backed latex it was a little bit better, but immediately after unpacking it I knew I fucked up - Remember how I mentioned that Waimengshe used a thin, 4-way stretch material?What came in my mail was a noticeably denser fabric, with only 2-way stretch.
This meant that the whole sewing process became a tactical ordeal of trading where to put the stretch:
- Horizontally, to better fit to changes in leg diameter or
- Vertically, to better adhere to changes in needed stocking length
In the end we decided to go for having it horizontally, as we thought that length could be accounted for by making the whole front a little bit shorter and it would disappear across the entire height of the stocking (spoiler: it didn’t).
Since Shizuka rightfully named them “Biker Boots” due to their slouchy appearance, we shot exactly one Oily Foxgirl set with these ever.We hoped that the full leg length would get squeezed by horizontal fabric stretch. Instead it only truly worked at thigh level and thus made the stockings at least stay-ups as they should be (especially if you folded the fabric inside at the trim and relied on both horizontal thigh squeeze and skin-latex friction).
However no matter the trimming we did around the calf, ankle or heel – they always remained baggy, even after taking a drastic approach and creating a dart right across the front of the feet to fight off excess material that should have had disappeared with stretch.
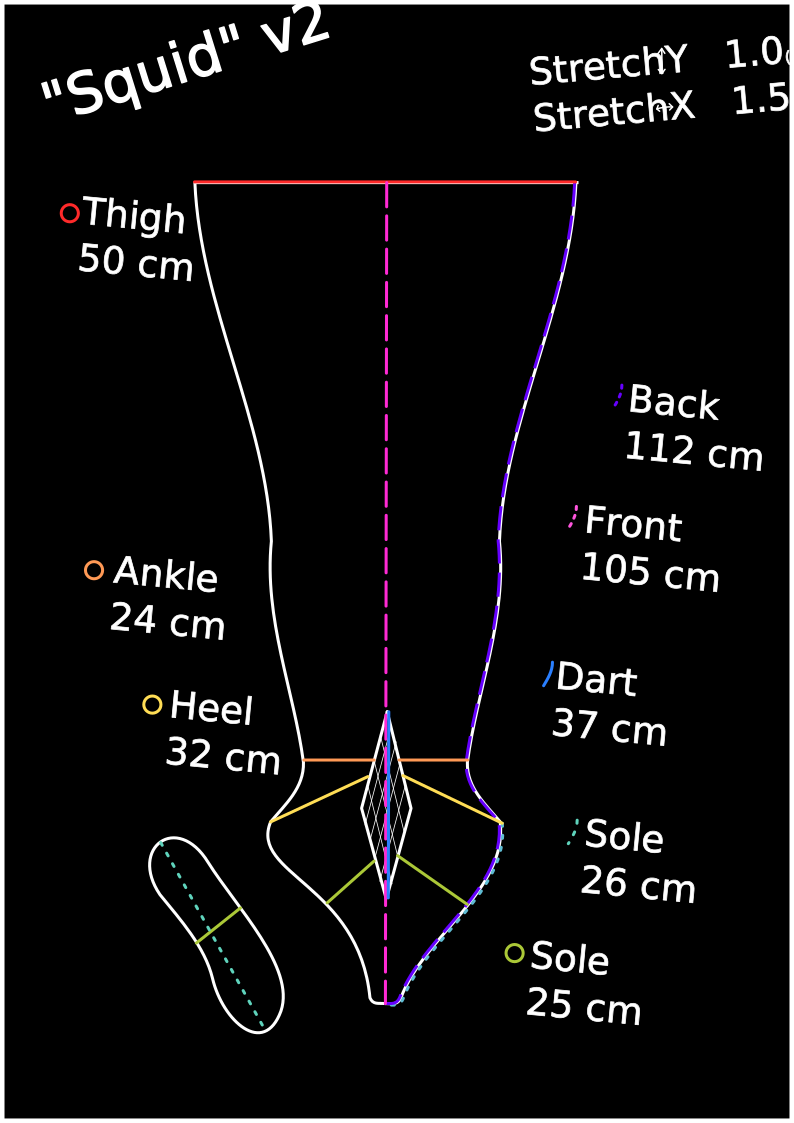
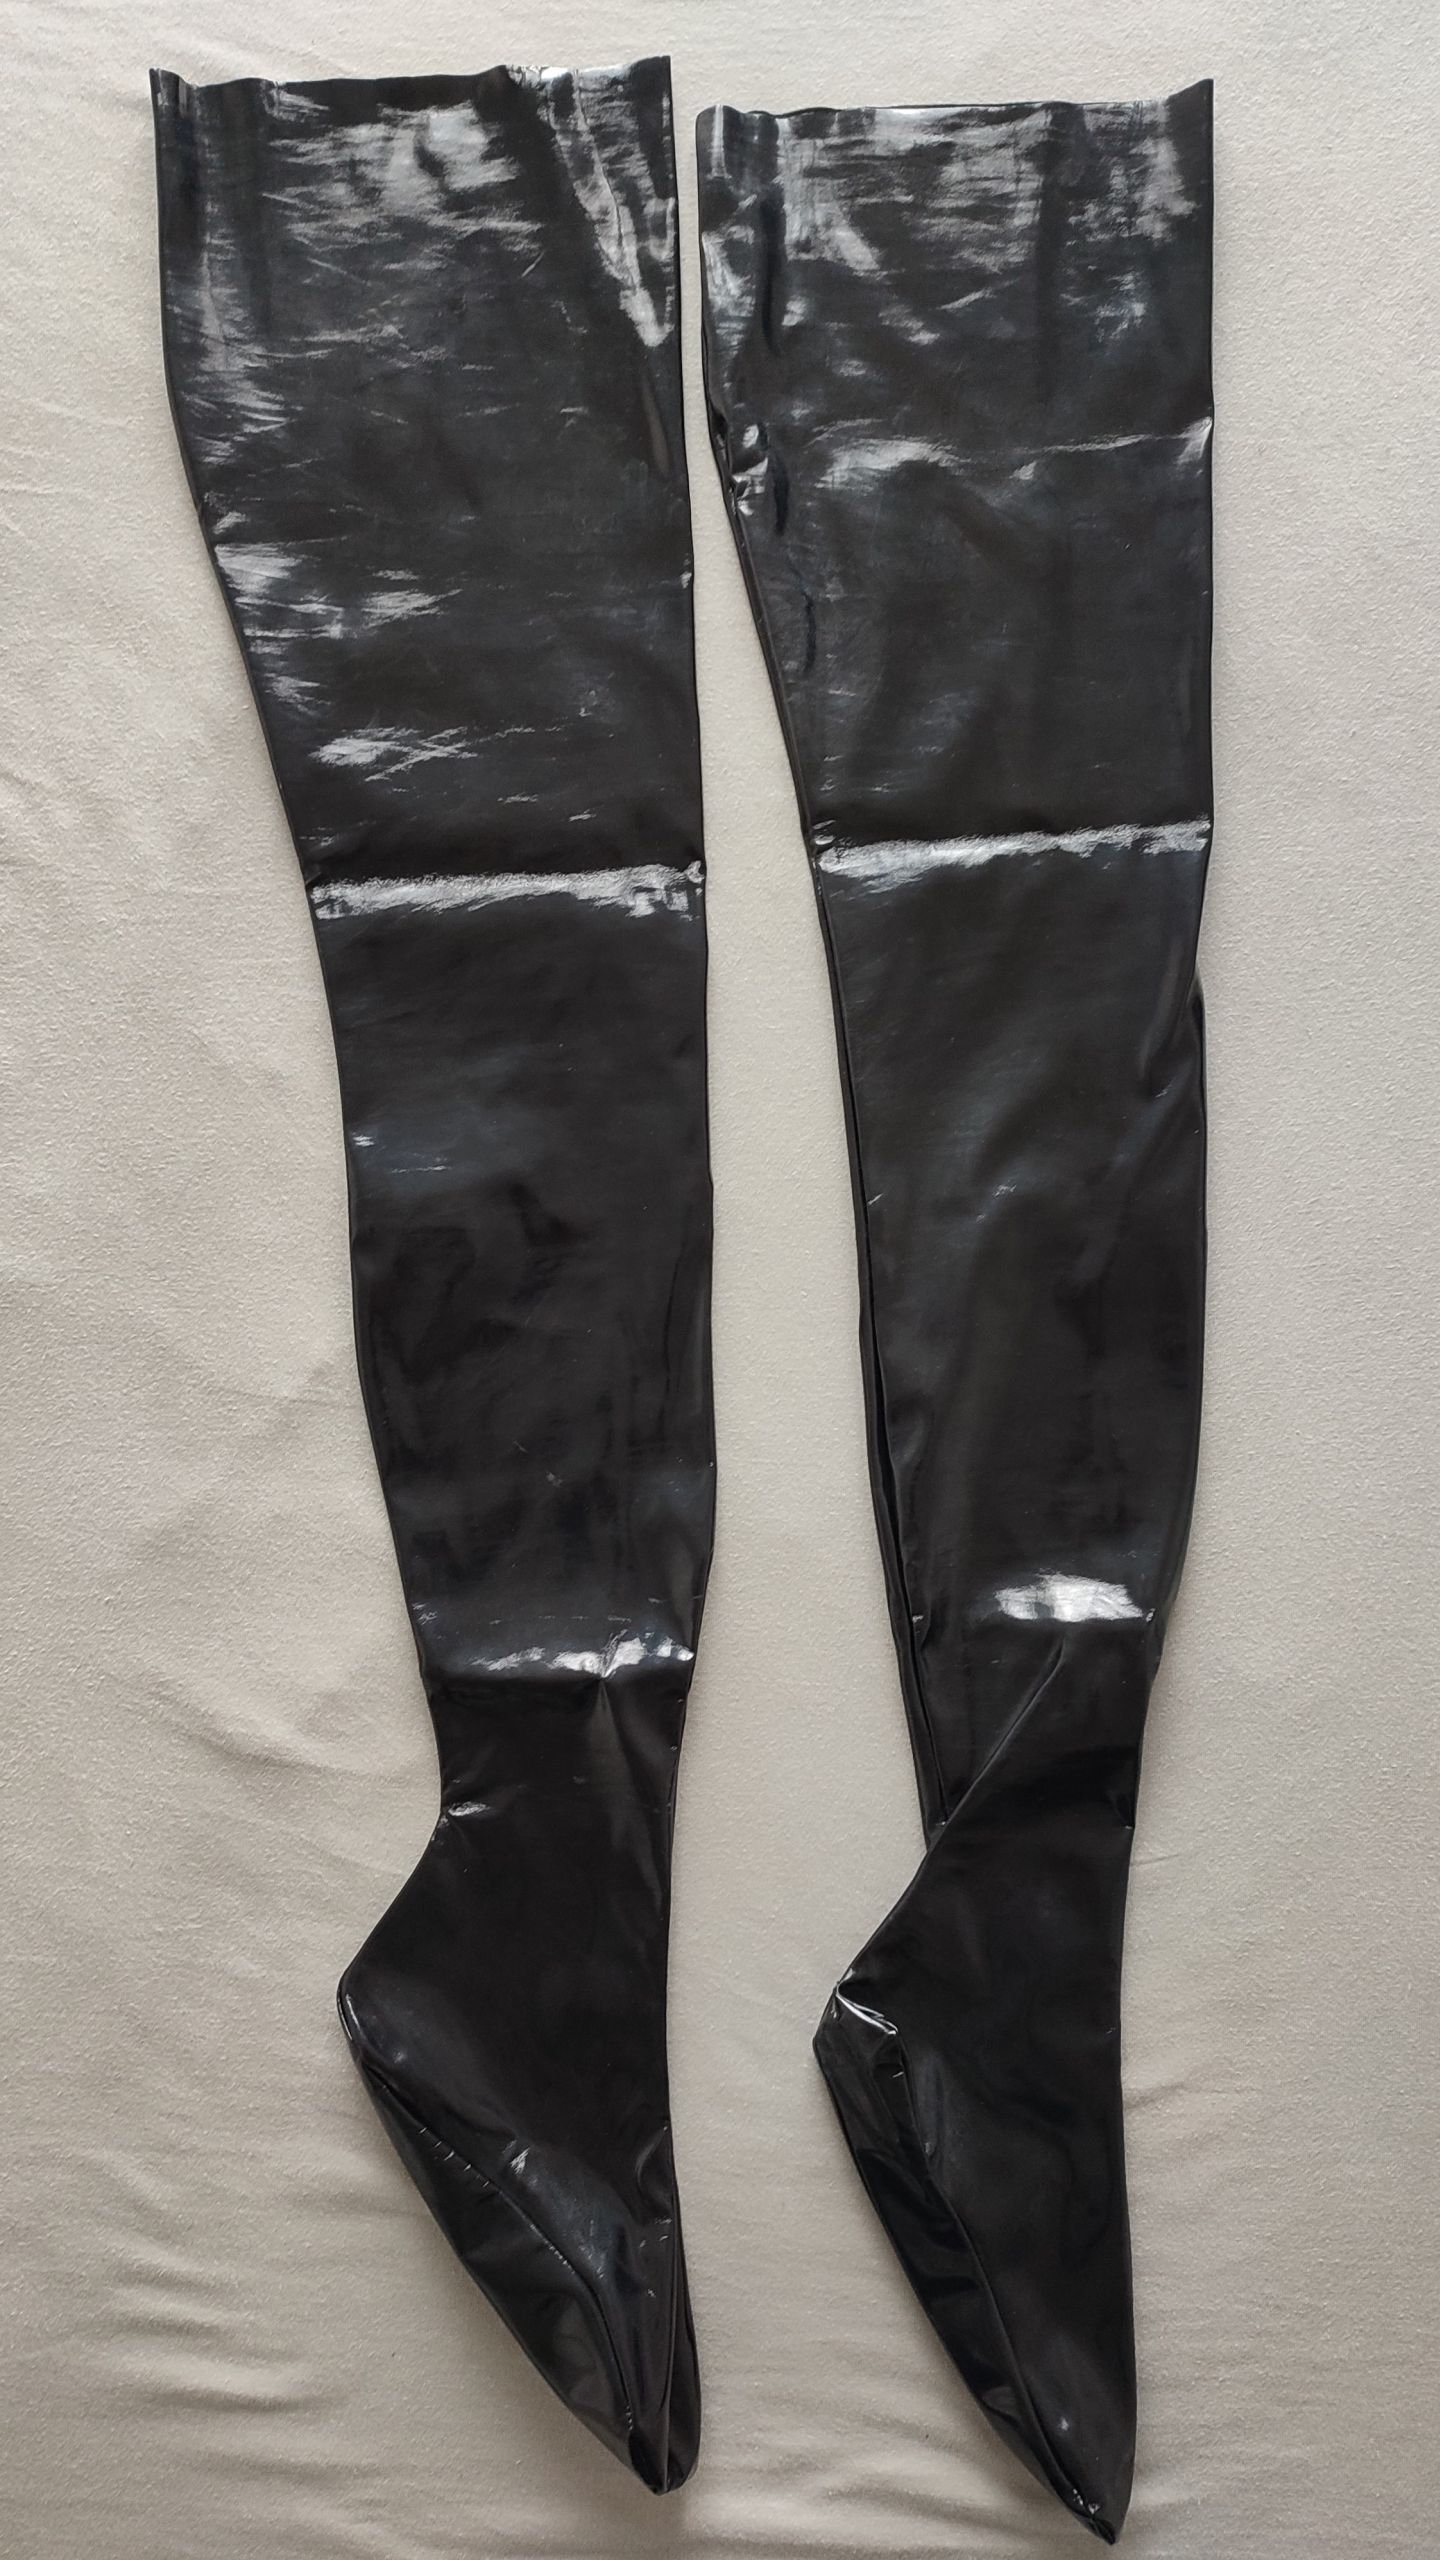
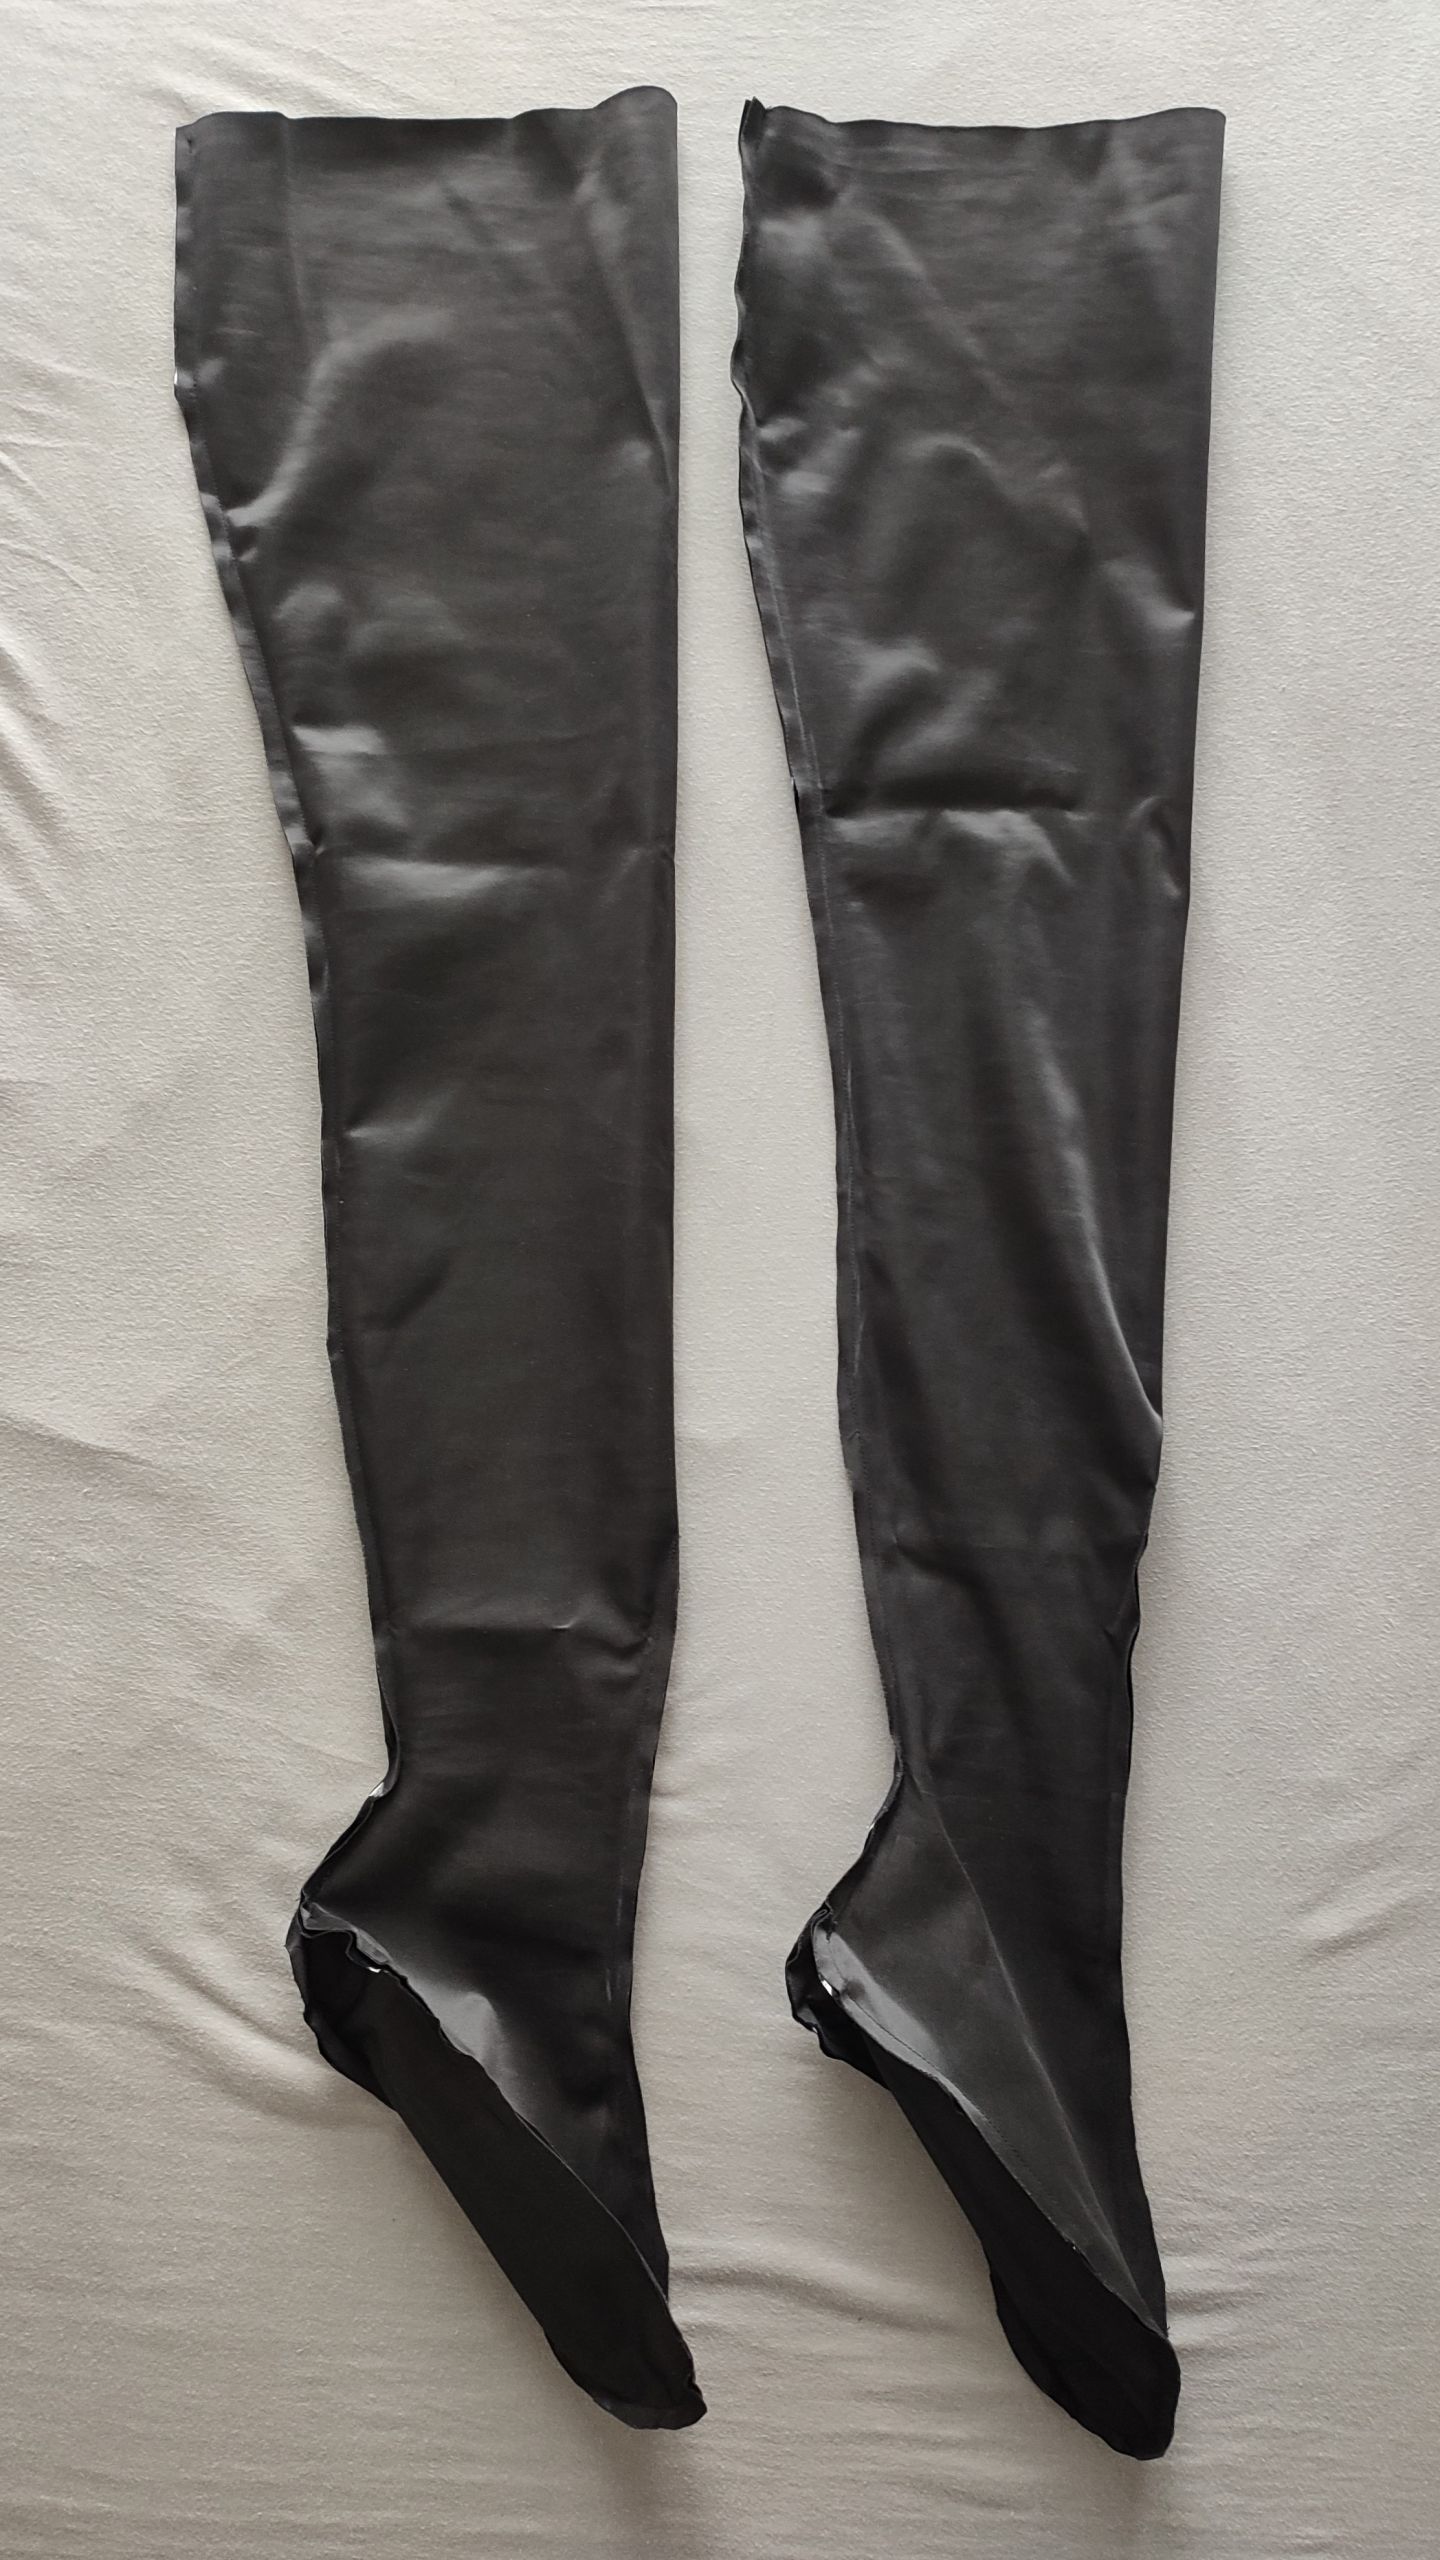
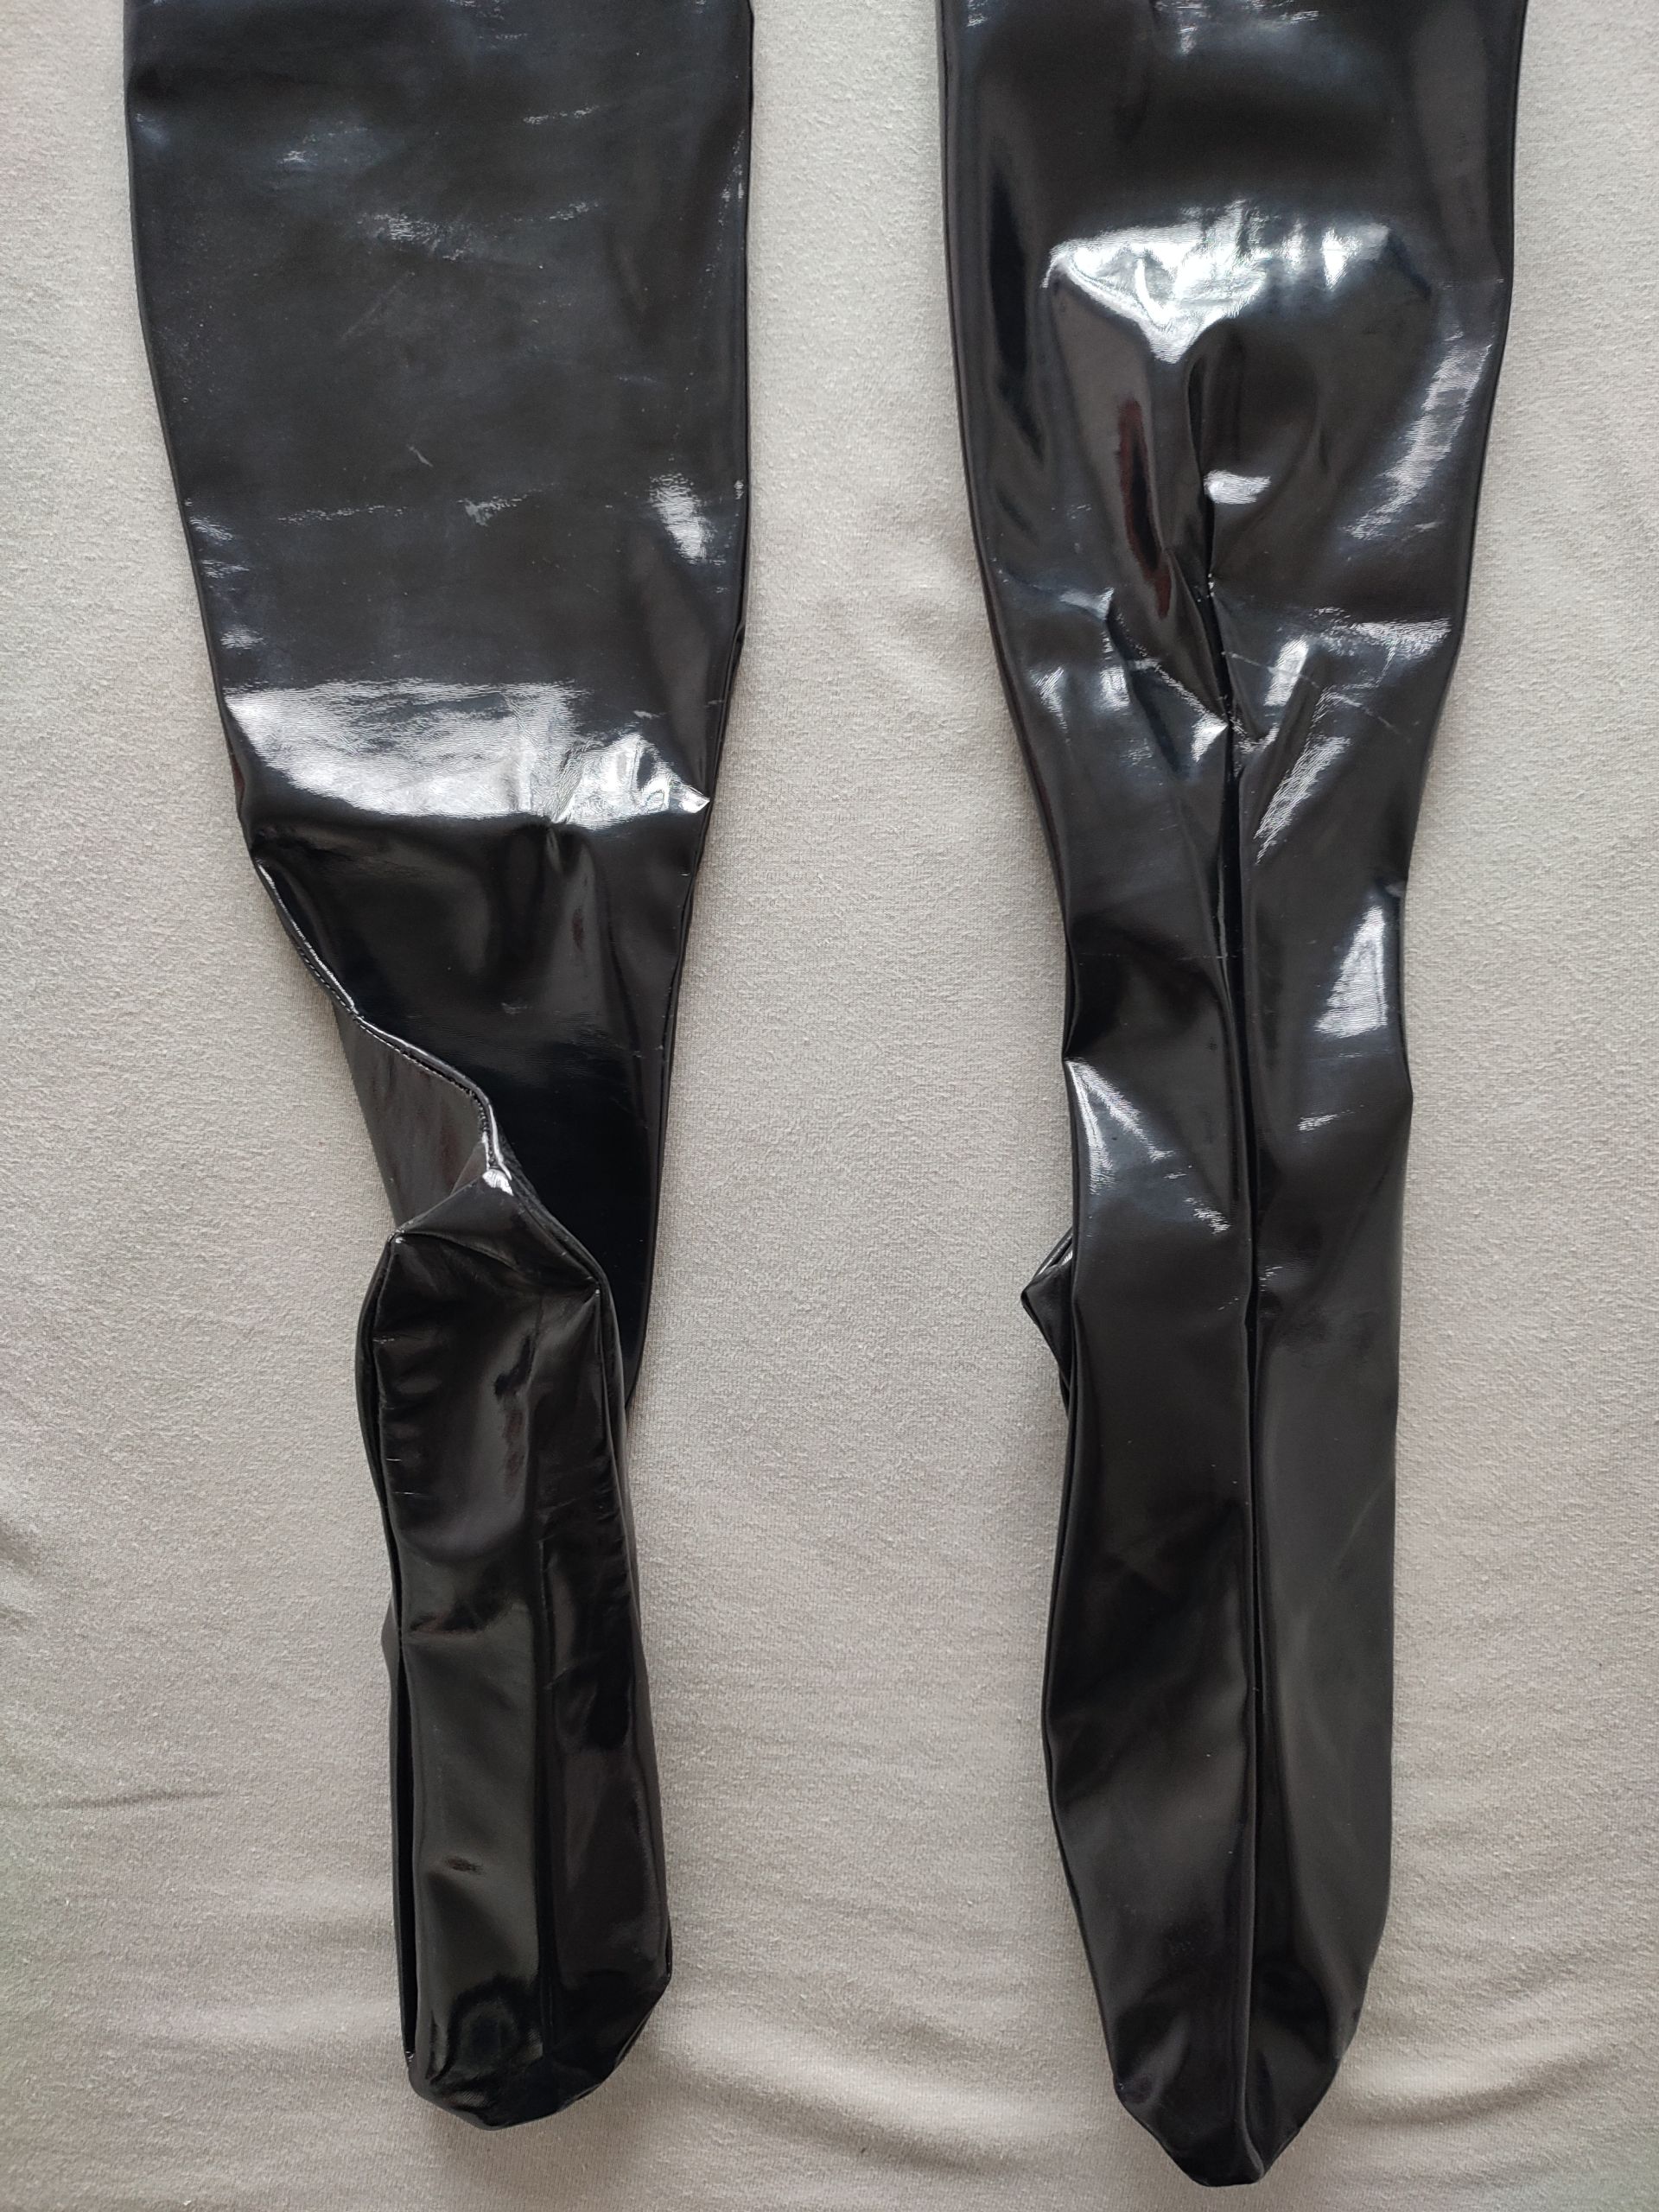

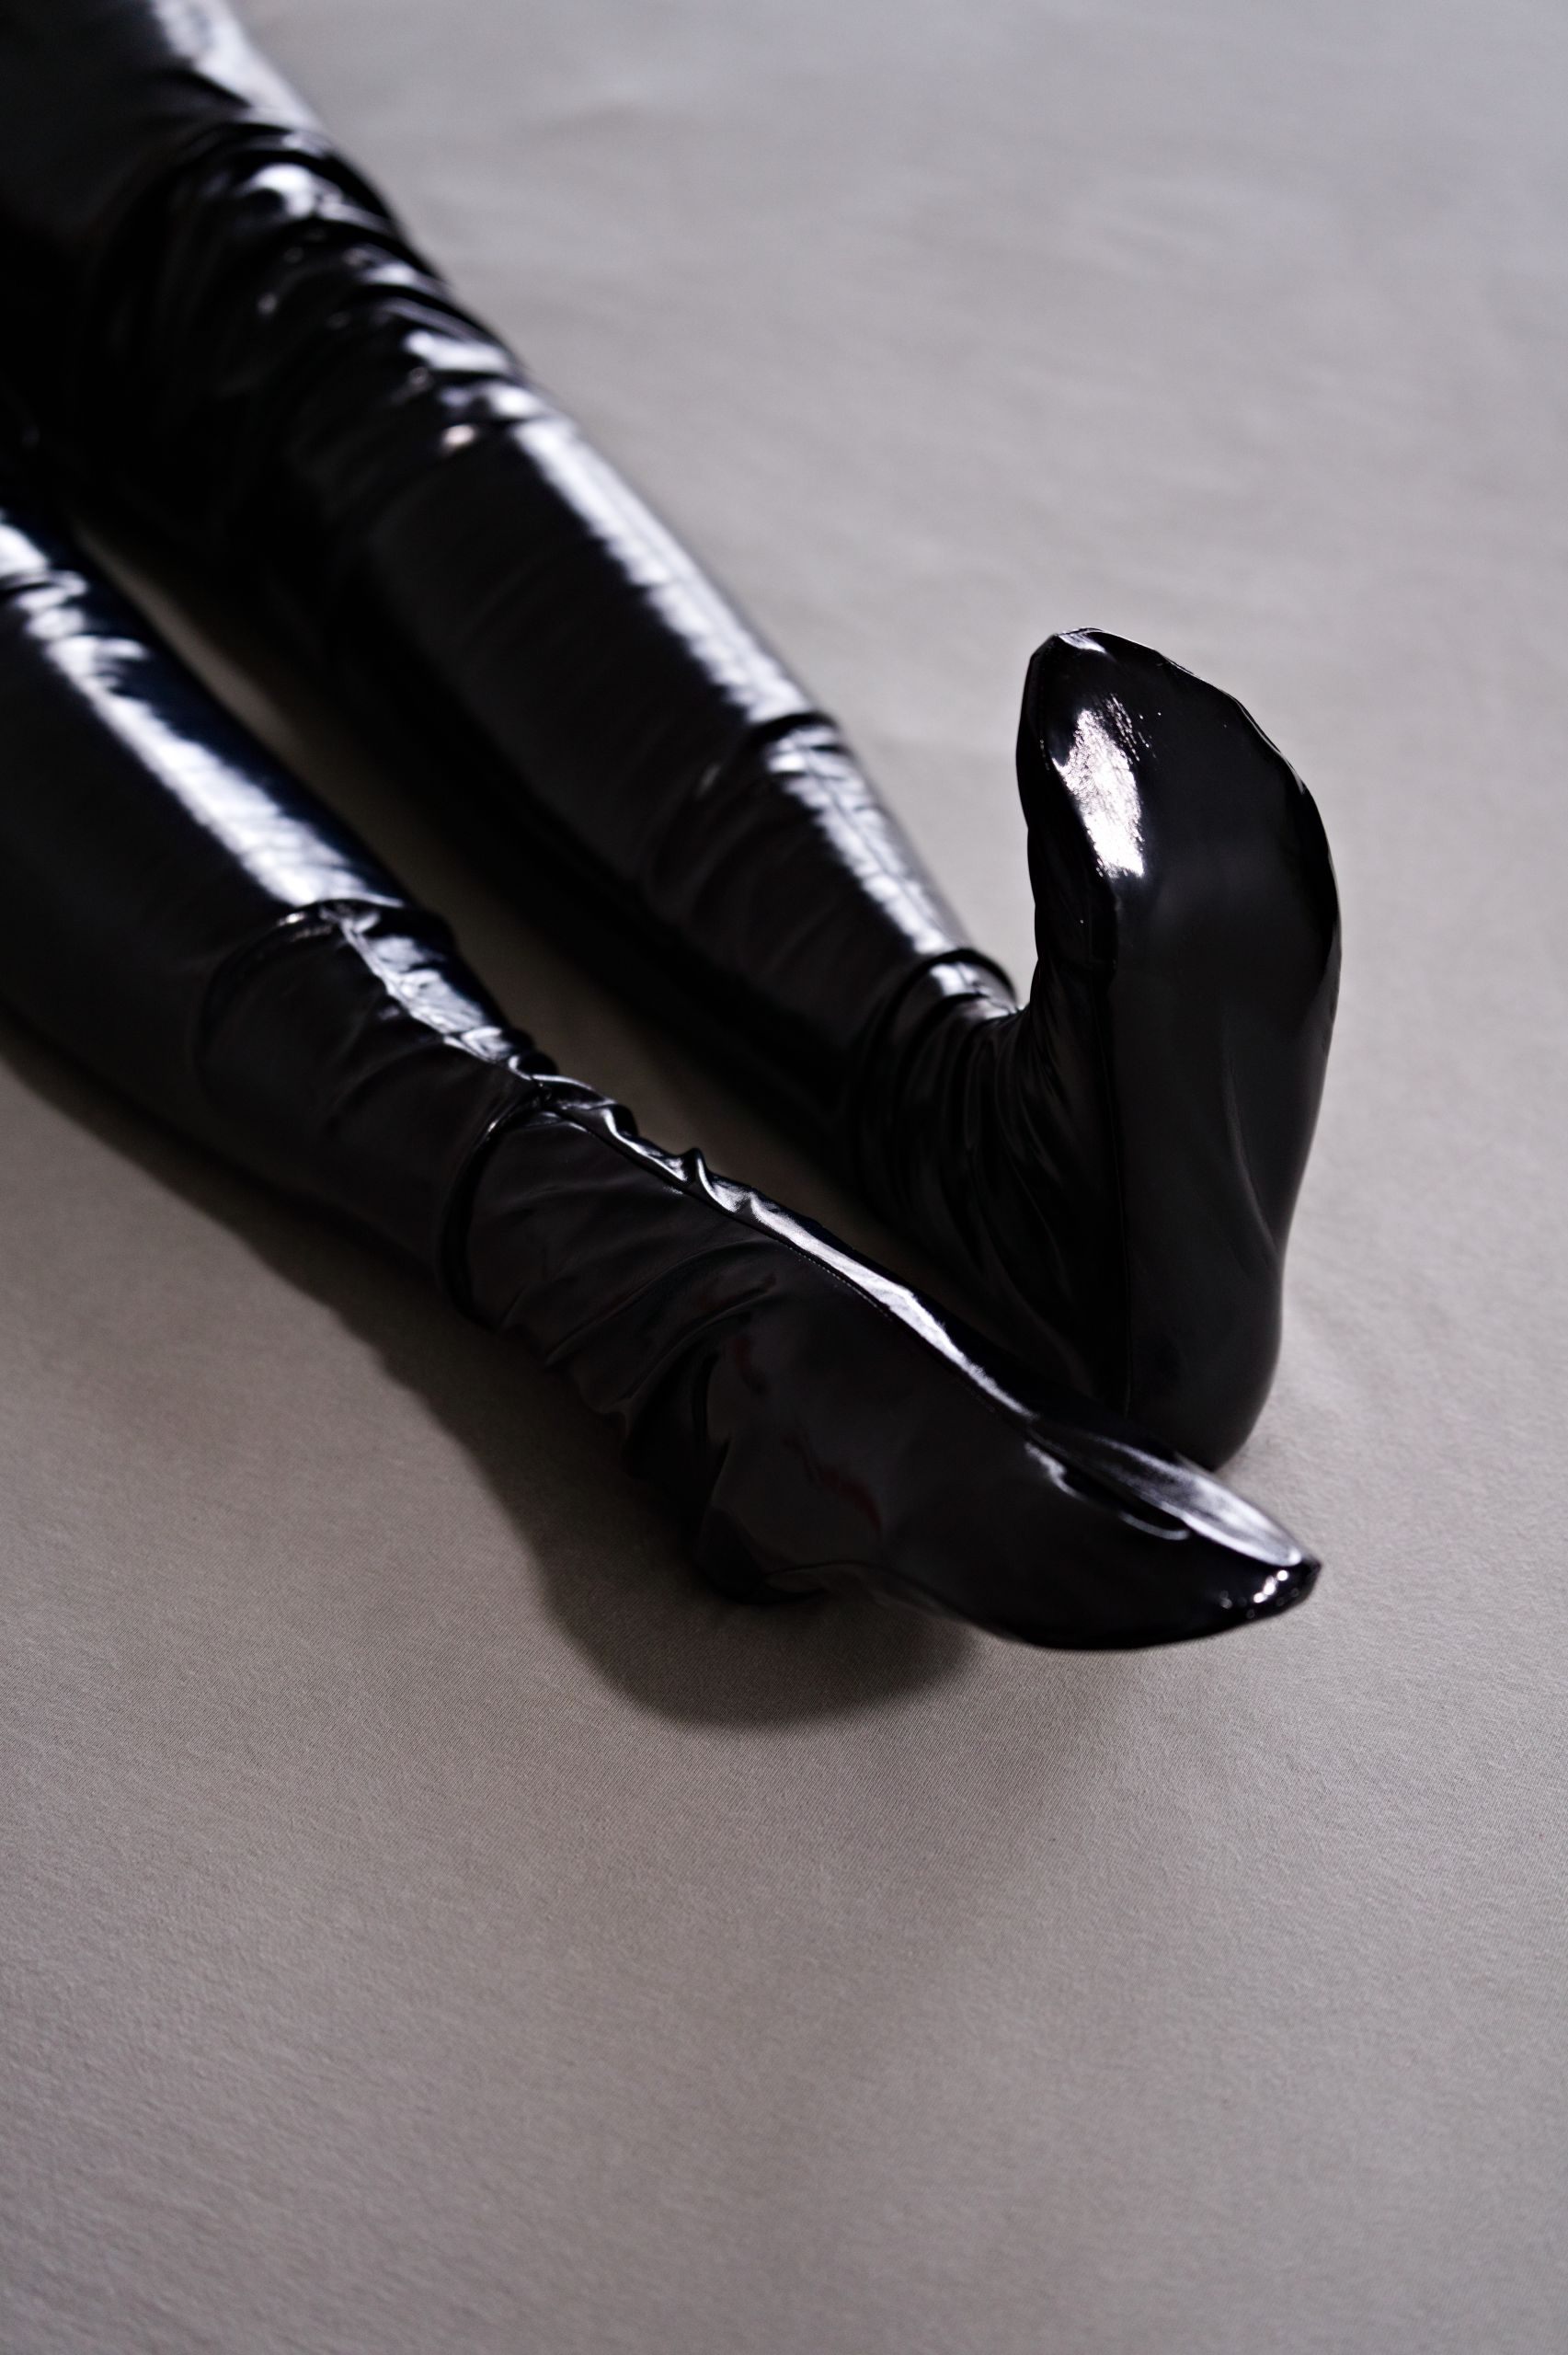


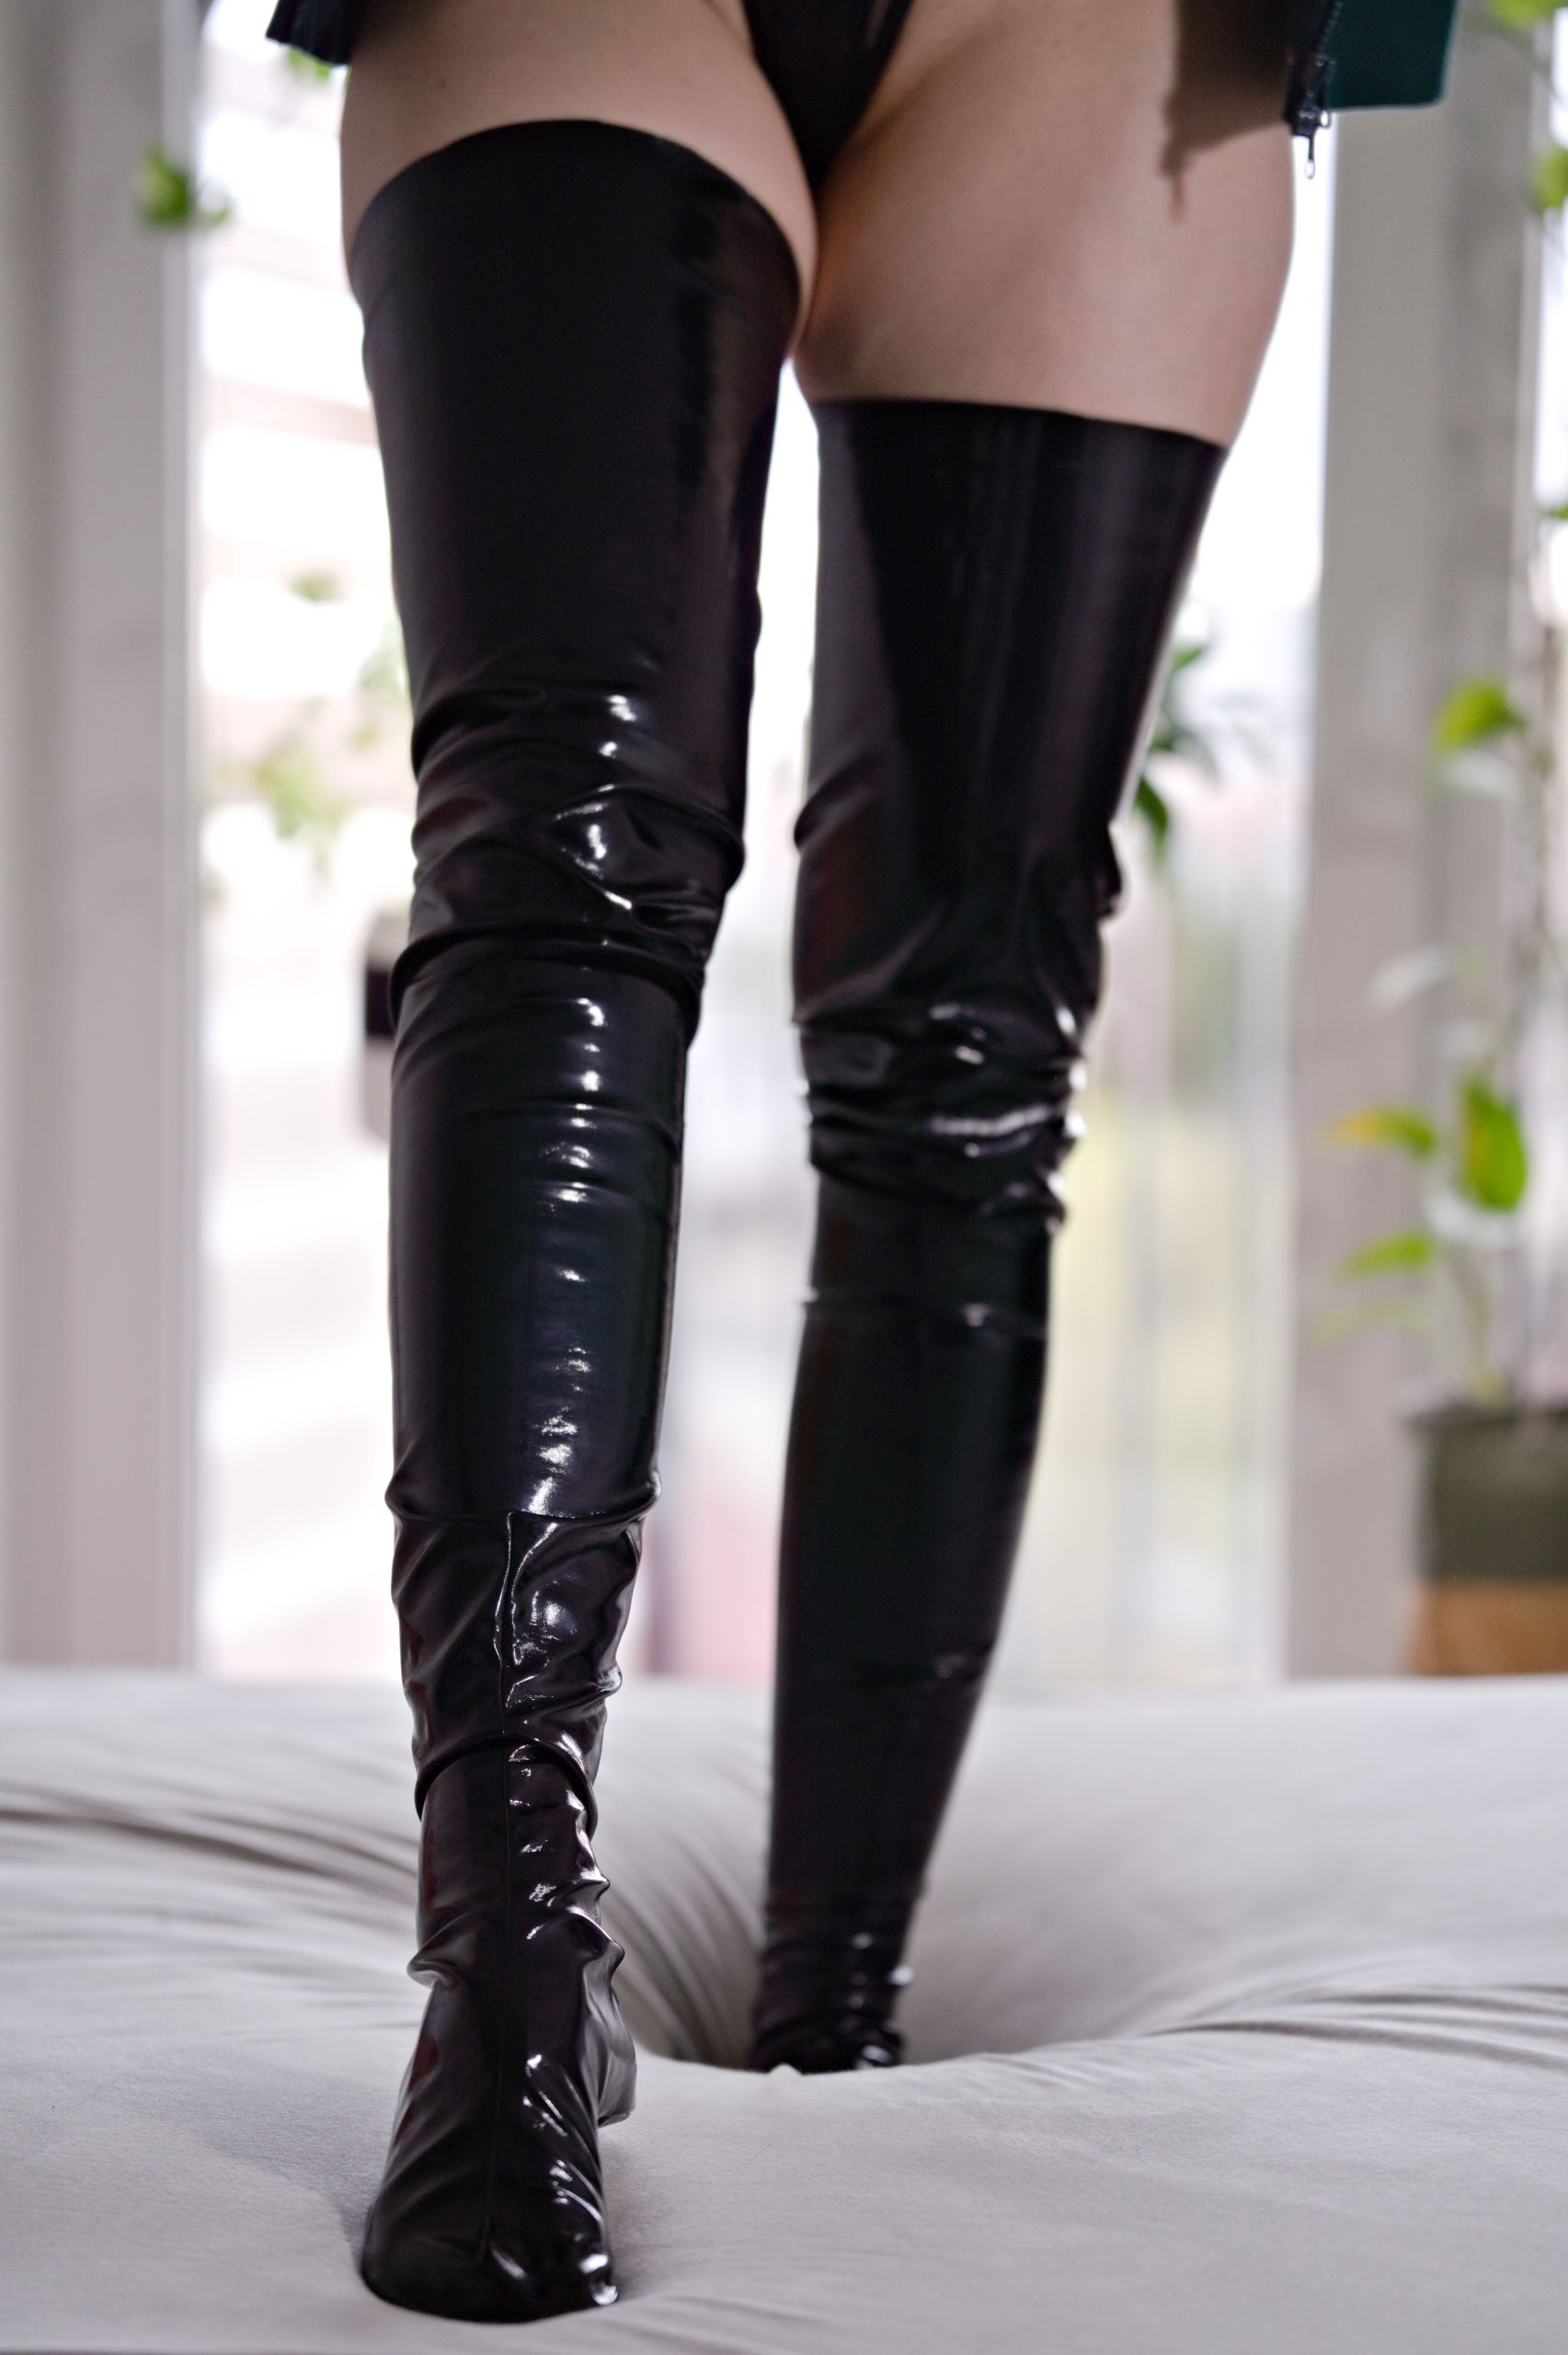


What both attempts have shown us is that if we want a clean feet front – this pattern is not the one to use. Looking back at it now, it seems kind of weird that I haven’t asked myself at any point “Hm, isn’t this pattern purpose-made for looking good for one ankle angle?”.
Since to make this pattern as a single sheet of fabric with no seams you have to have to point your toes – that means when you’re normally standing up you’ll always have excess fabric at the top of your feet.
To make matters worse, in both Squid patterns we had the same issue that Lacrymastory faced in her 2B stockings video where the sole seam position was really tricky to nail right. It always looked off if it was out in the open and not covered by a shoe (it was basically a trade-off of either showing no sole, but having an air pocket vs having a nicely wrapped sole, but also an uncanny visible sole seam).
Our 1st own pattern take
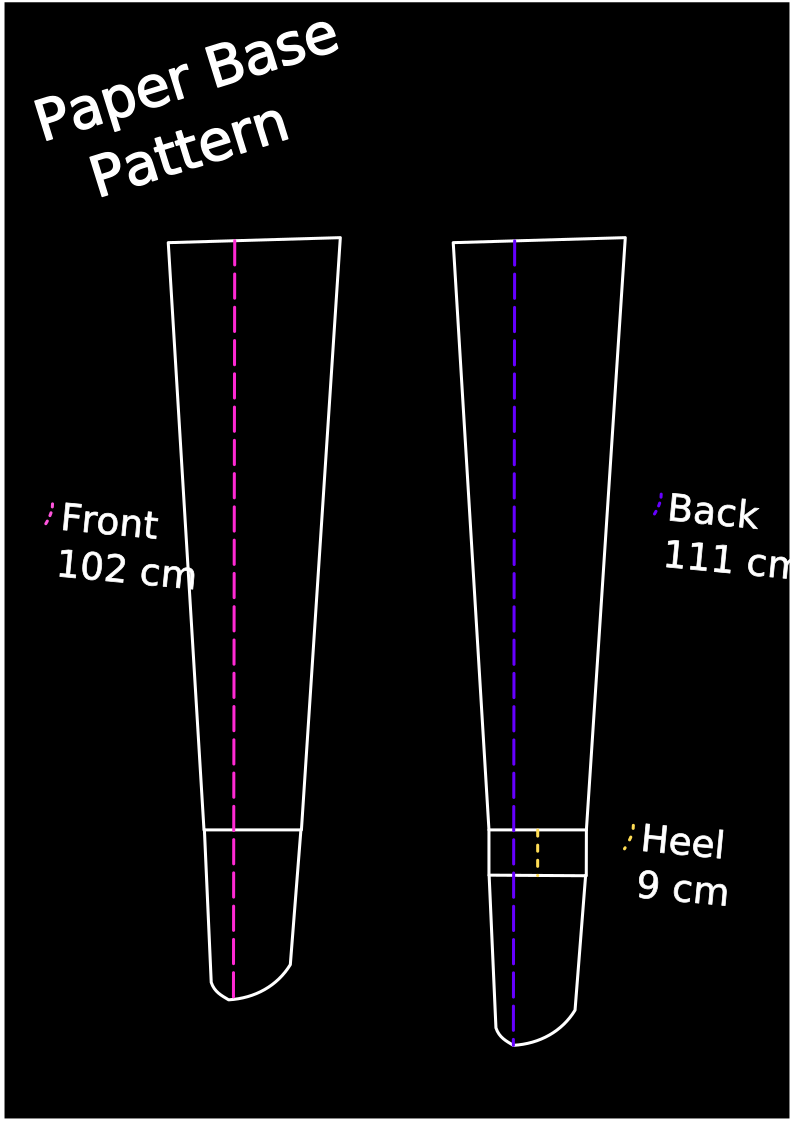
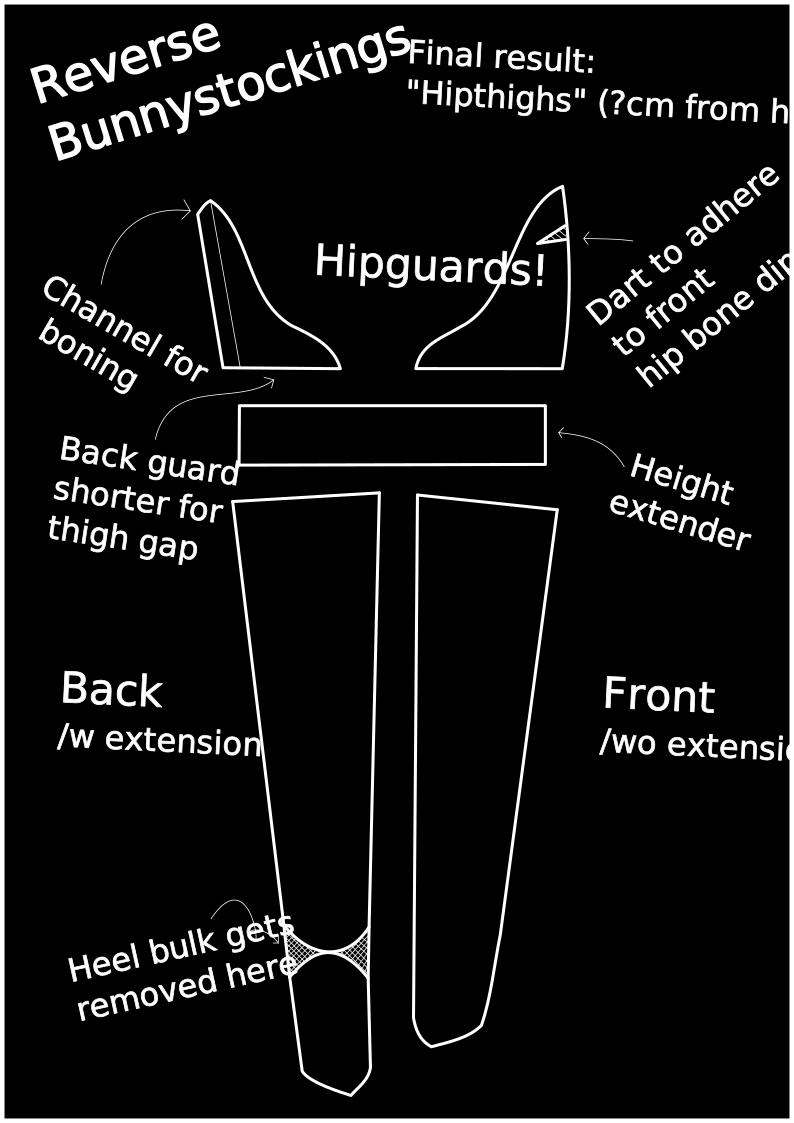
At some point I finally was able to find a source of a 4-way stretch latex and began theorizing what pattern could feasibly work for this specific material. After a couple of thinking sessions with Shizuka we landed on a base pattern with two cones, where one is longer than the other by the average difference that your heel adds depending on whether you flex your foot or point your toes. Since we wanted a non-negotiable clean front appearance, we opted to have sewn-off any excess material just next to the heel. We briefly discussed options like vertical straps or triangle ankle insertions which would “naturally” bind the front and back together, but decided against them.
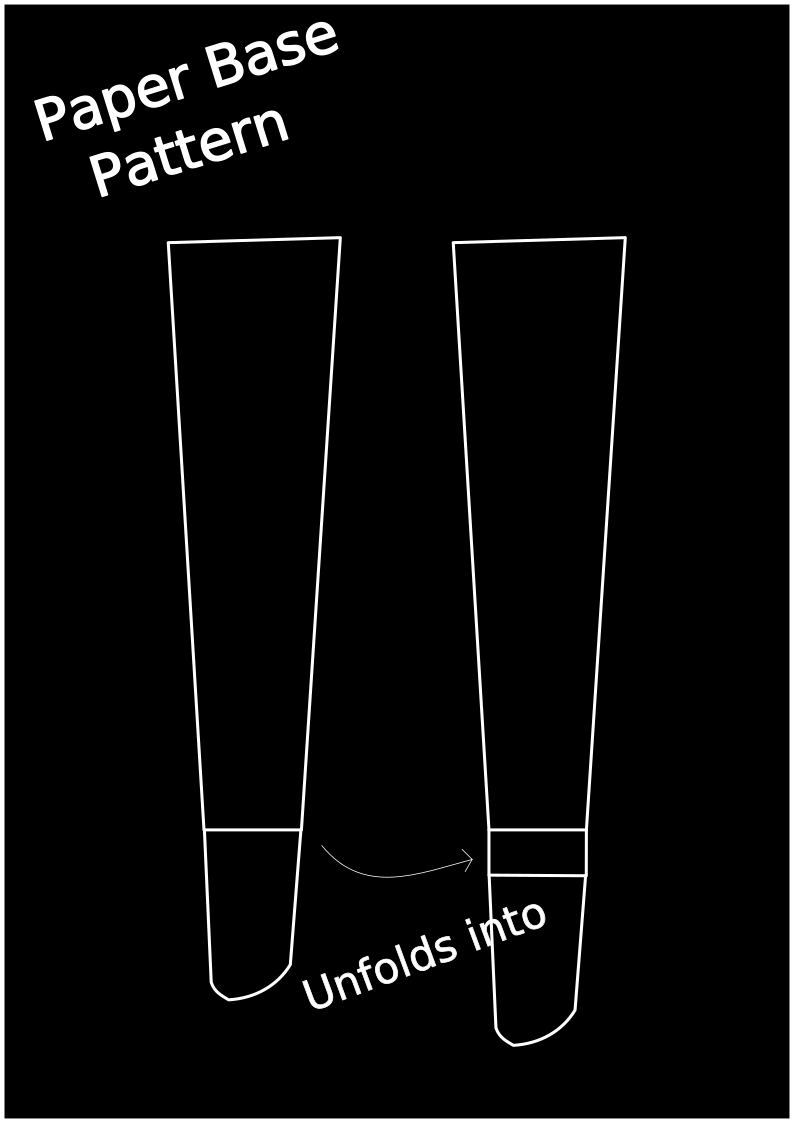
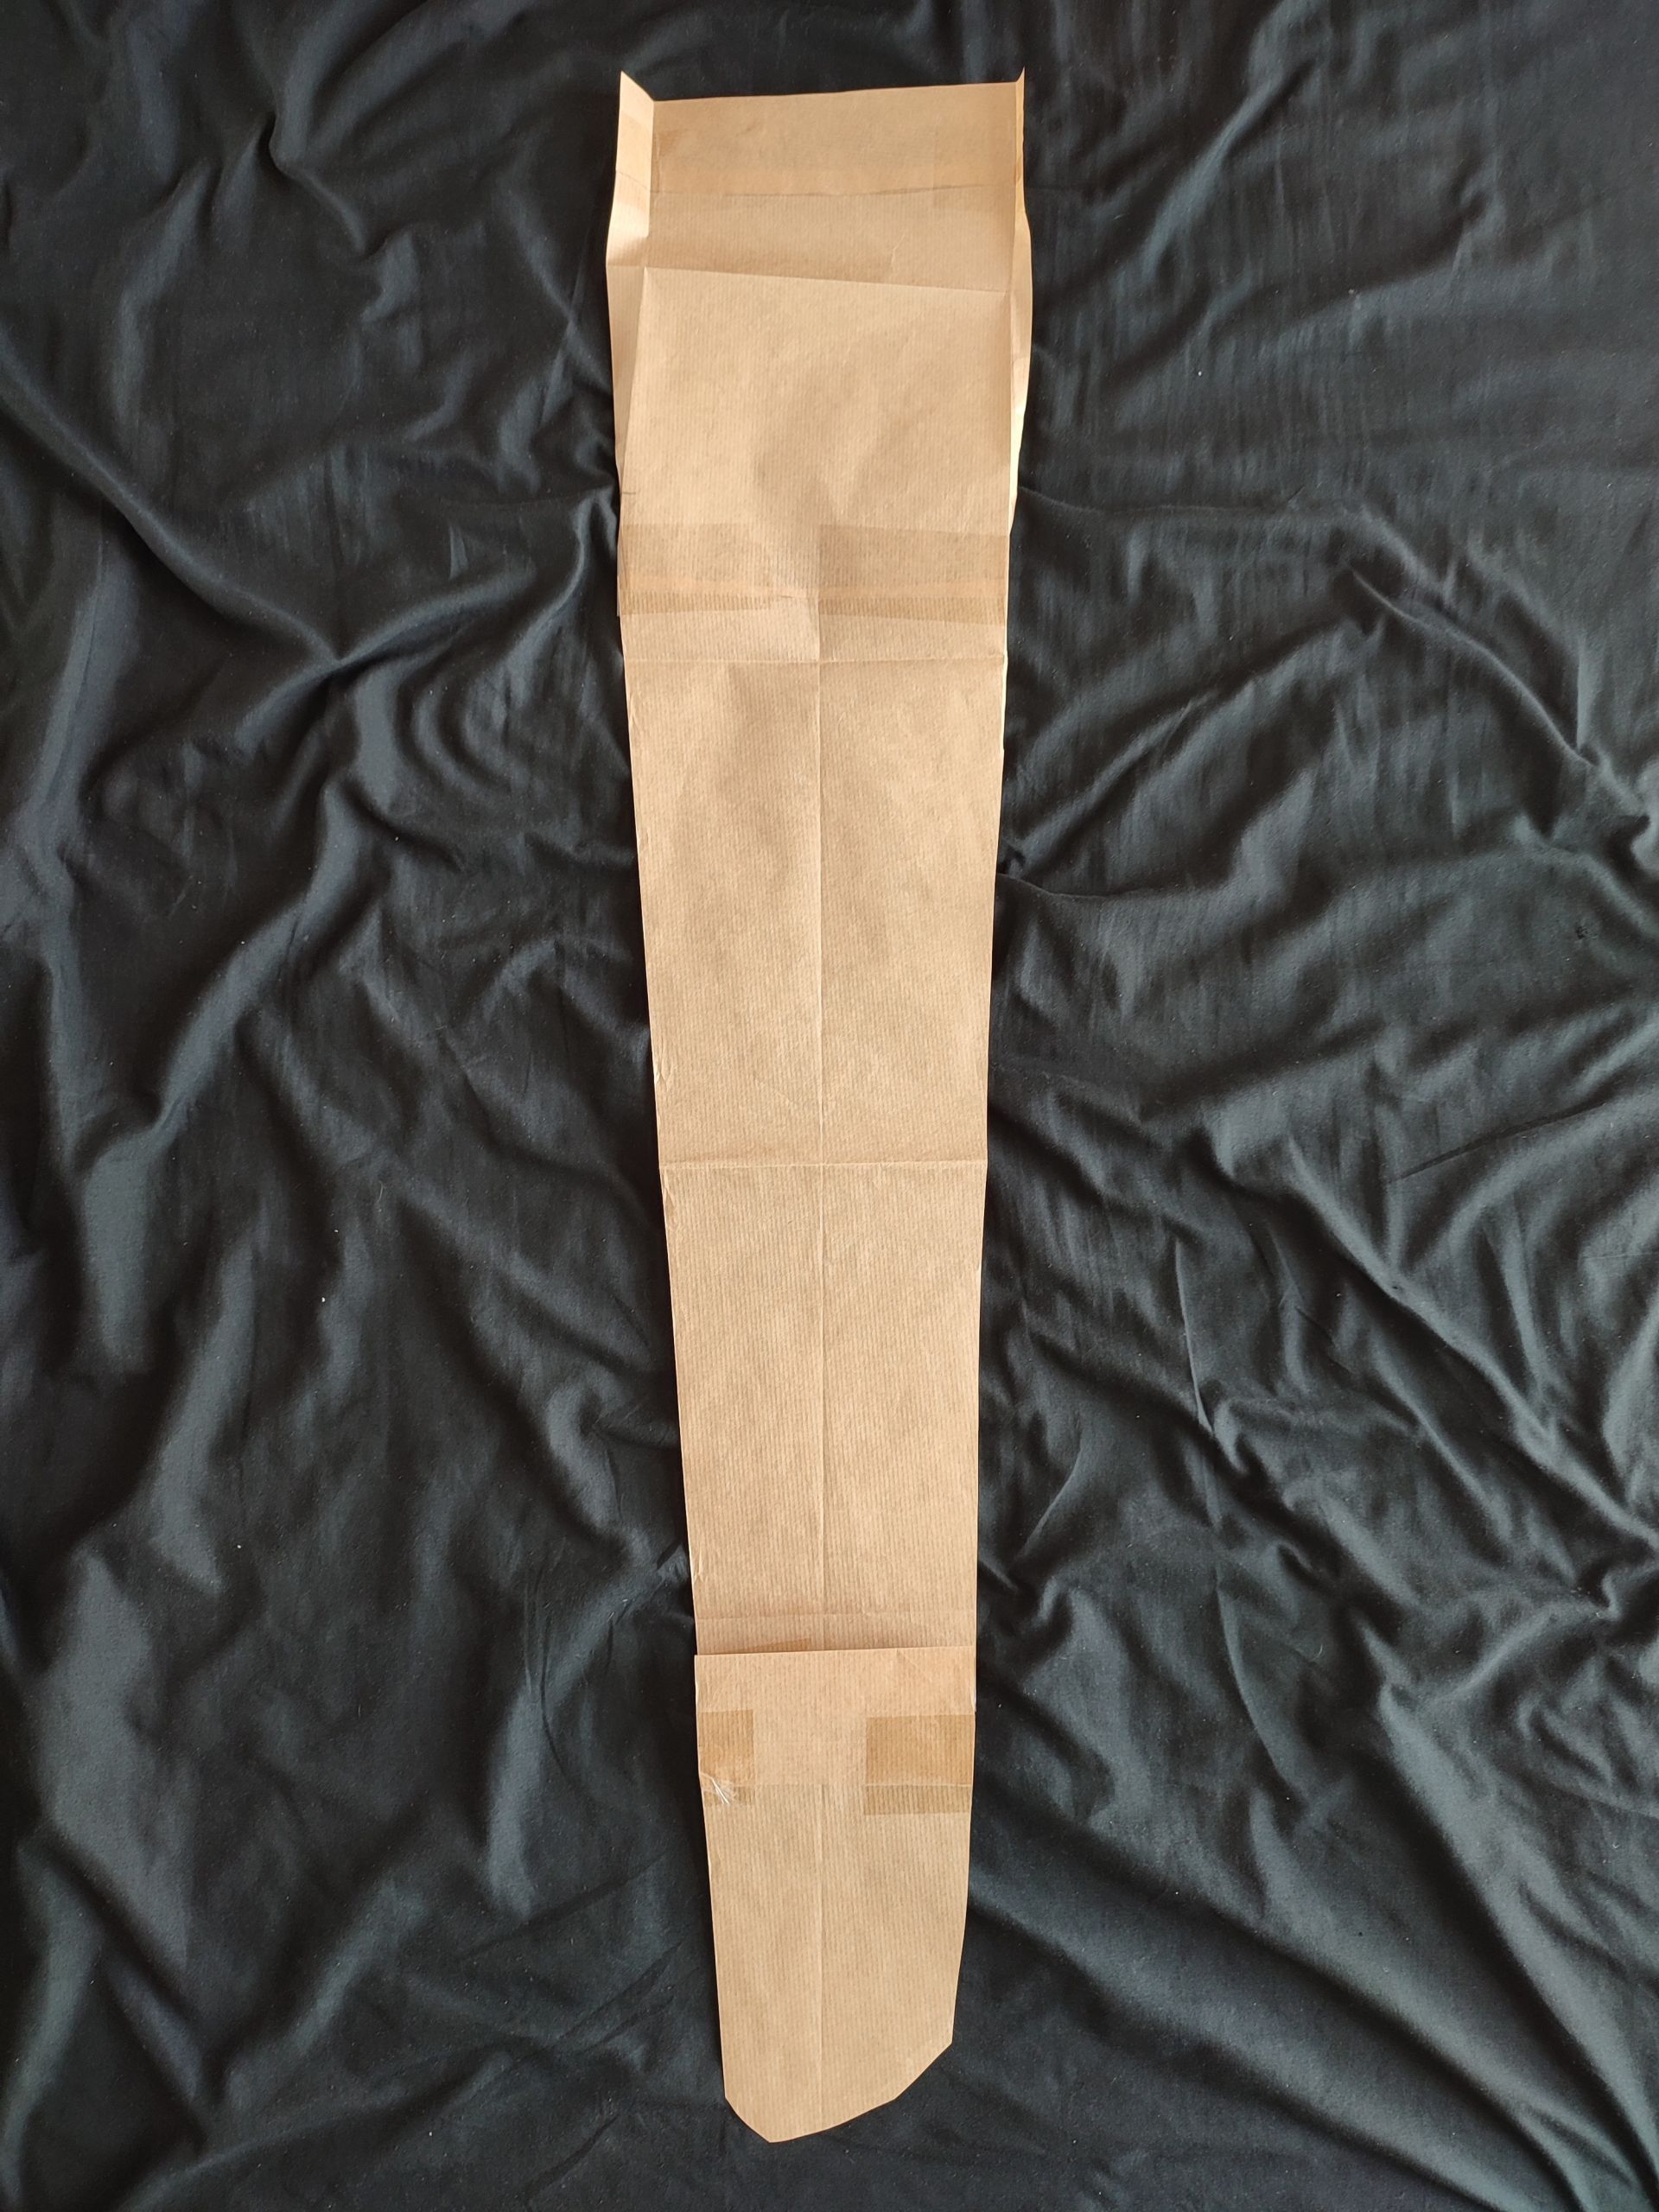
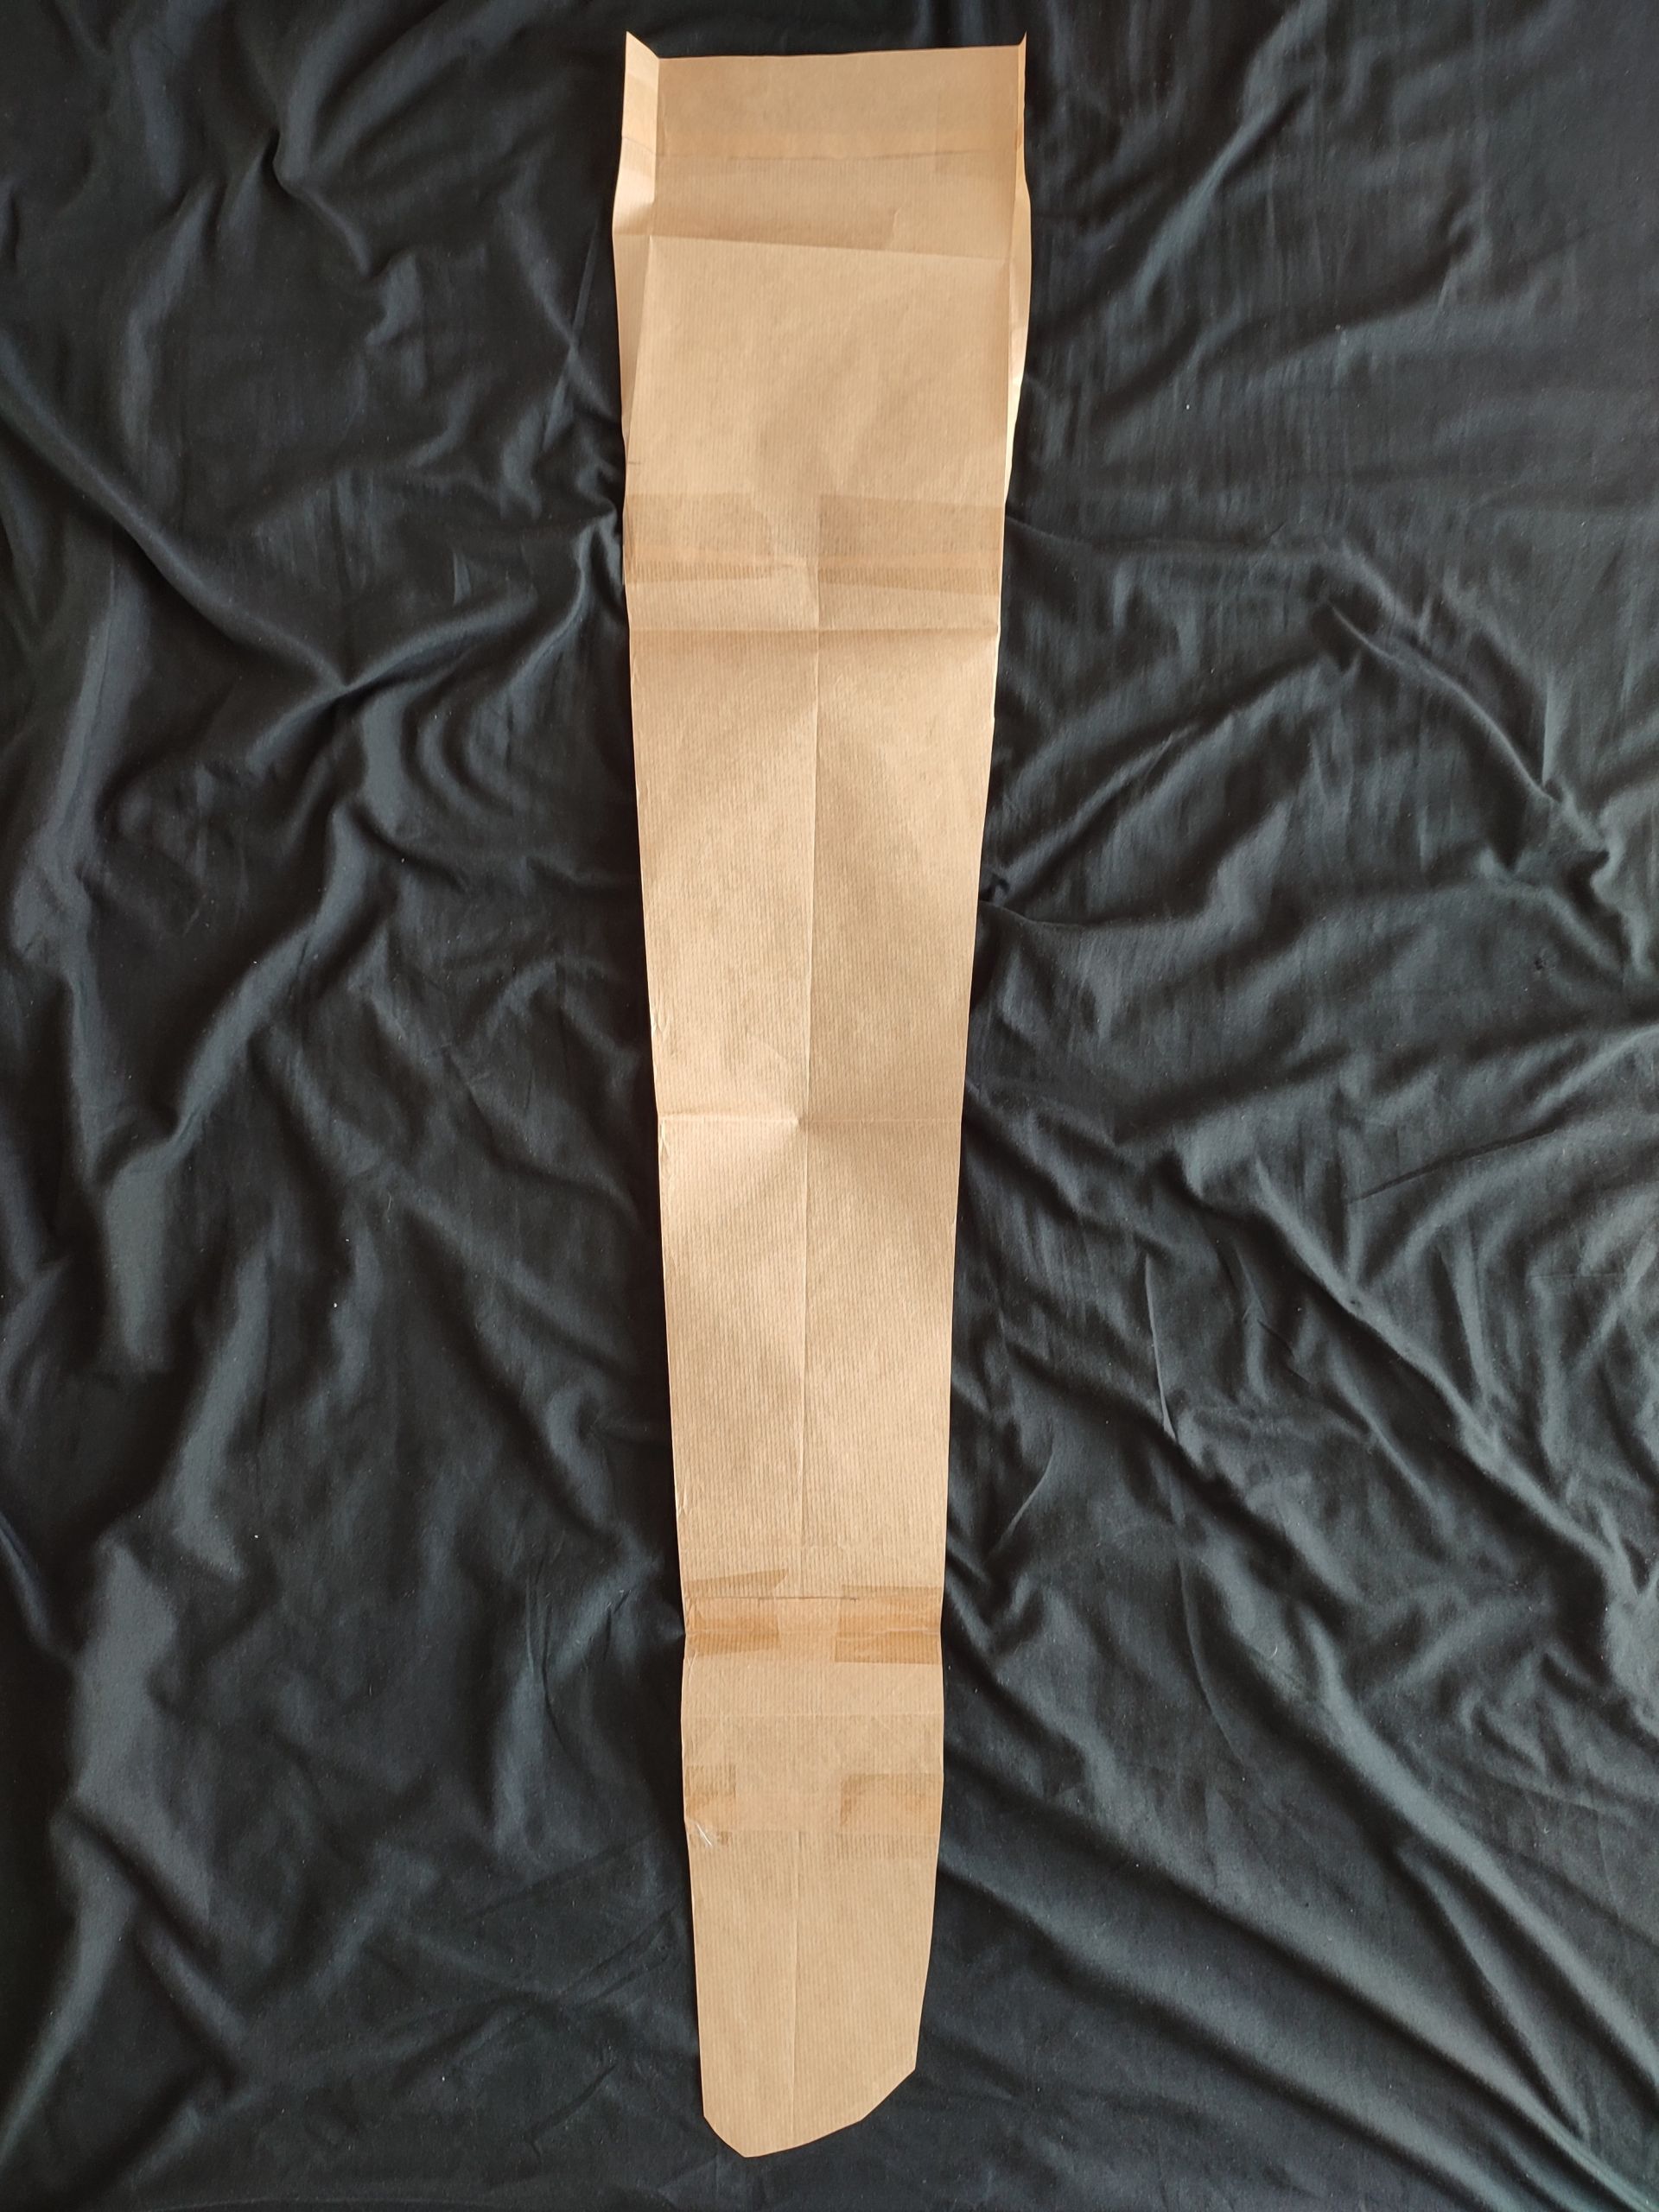
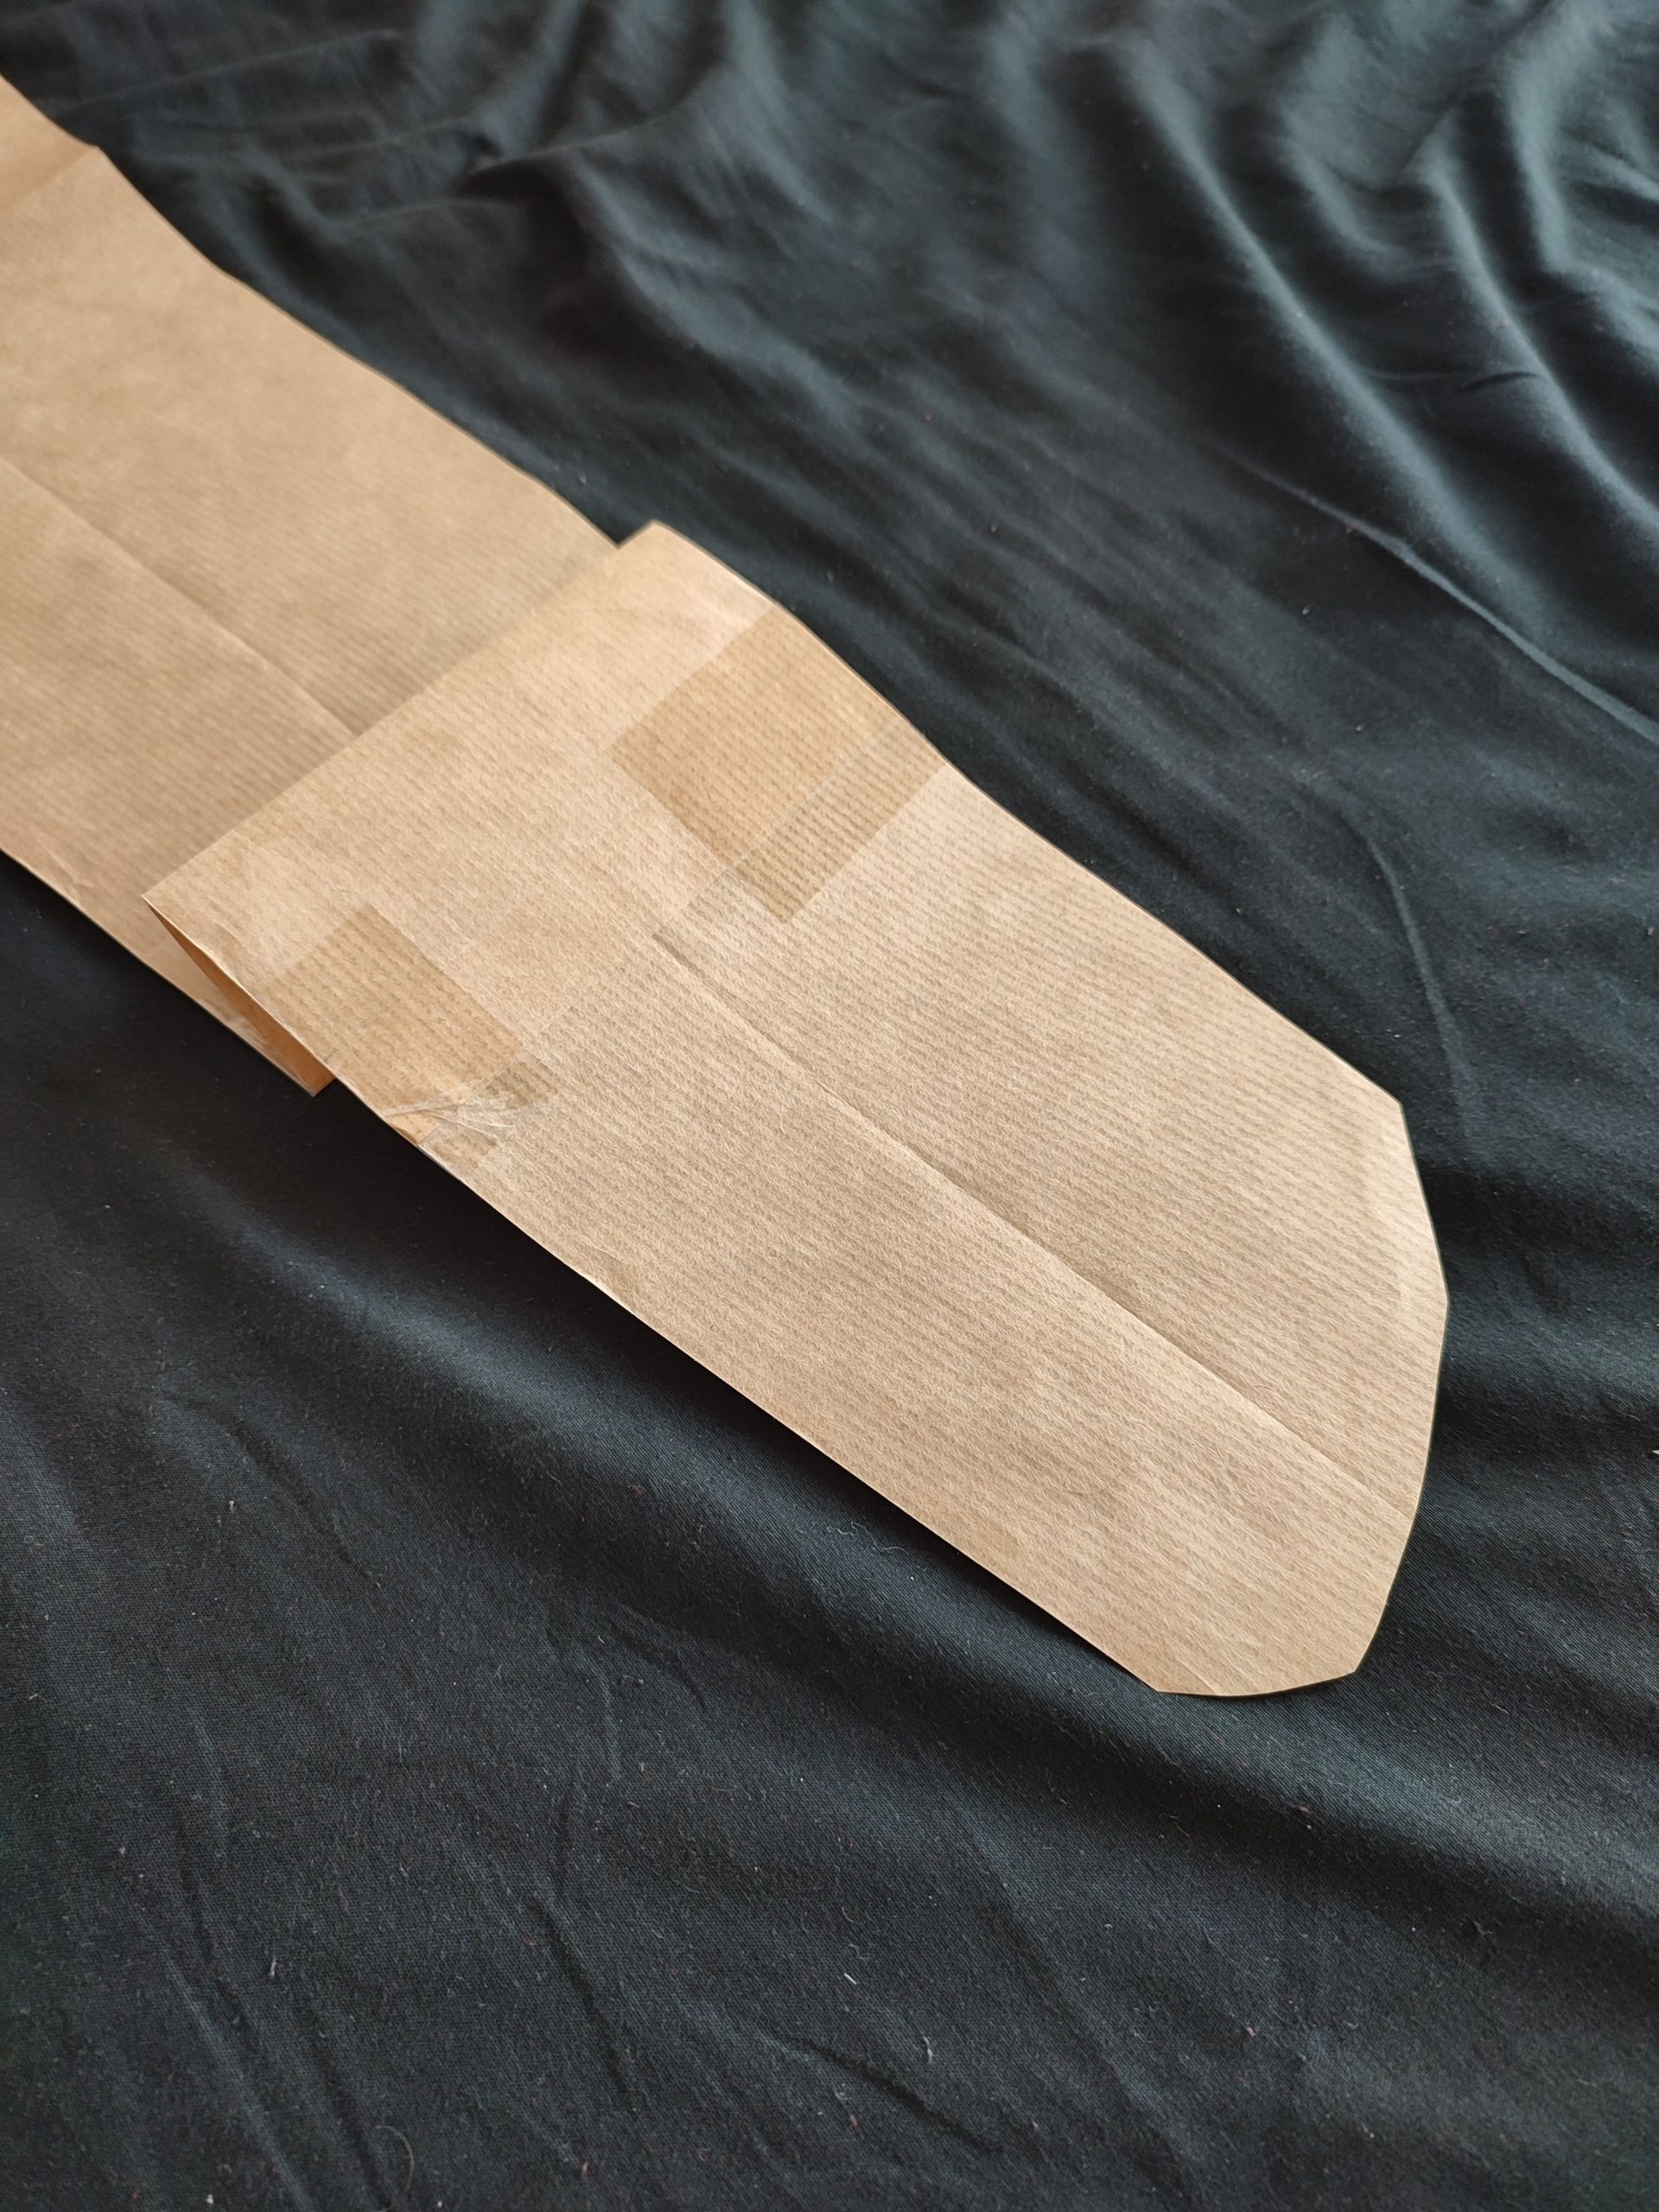
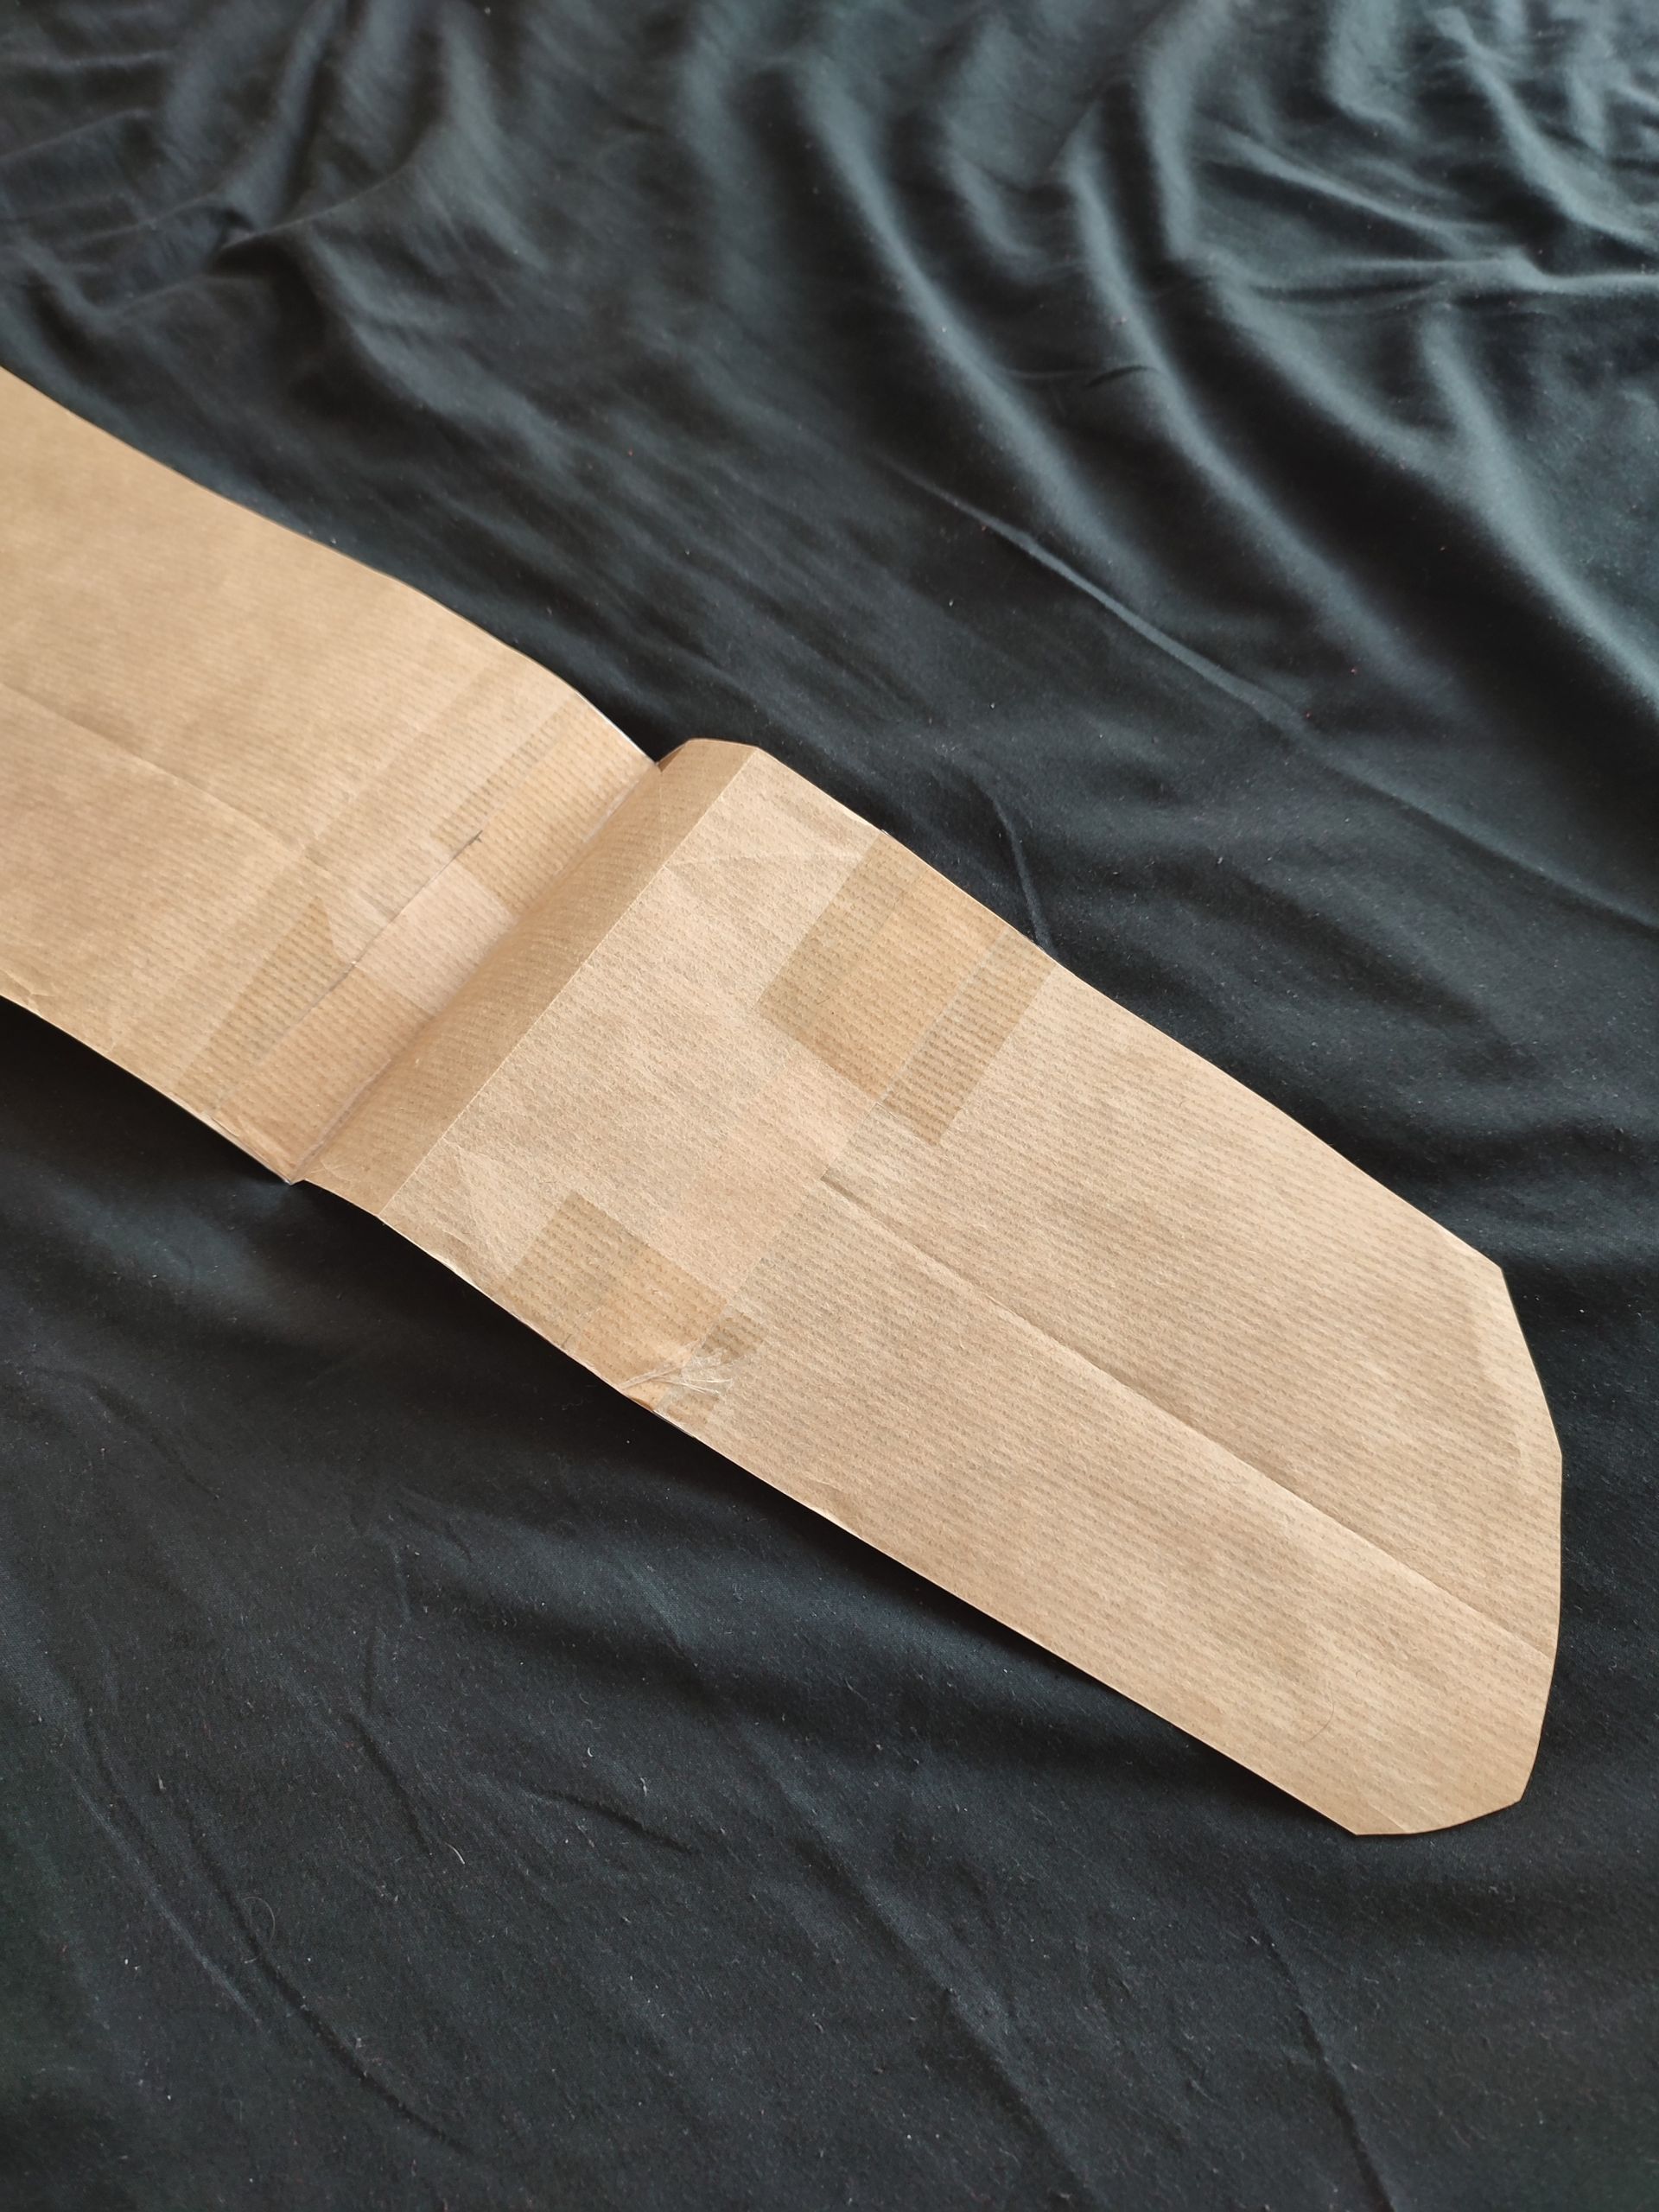
After cutting out the material came the tricky part or sewing it. Compared to the regular flat pattern where you can make your sewing machine go brr~ around the entire perimeter – here you have to:
- Mark the sole section beginning and ending on the longer back piece
- Sew both side-seams from the top till you meet the first heel mark
- Sew with a completely separate stitch front sole part up till the other heel mark
- Sew with a pair of other completely detached stitches for both sides of the heel, for it to adhere to its curvature
- Cut excess heel material
- Manually sew the point at which all three layers converge
We first created a test run with white stockings, but found that the amount by which the back panel had to be extended wasn’t an average – it actually had to be ~80% of the length added by your heel instead
We then recreated it in blue latex fabric and shot Asuma Toki Reverse Bunnysuit photoset in it – and it was ALMOST spot on.
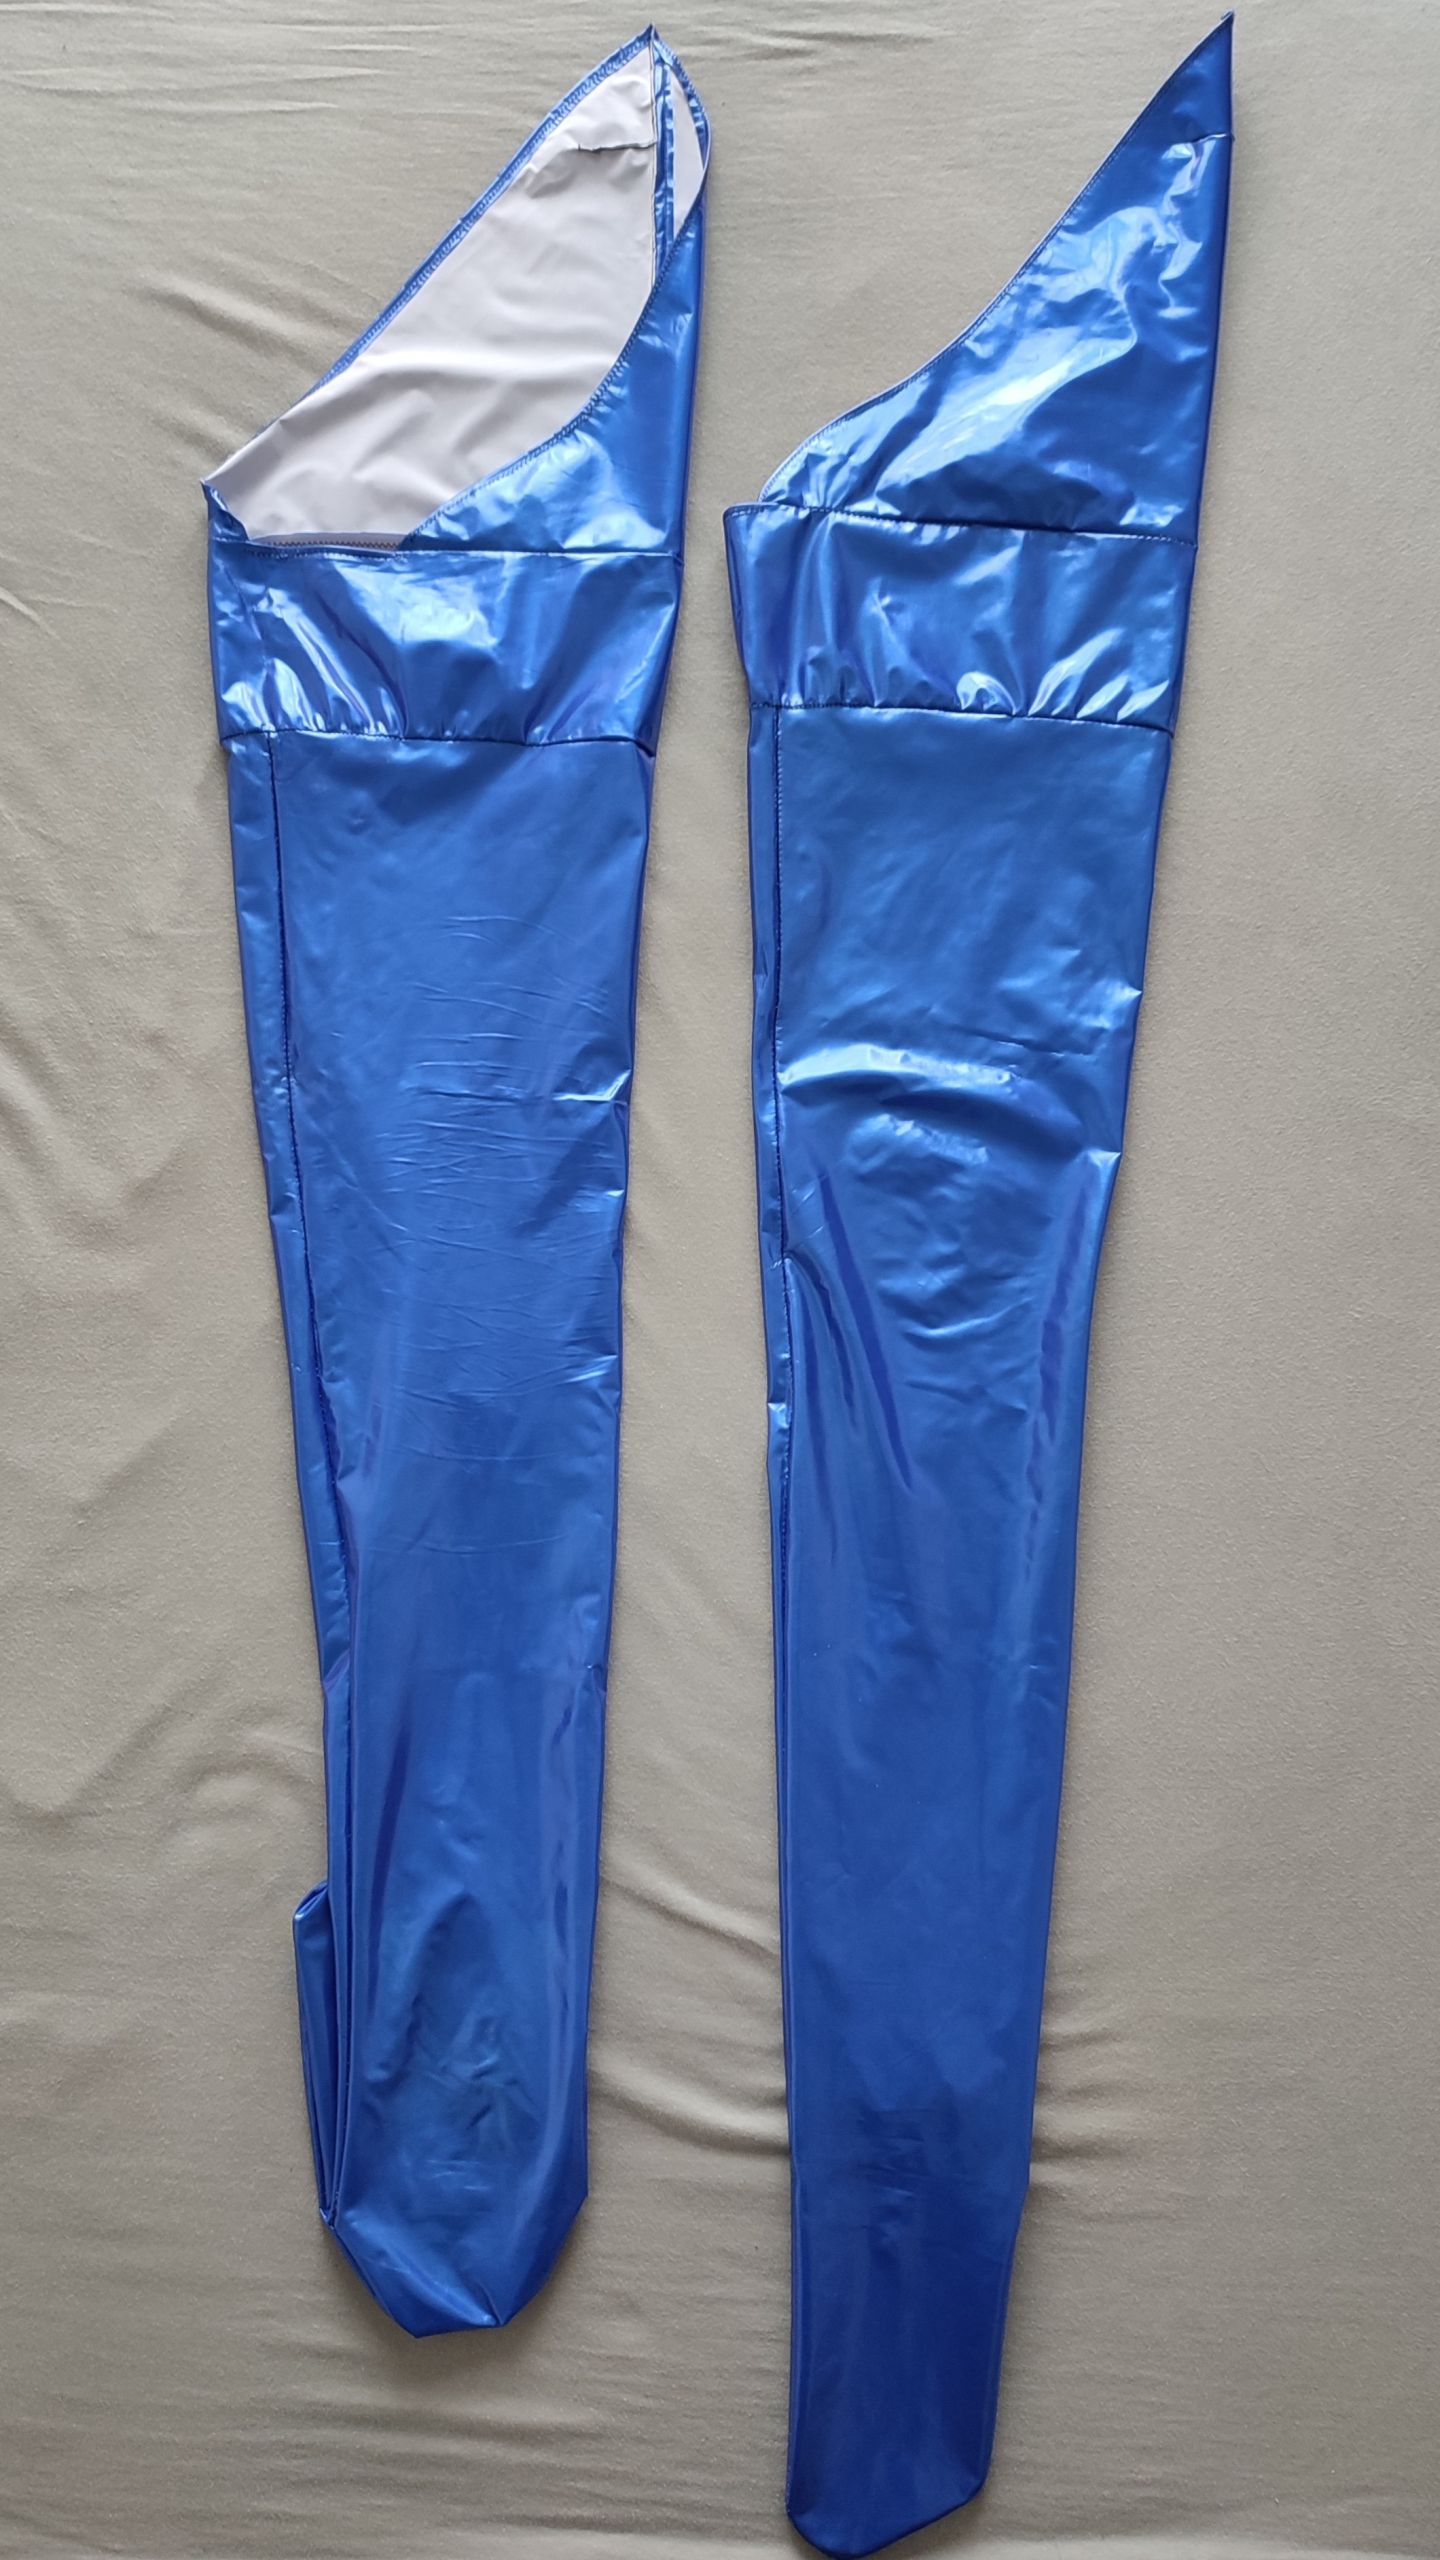
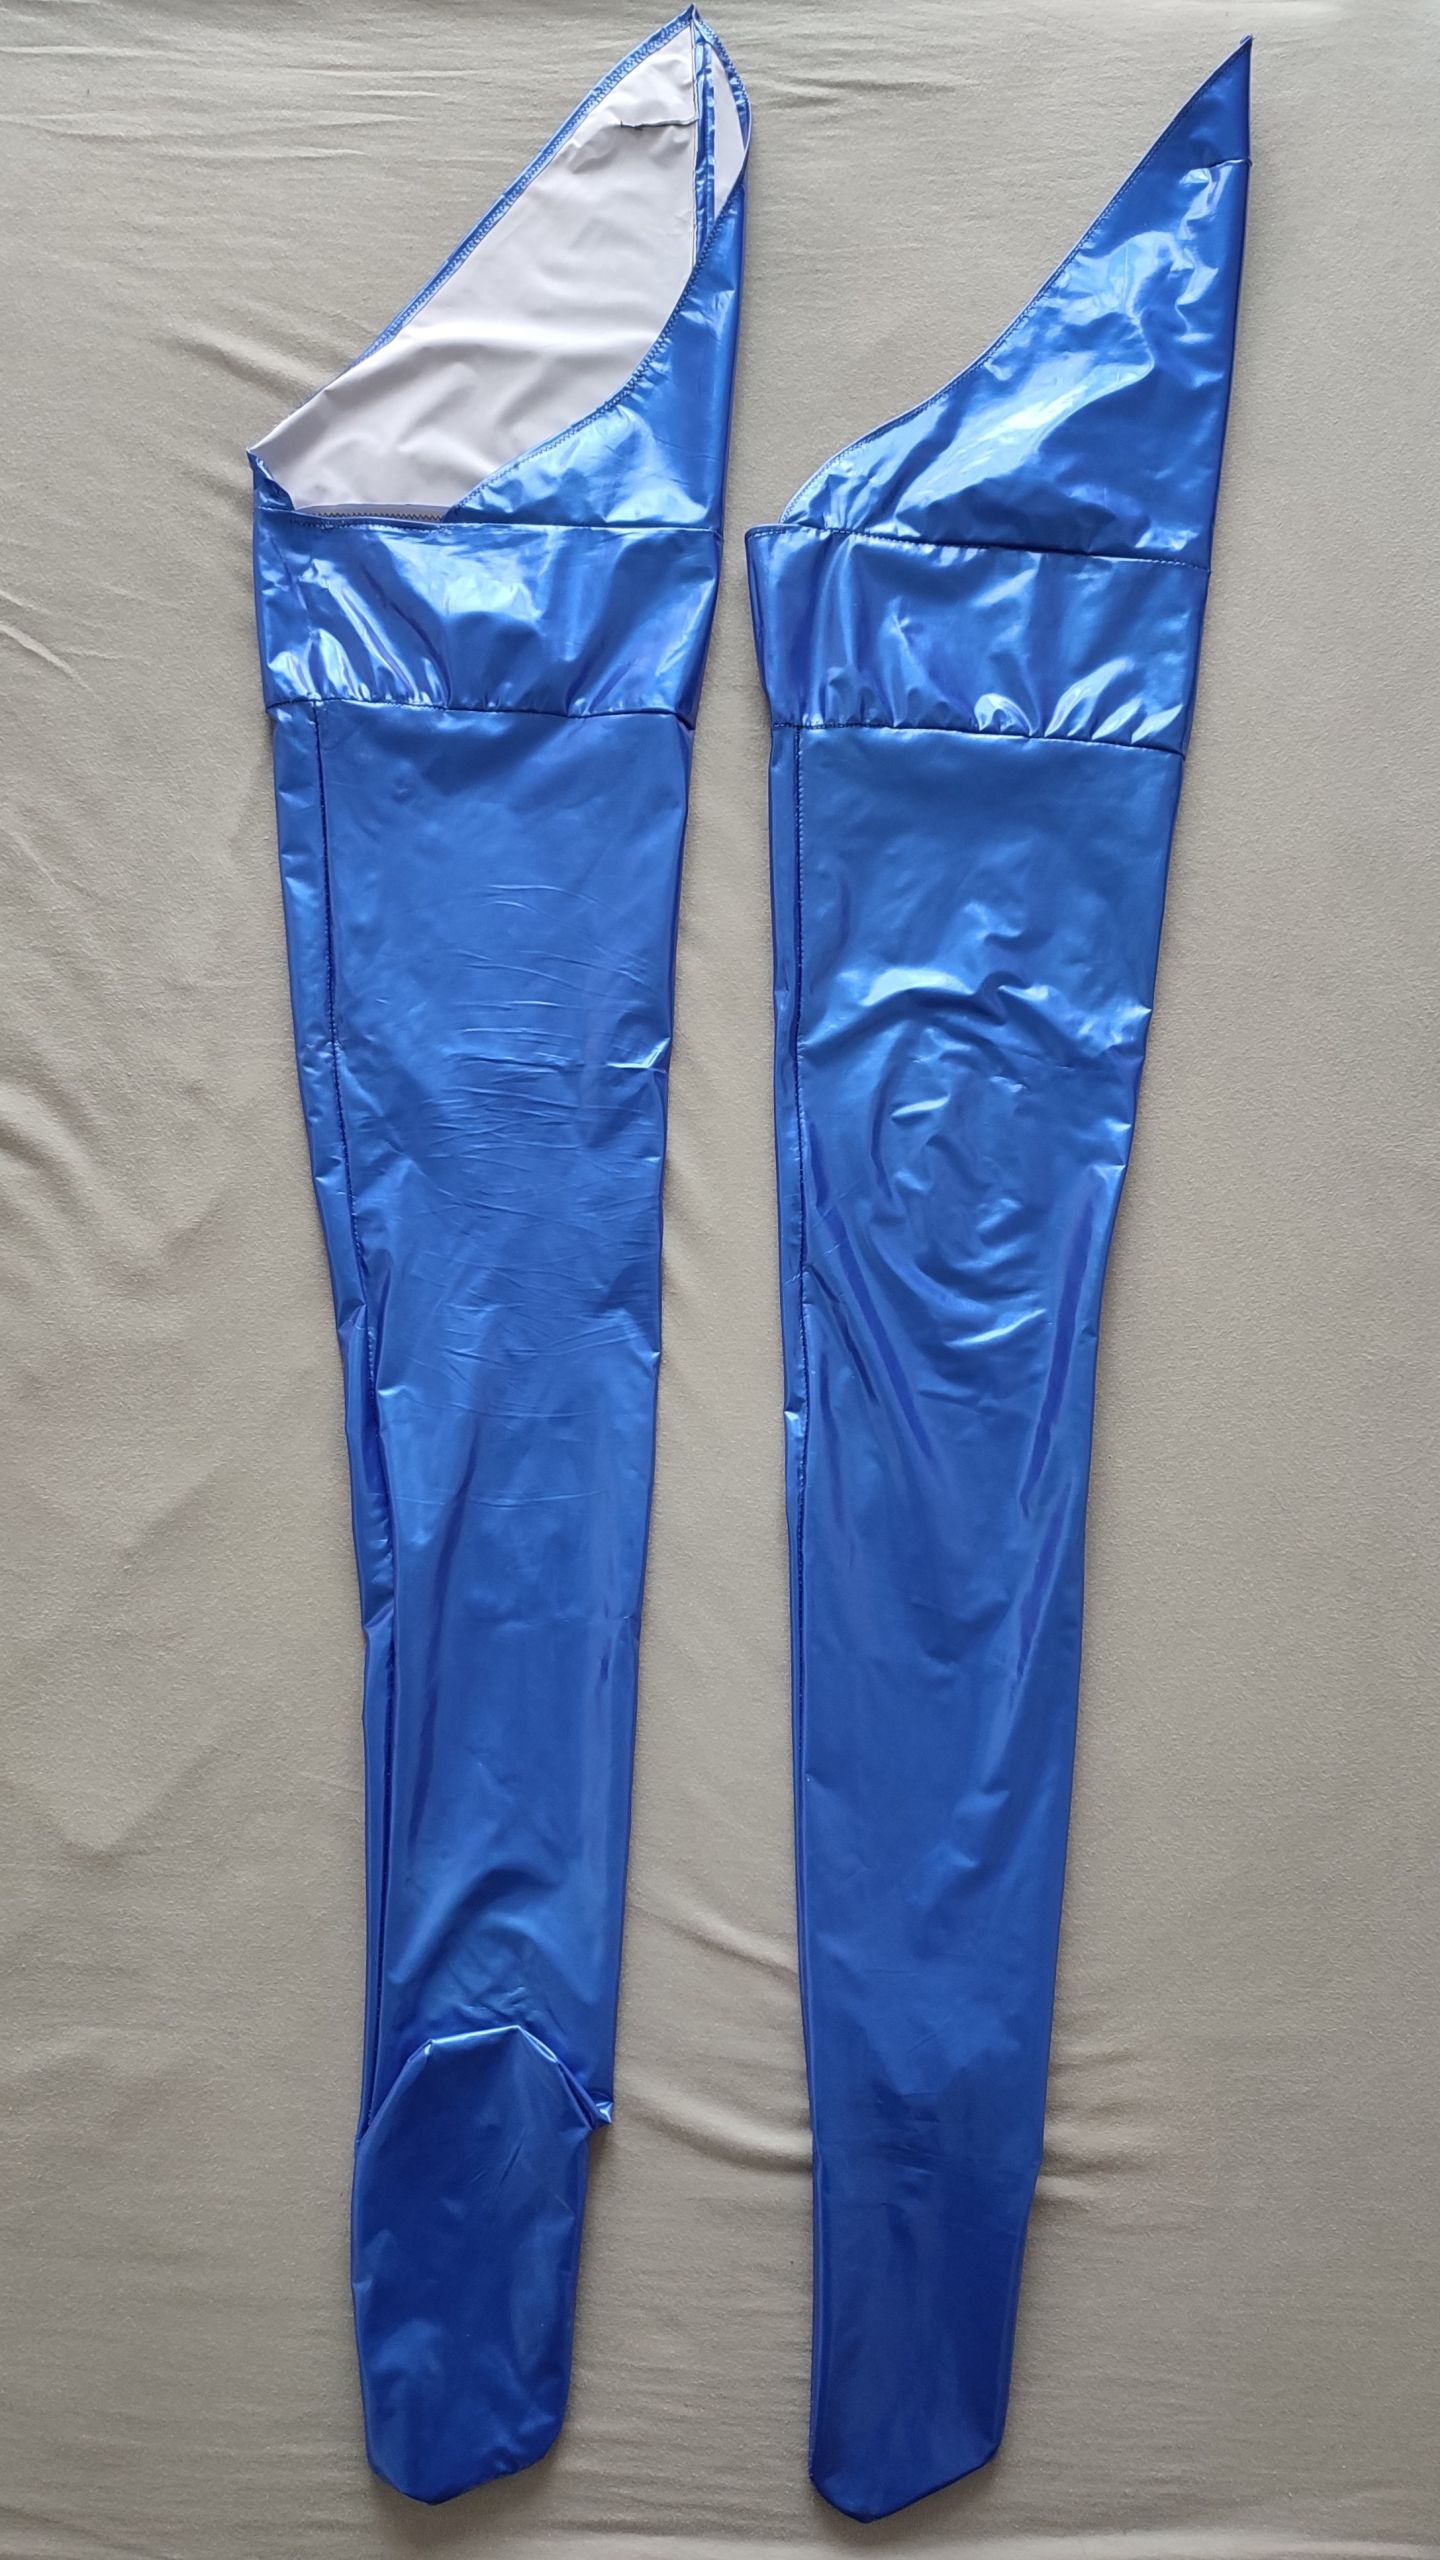
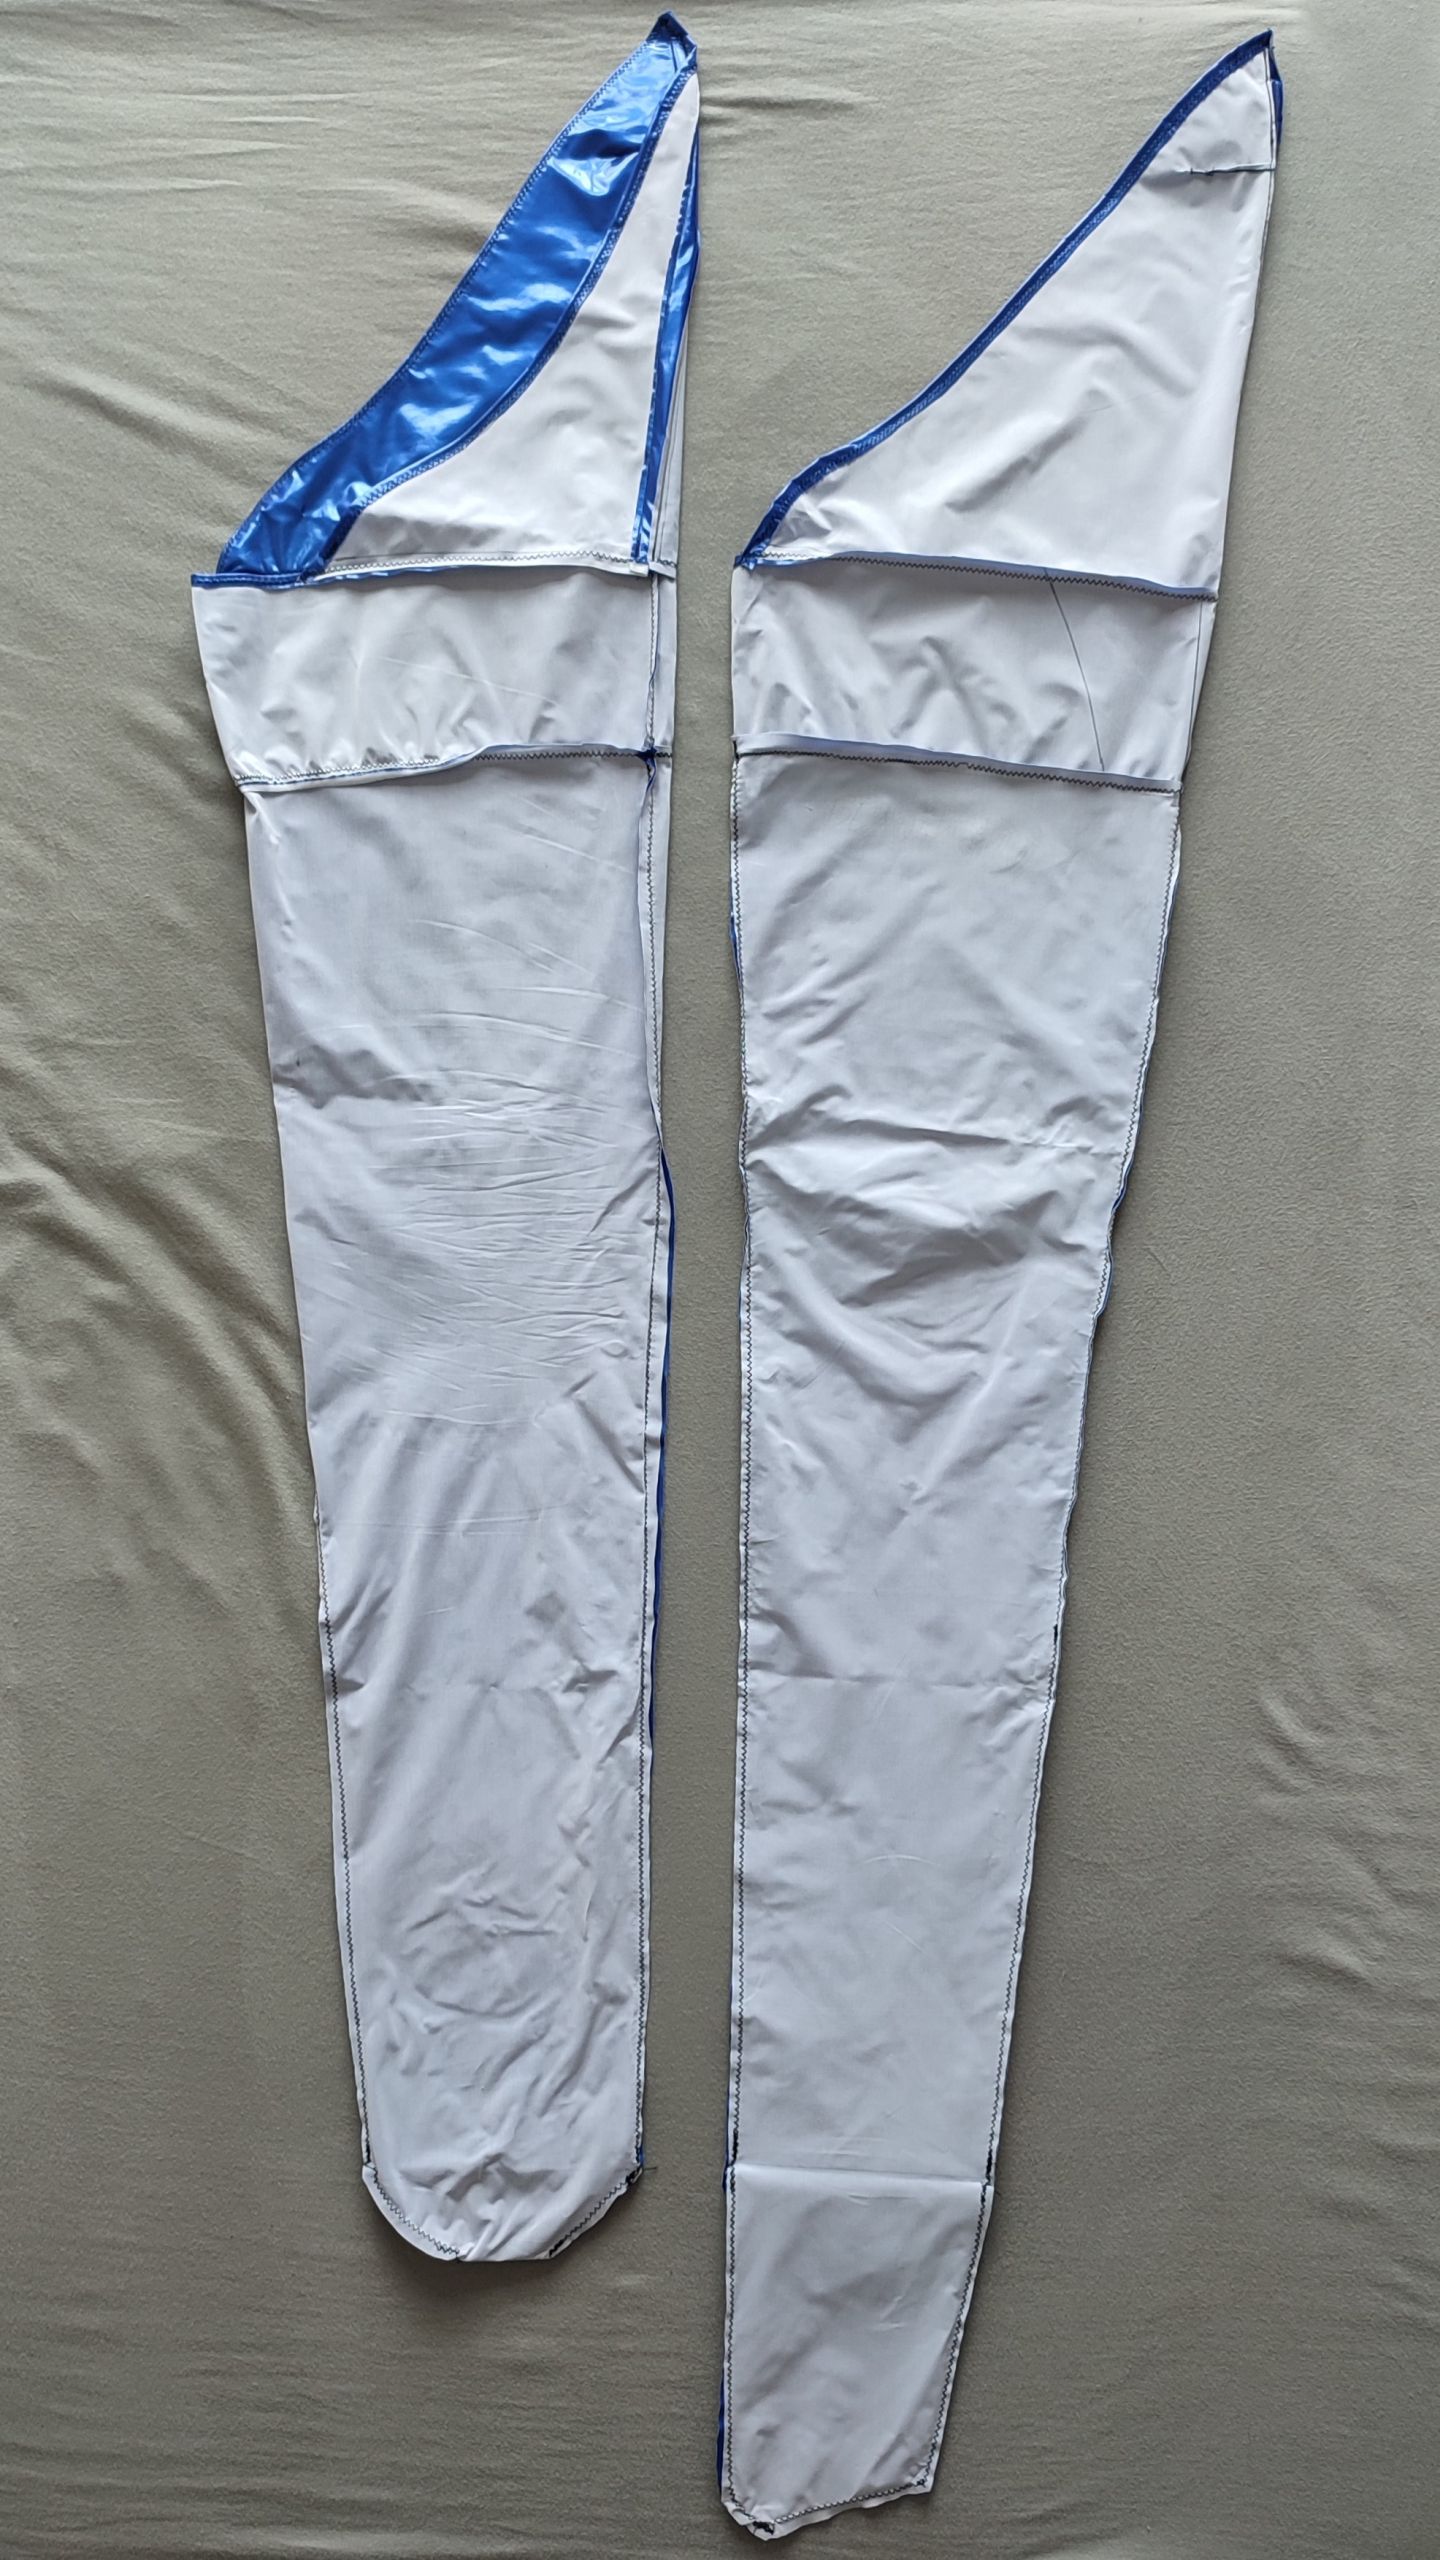
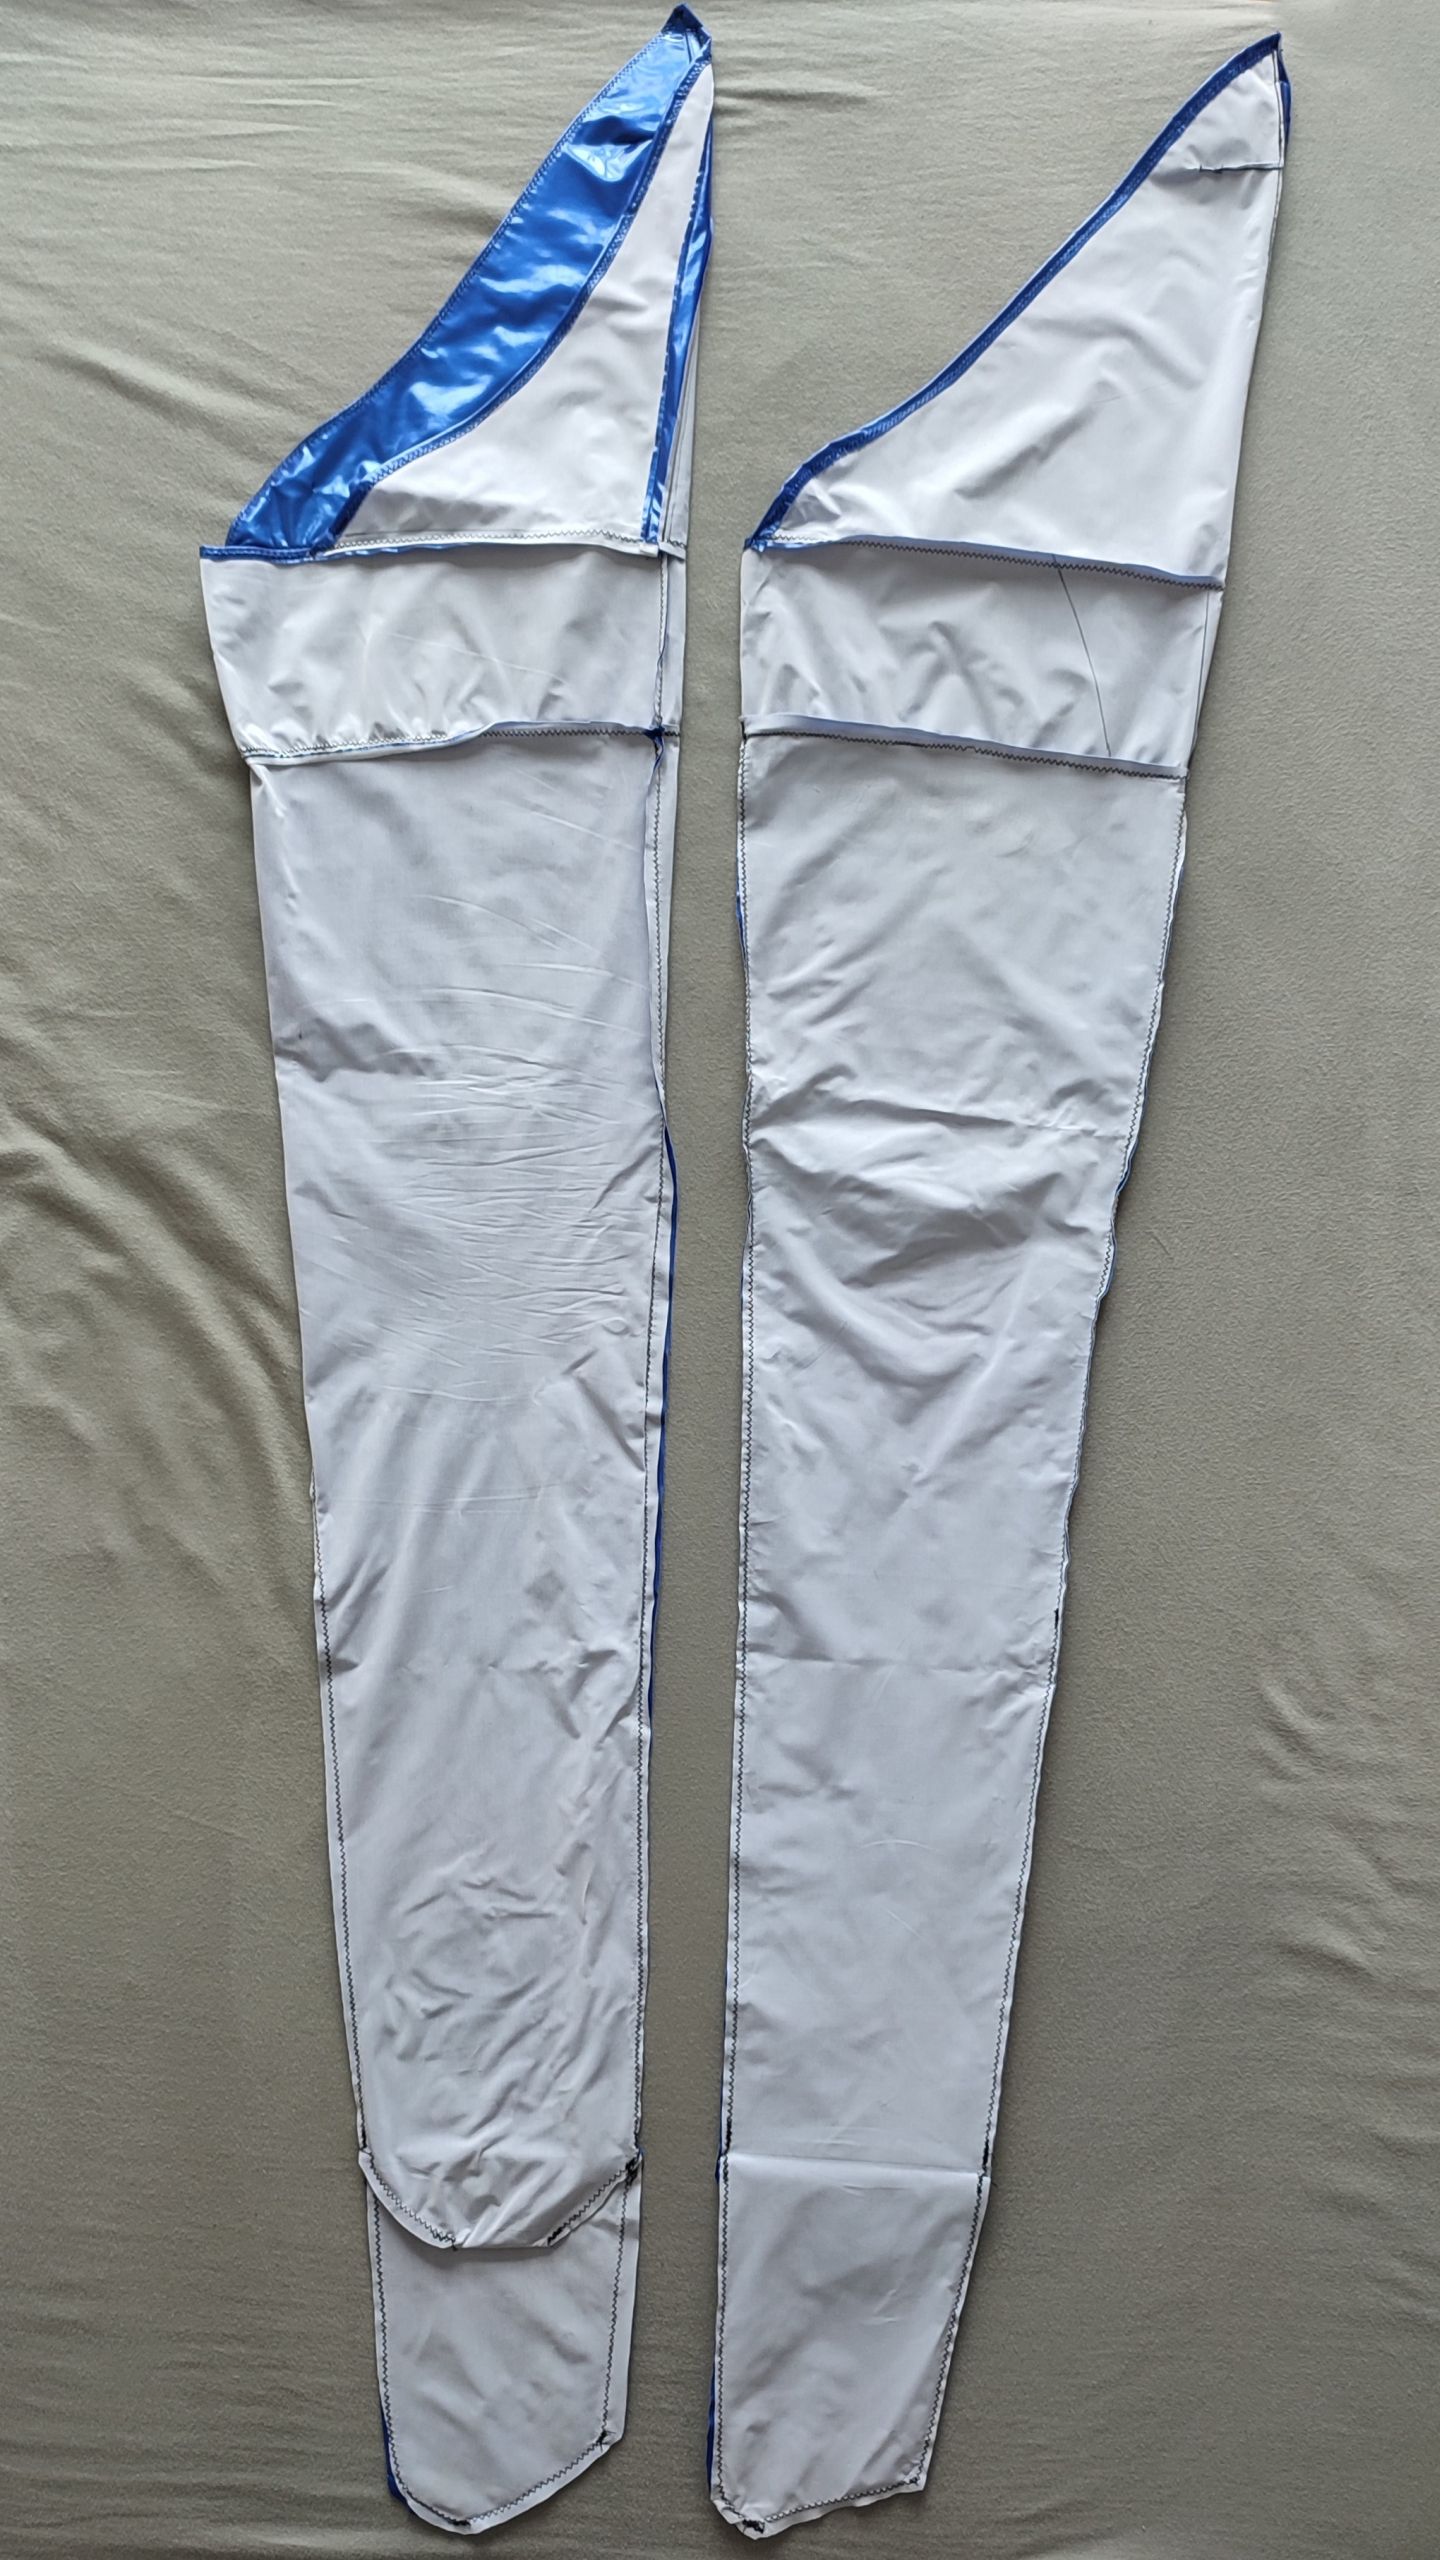
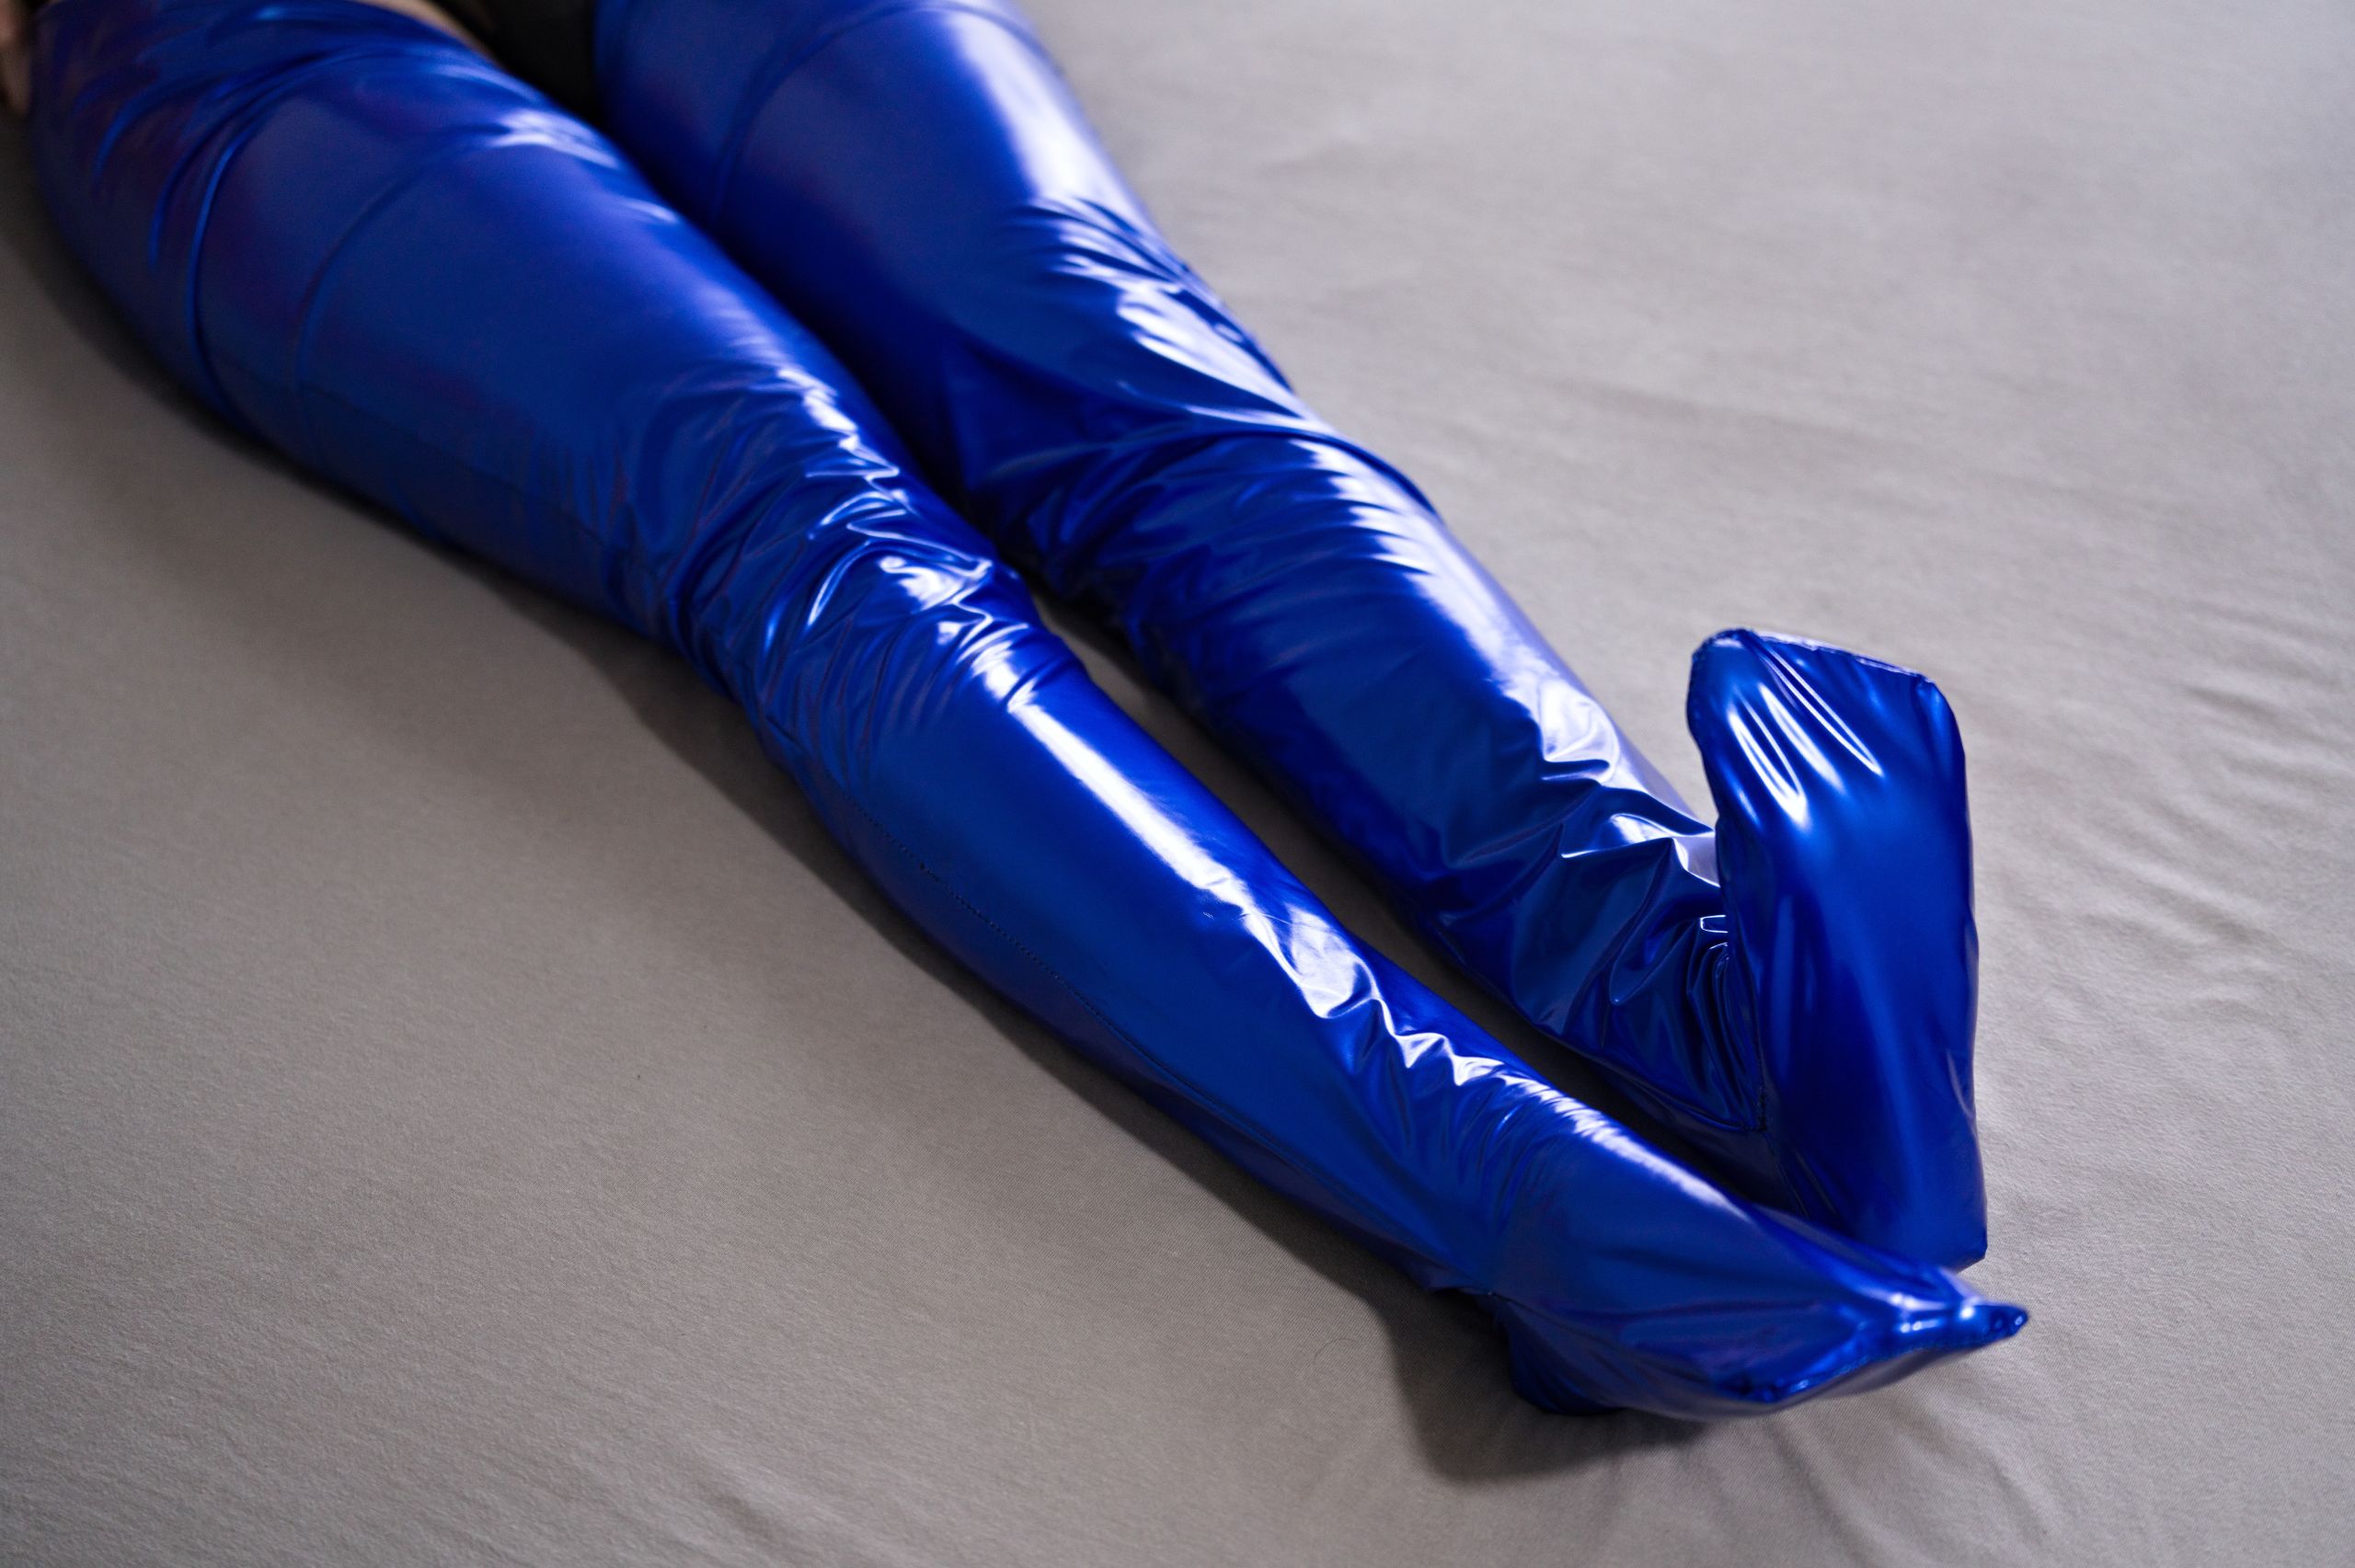
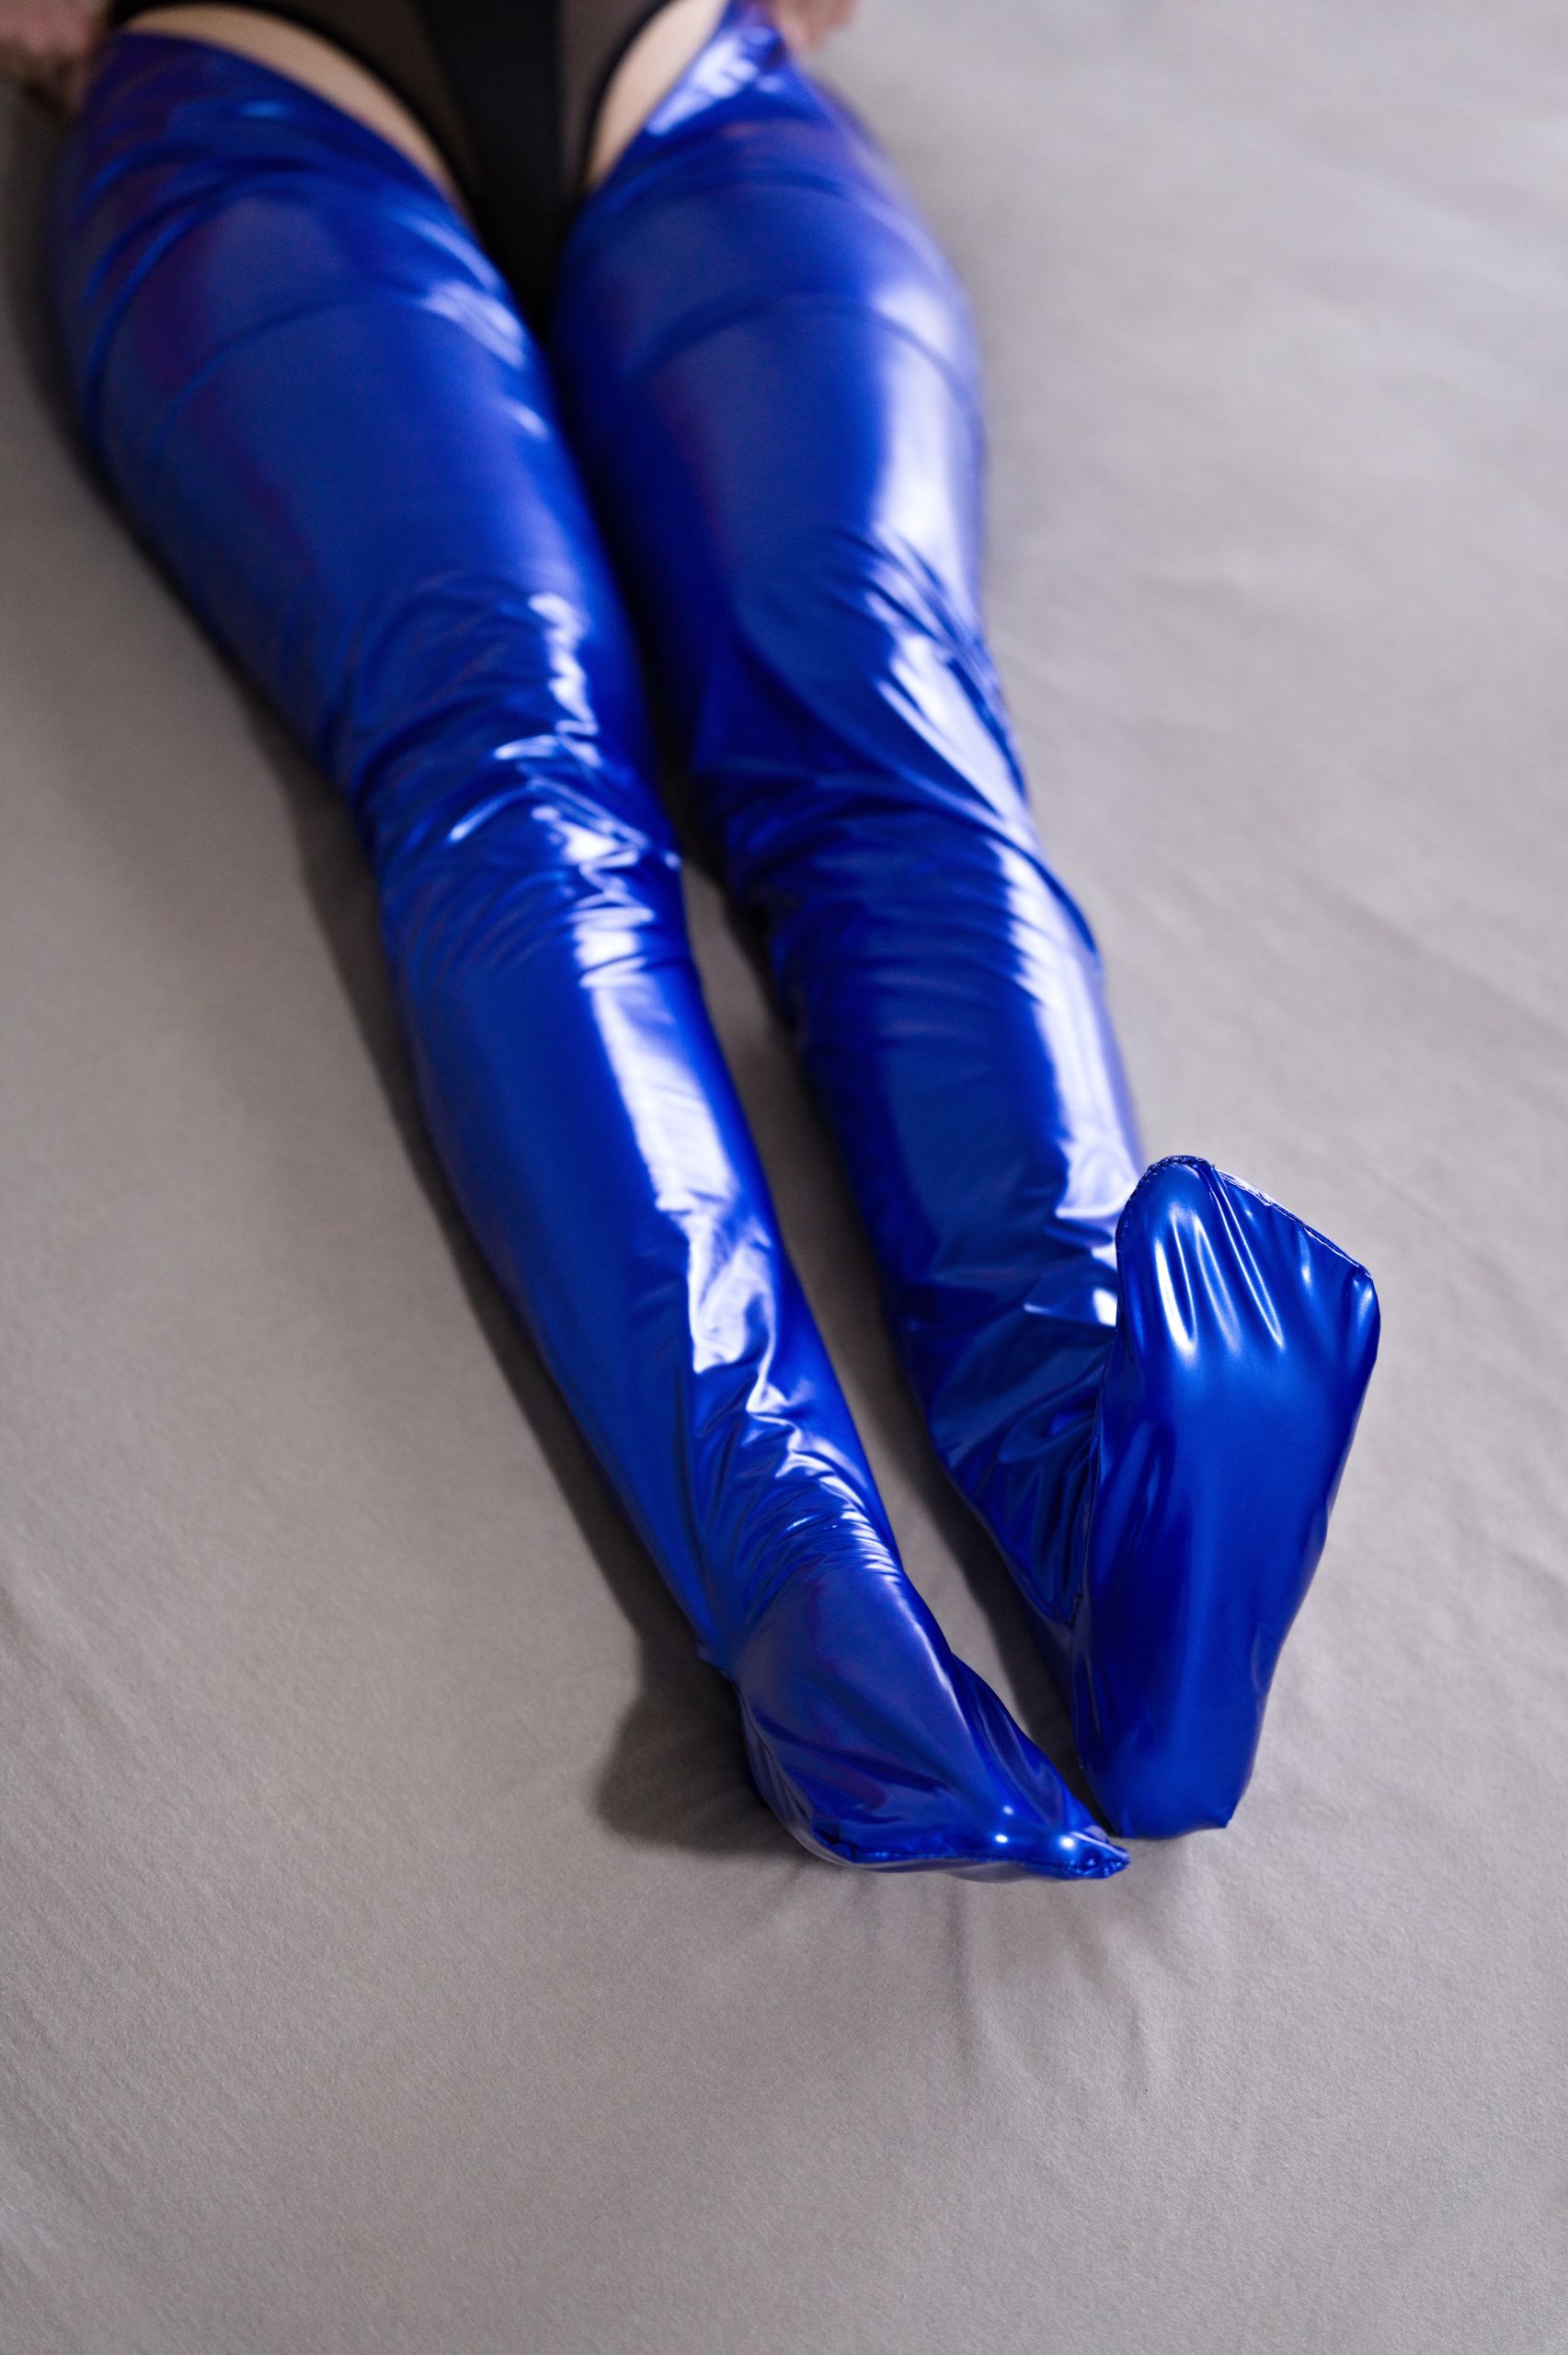

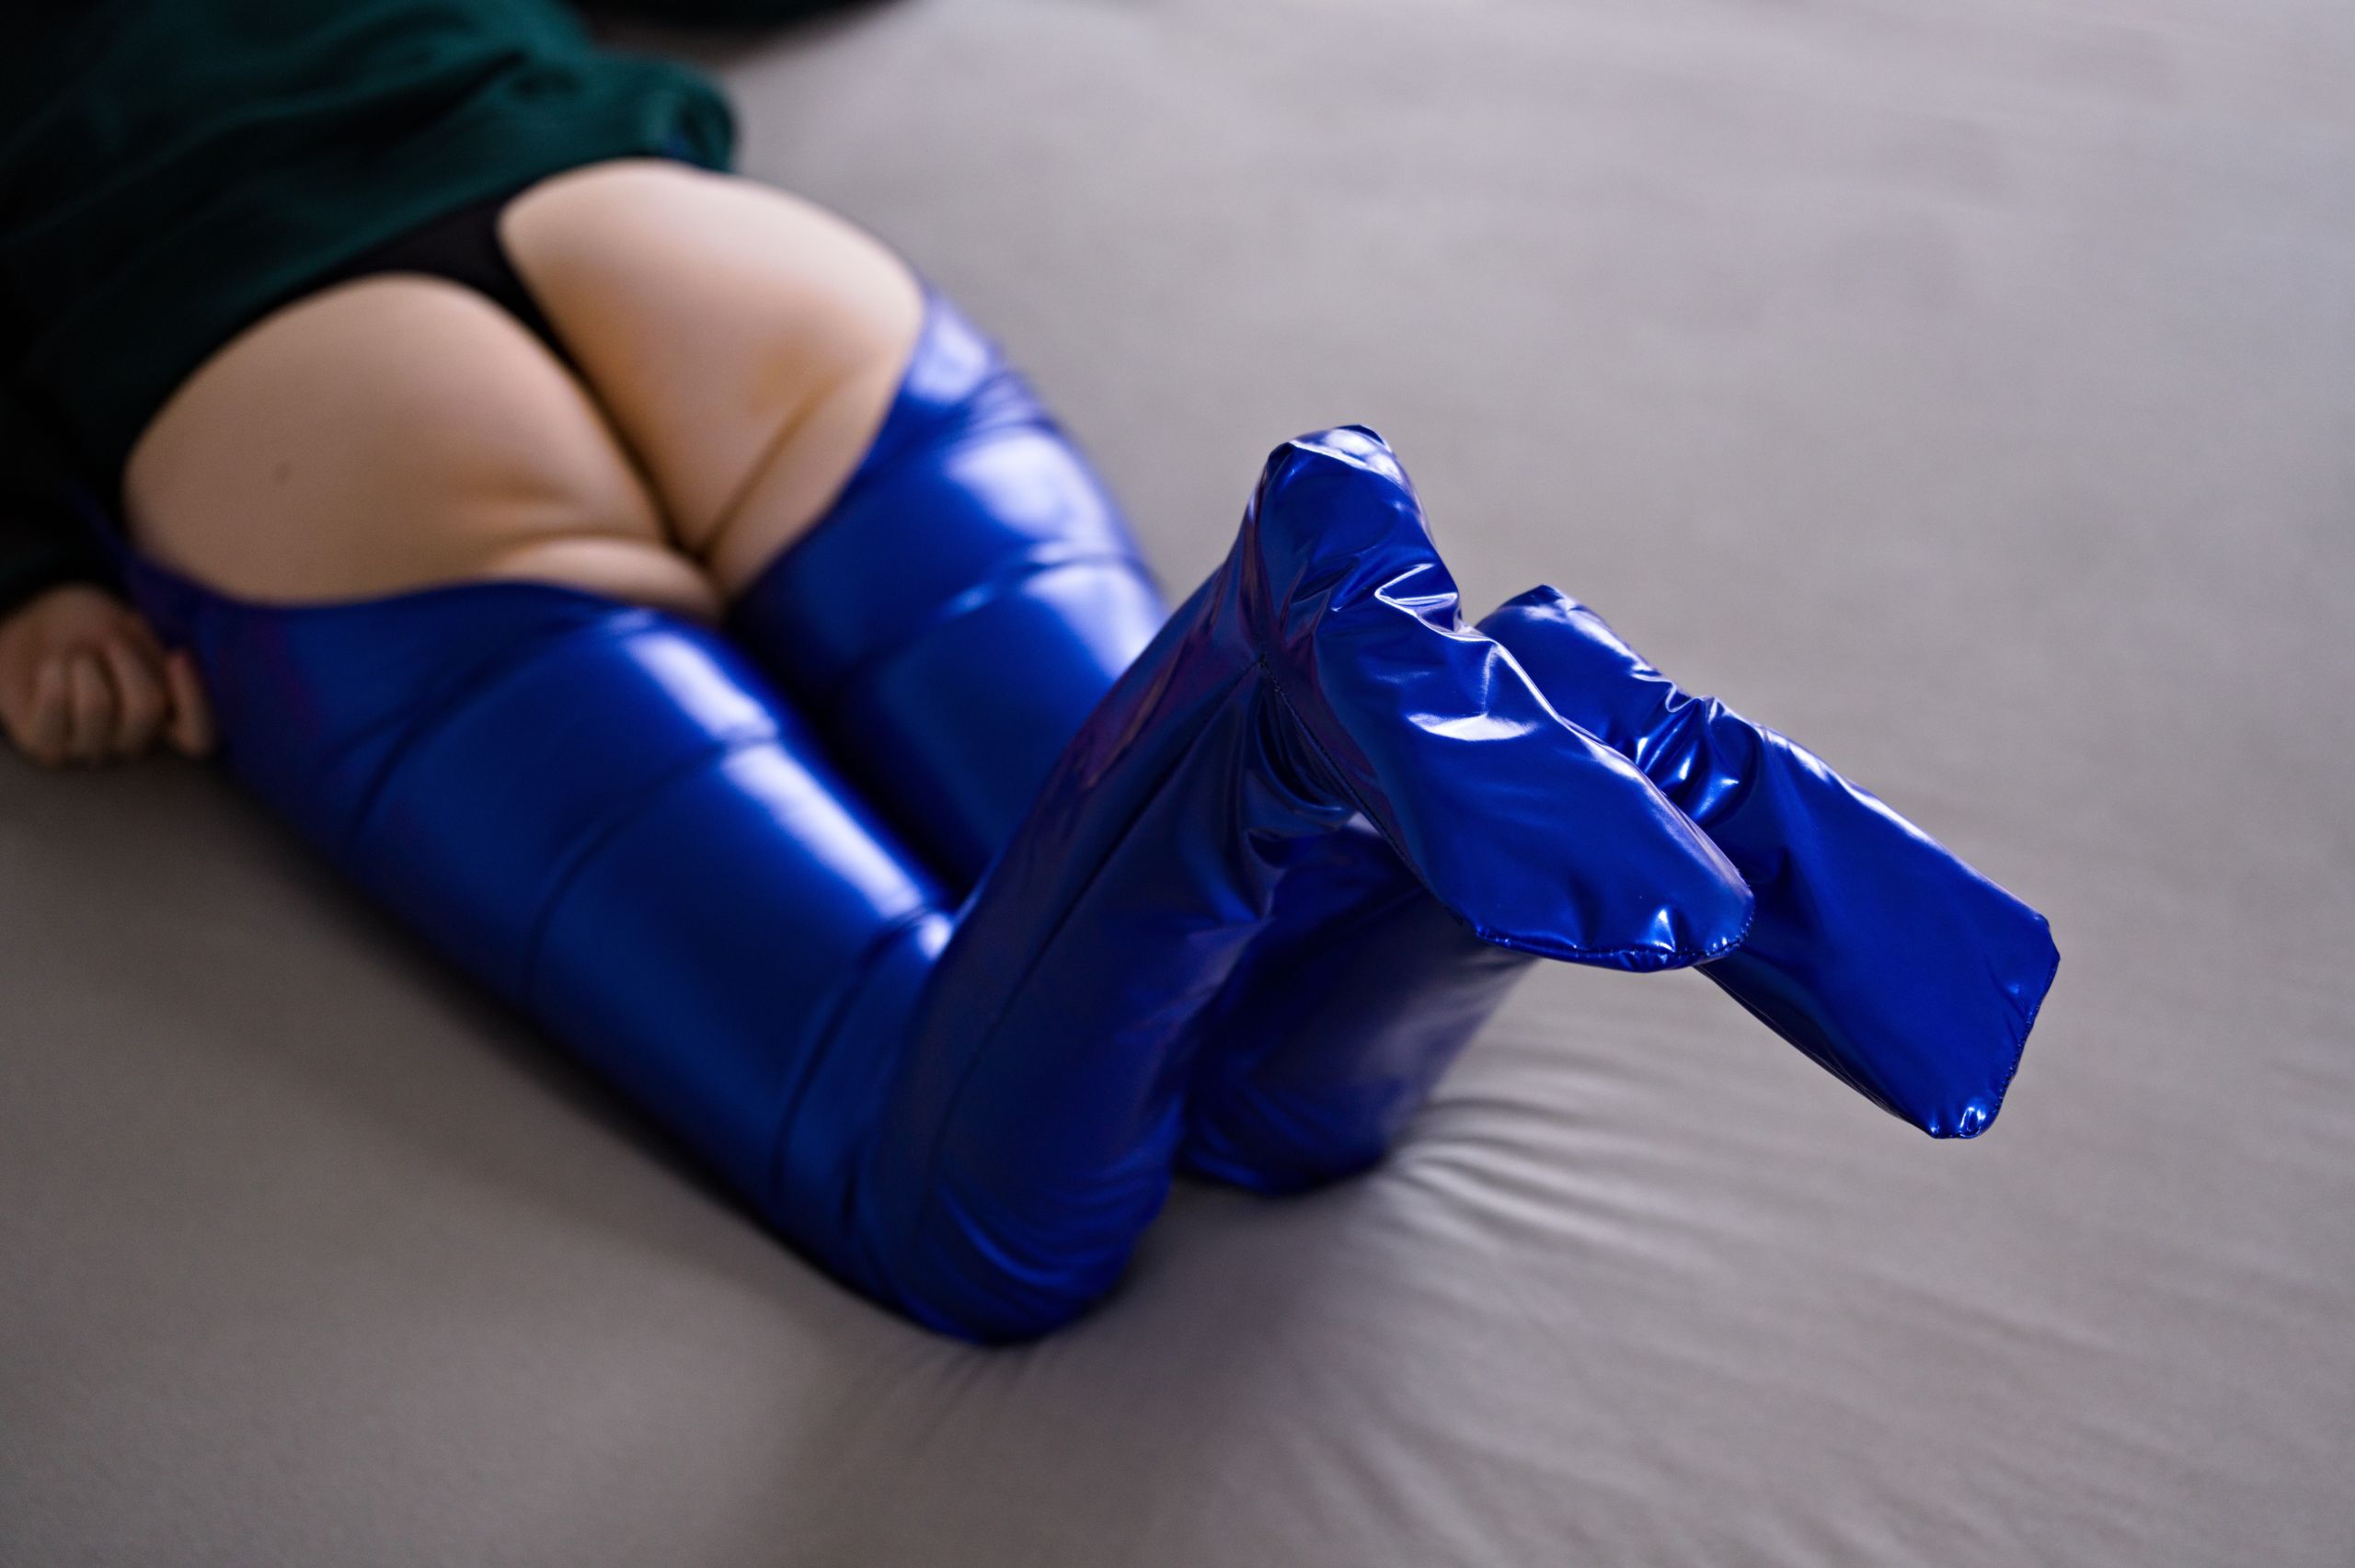
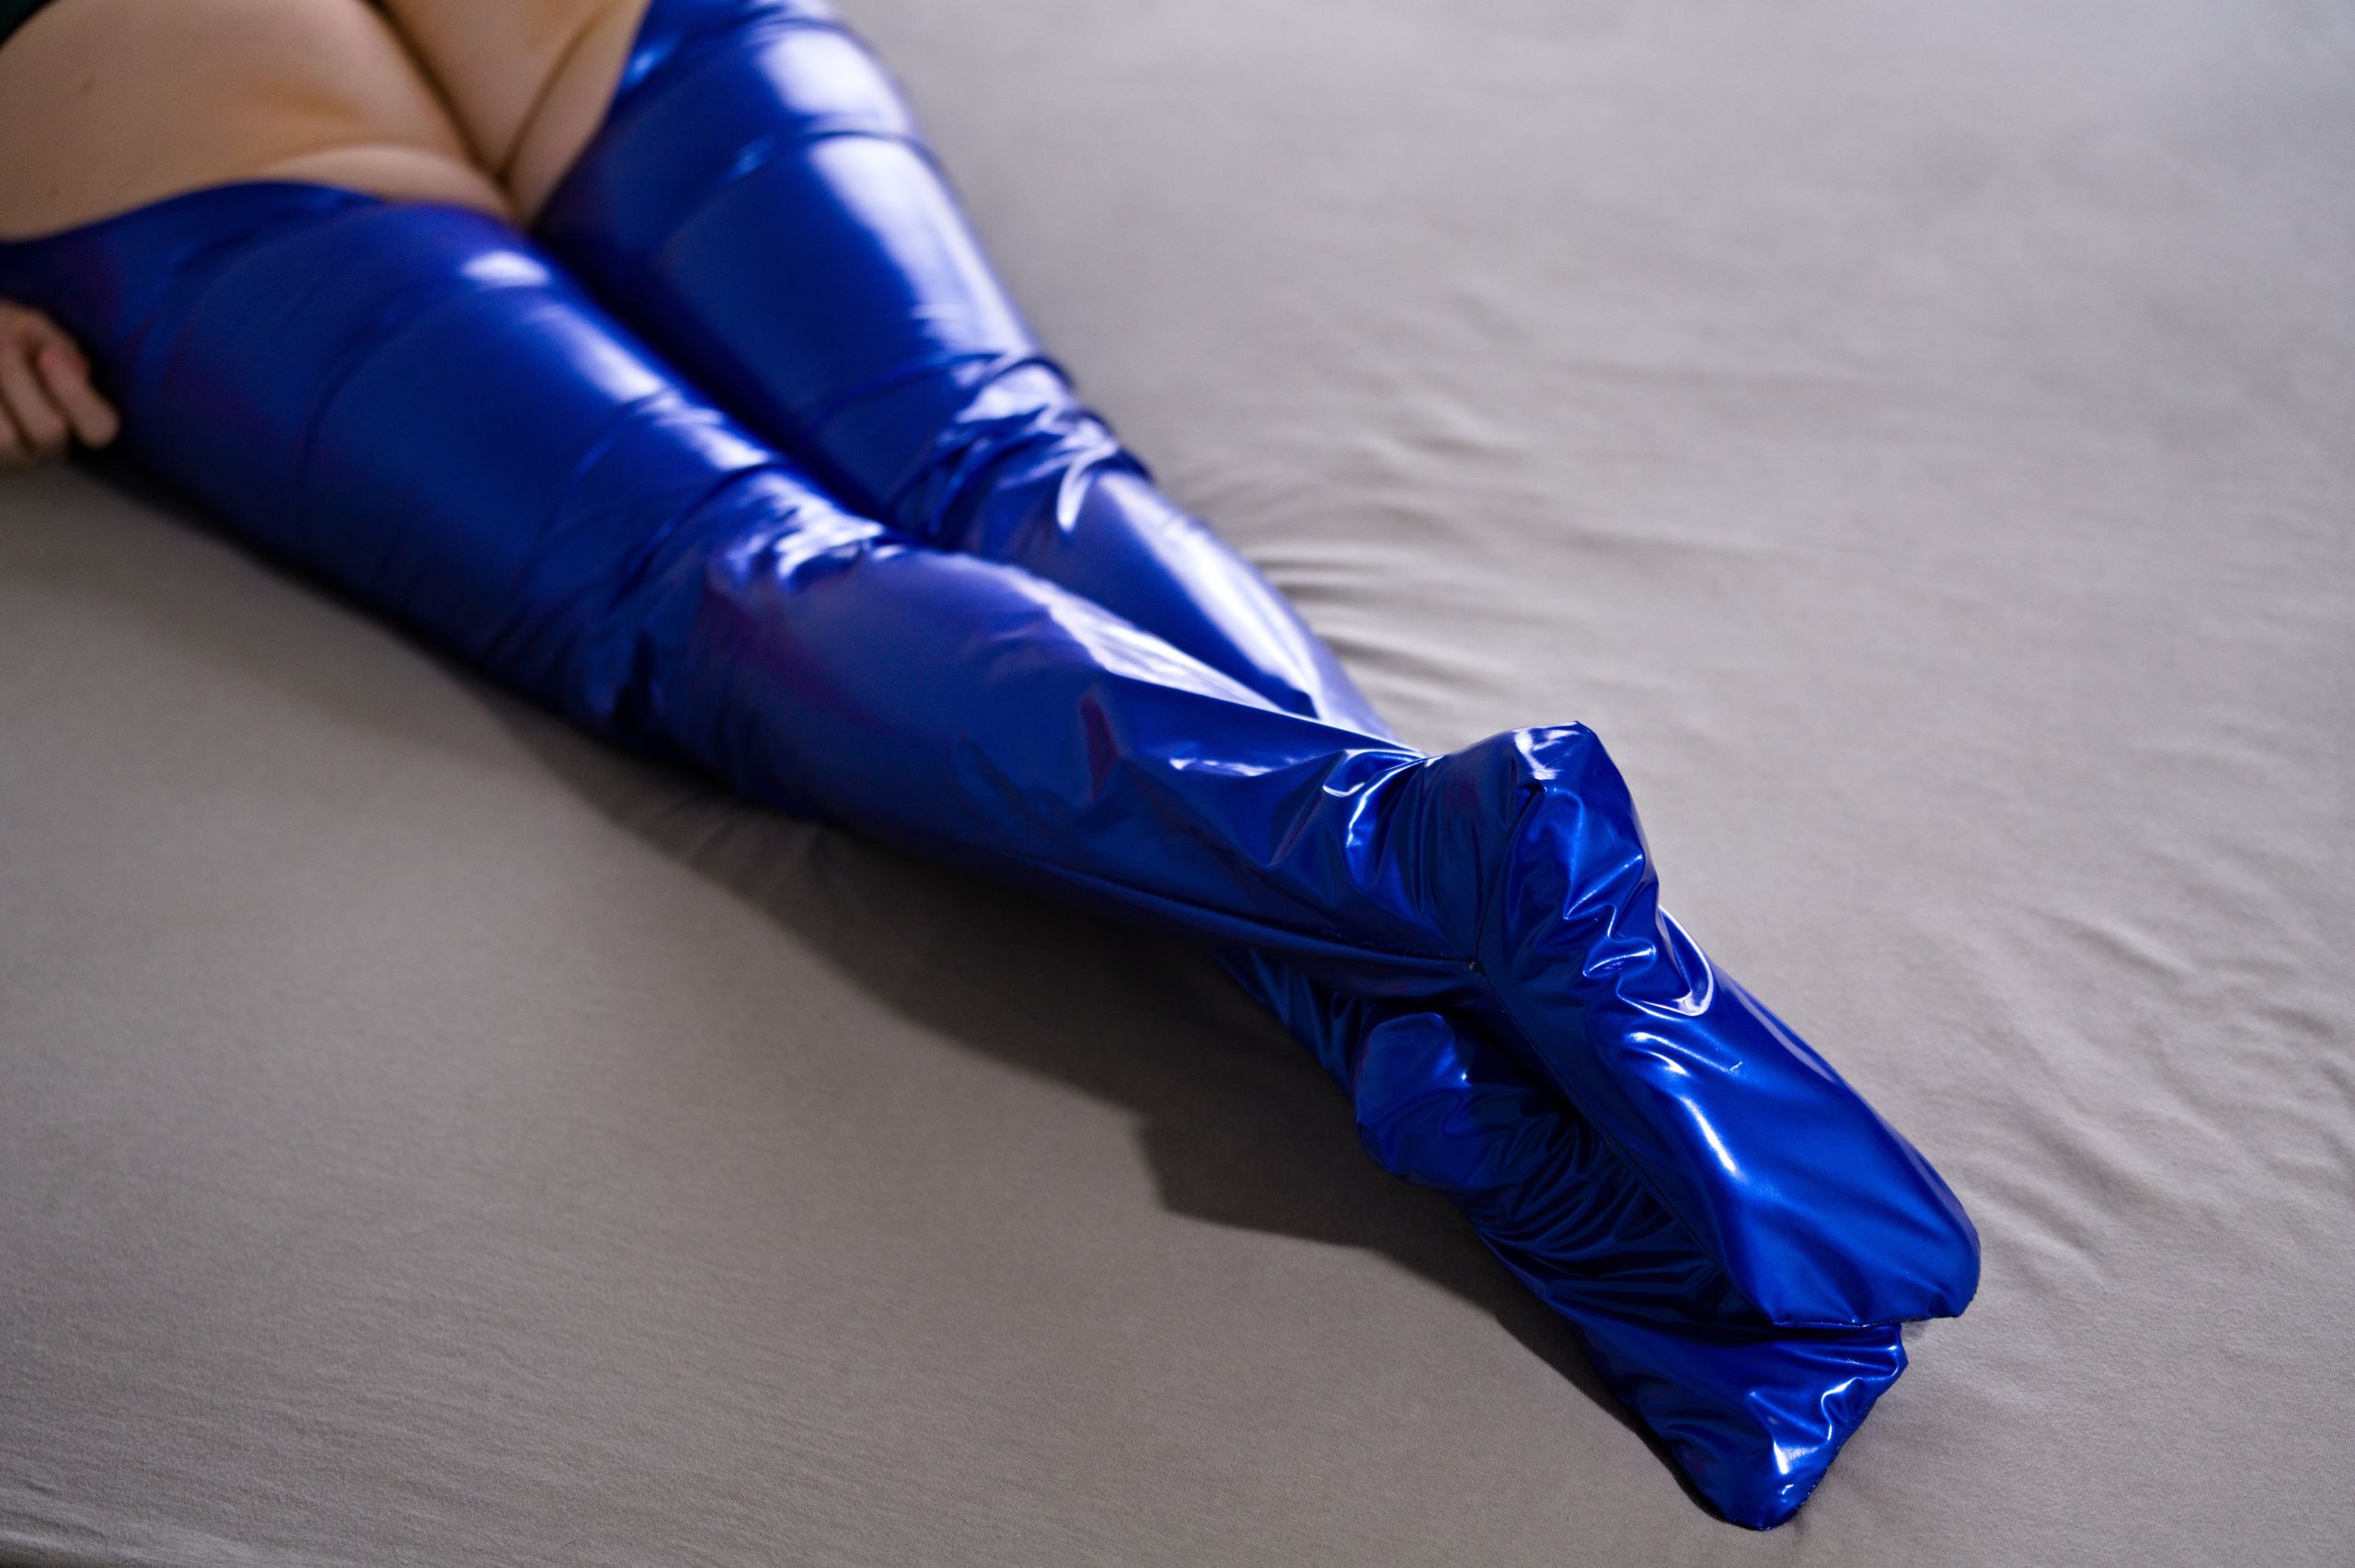

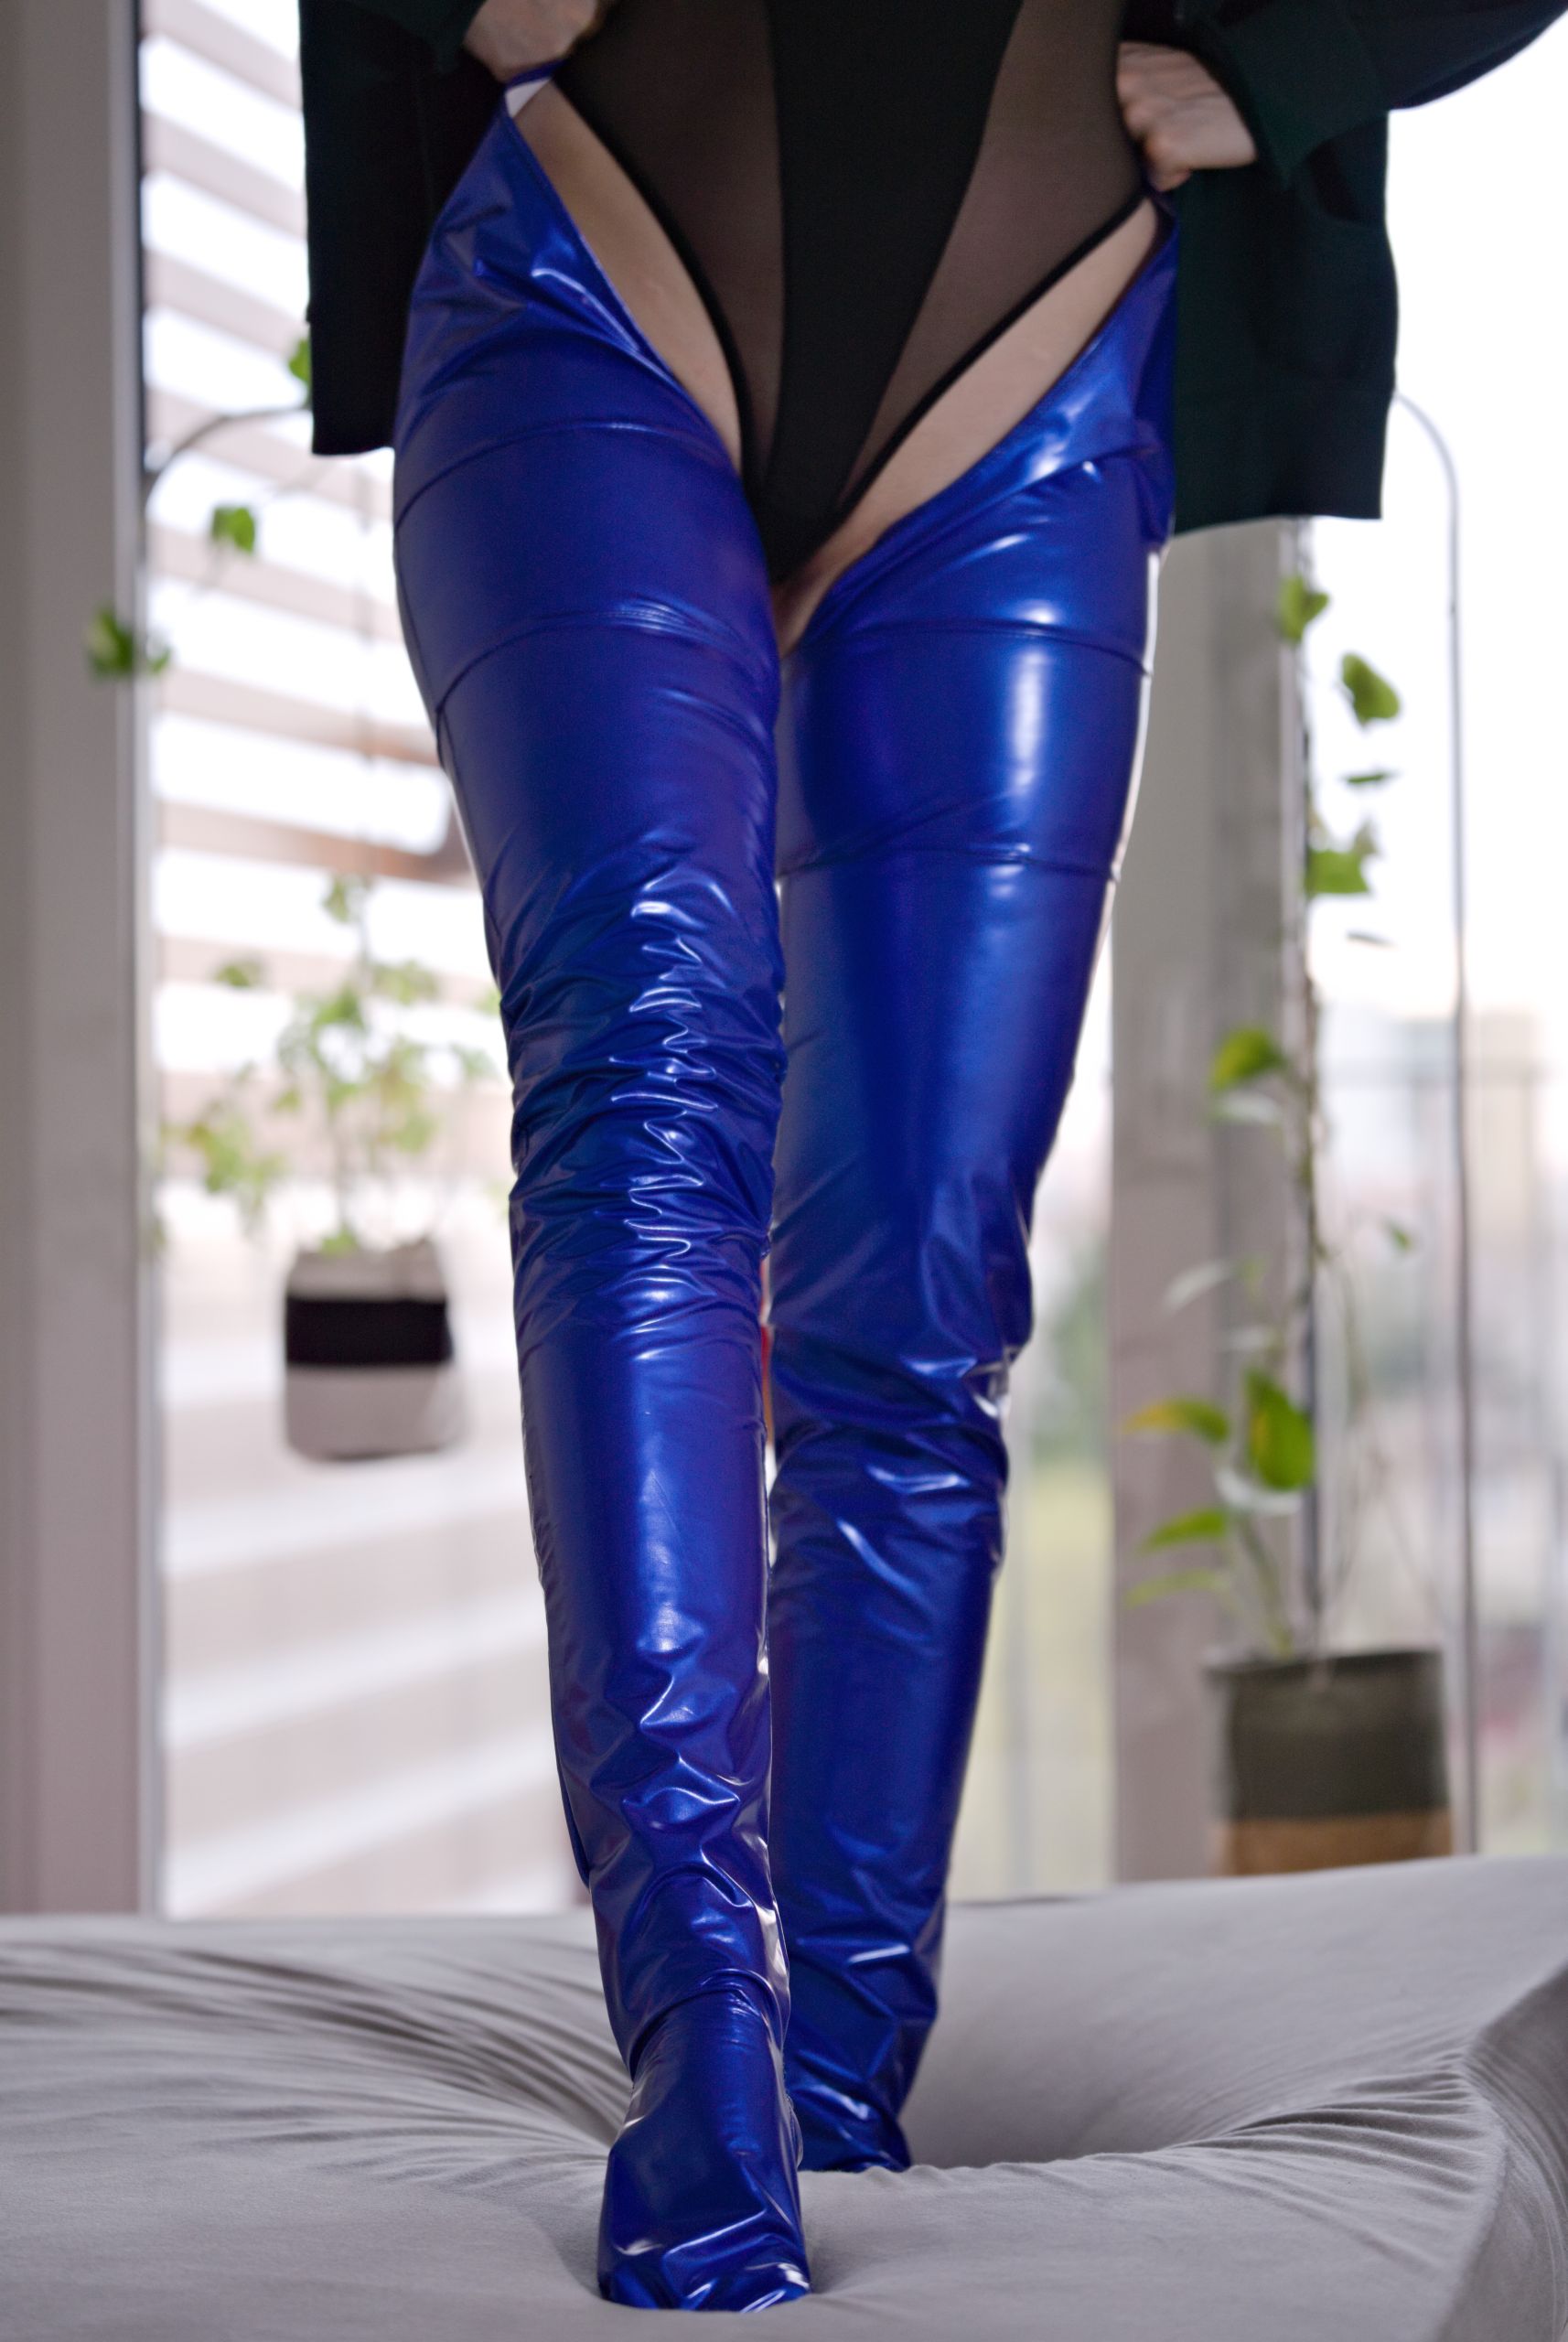





Turns out that based on our past experiences we actually made the pattern way too safe and should have made it much smaller in three areas:
- Sole size could be smaller with steeper toe line
- More taper across stocking’s height was needed
- While the heel required even more length to be added to the back piece, the curvature required for the fabric to follow foot was steeper than expected.
Final pattern and conclusions
For the latest project we took a liberty of incorporating an additional strip of fabric for that Race Queen vibe and it still fits good!It’s a win in my book and all it took was*counts in grimacing*11 meters of trial-and-error on different fabrics which, in total, CERTAINLY wasn’t much more expensive than a store-bought set of true latex stockings… right? Right?
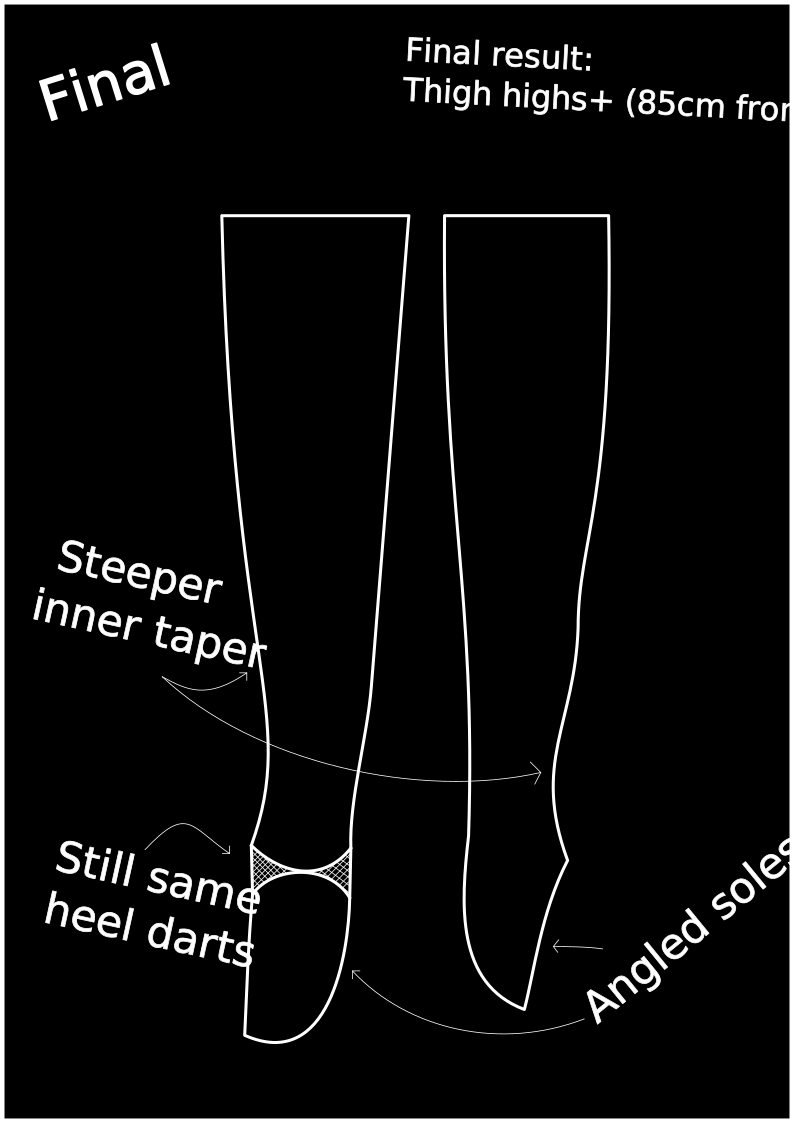
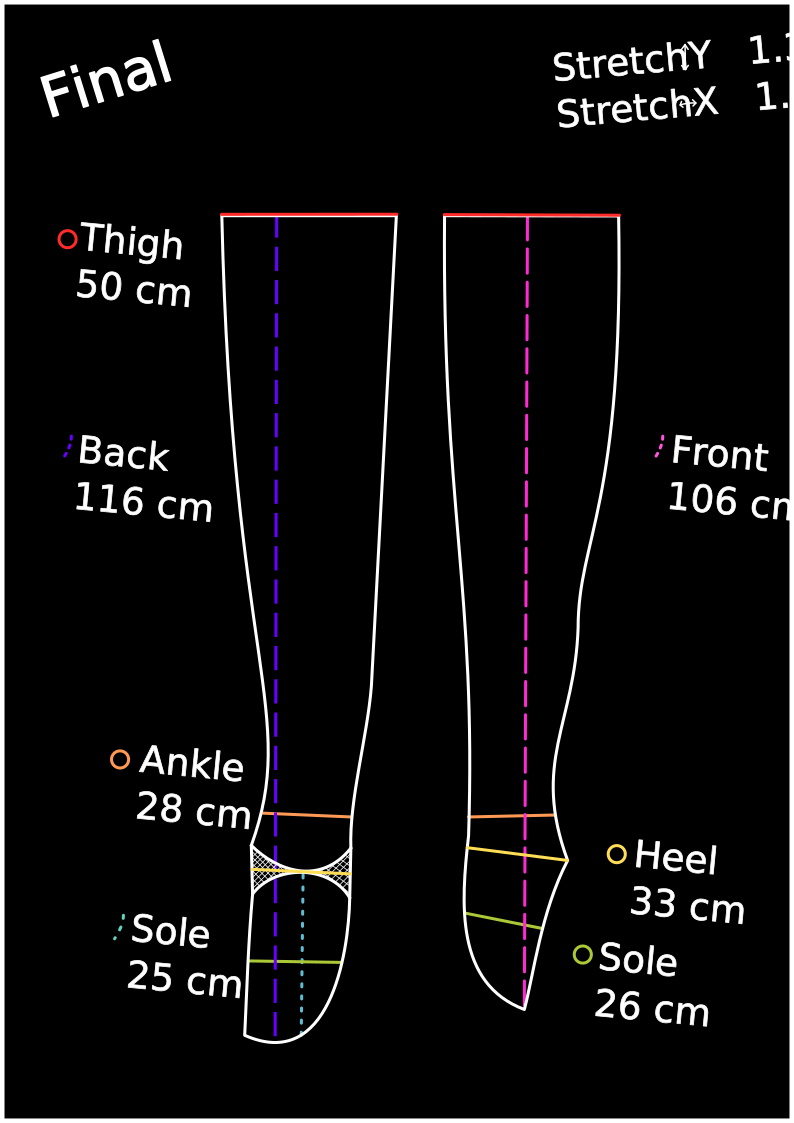
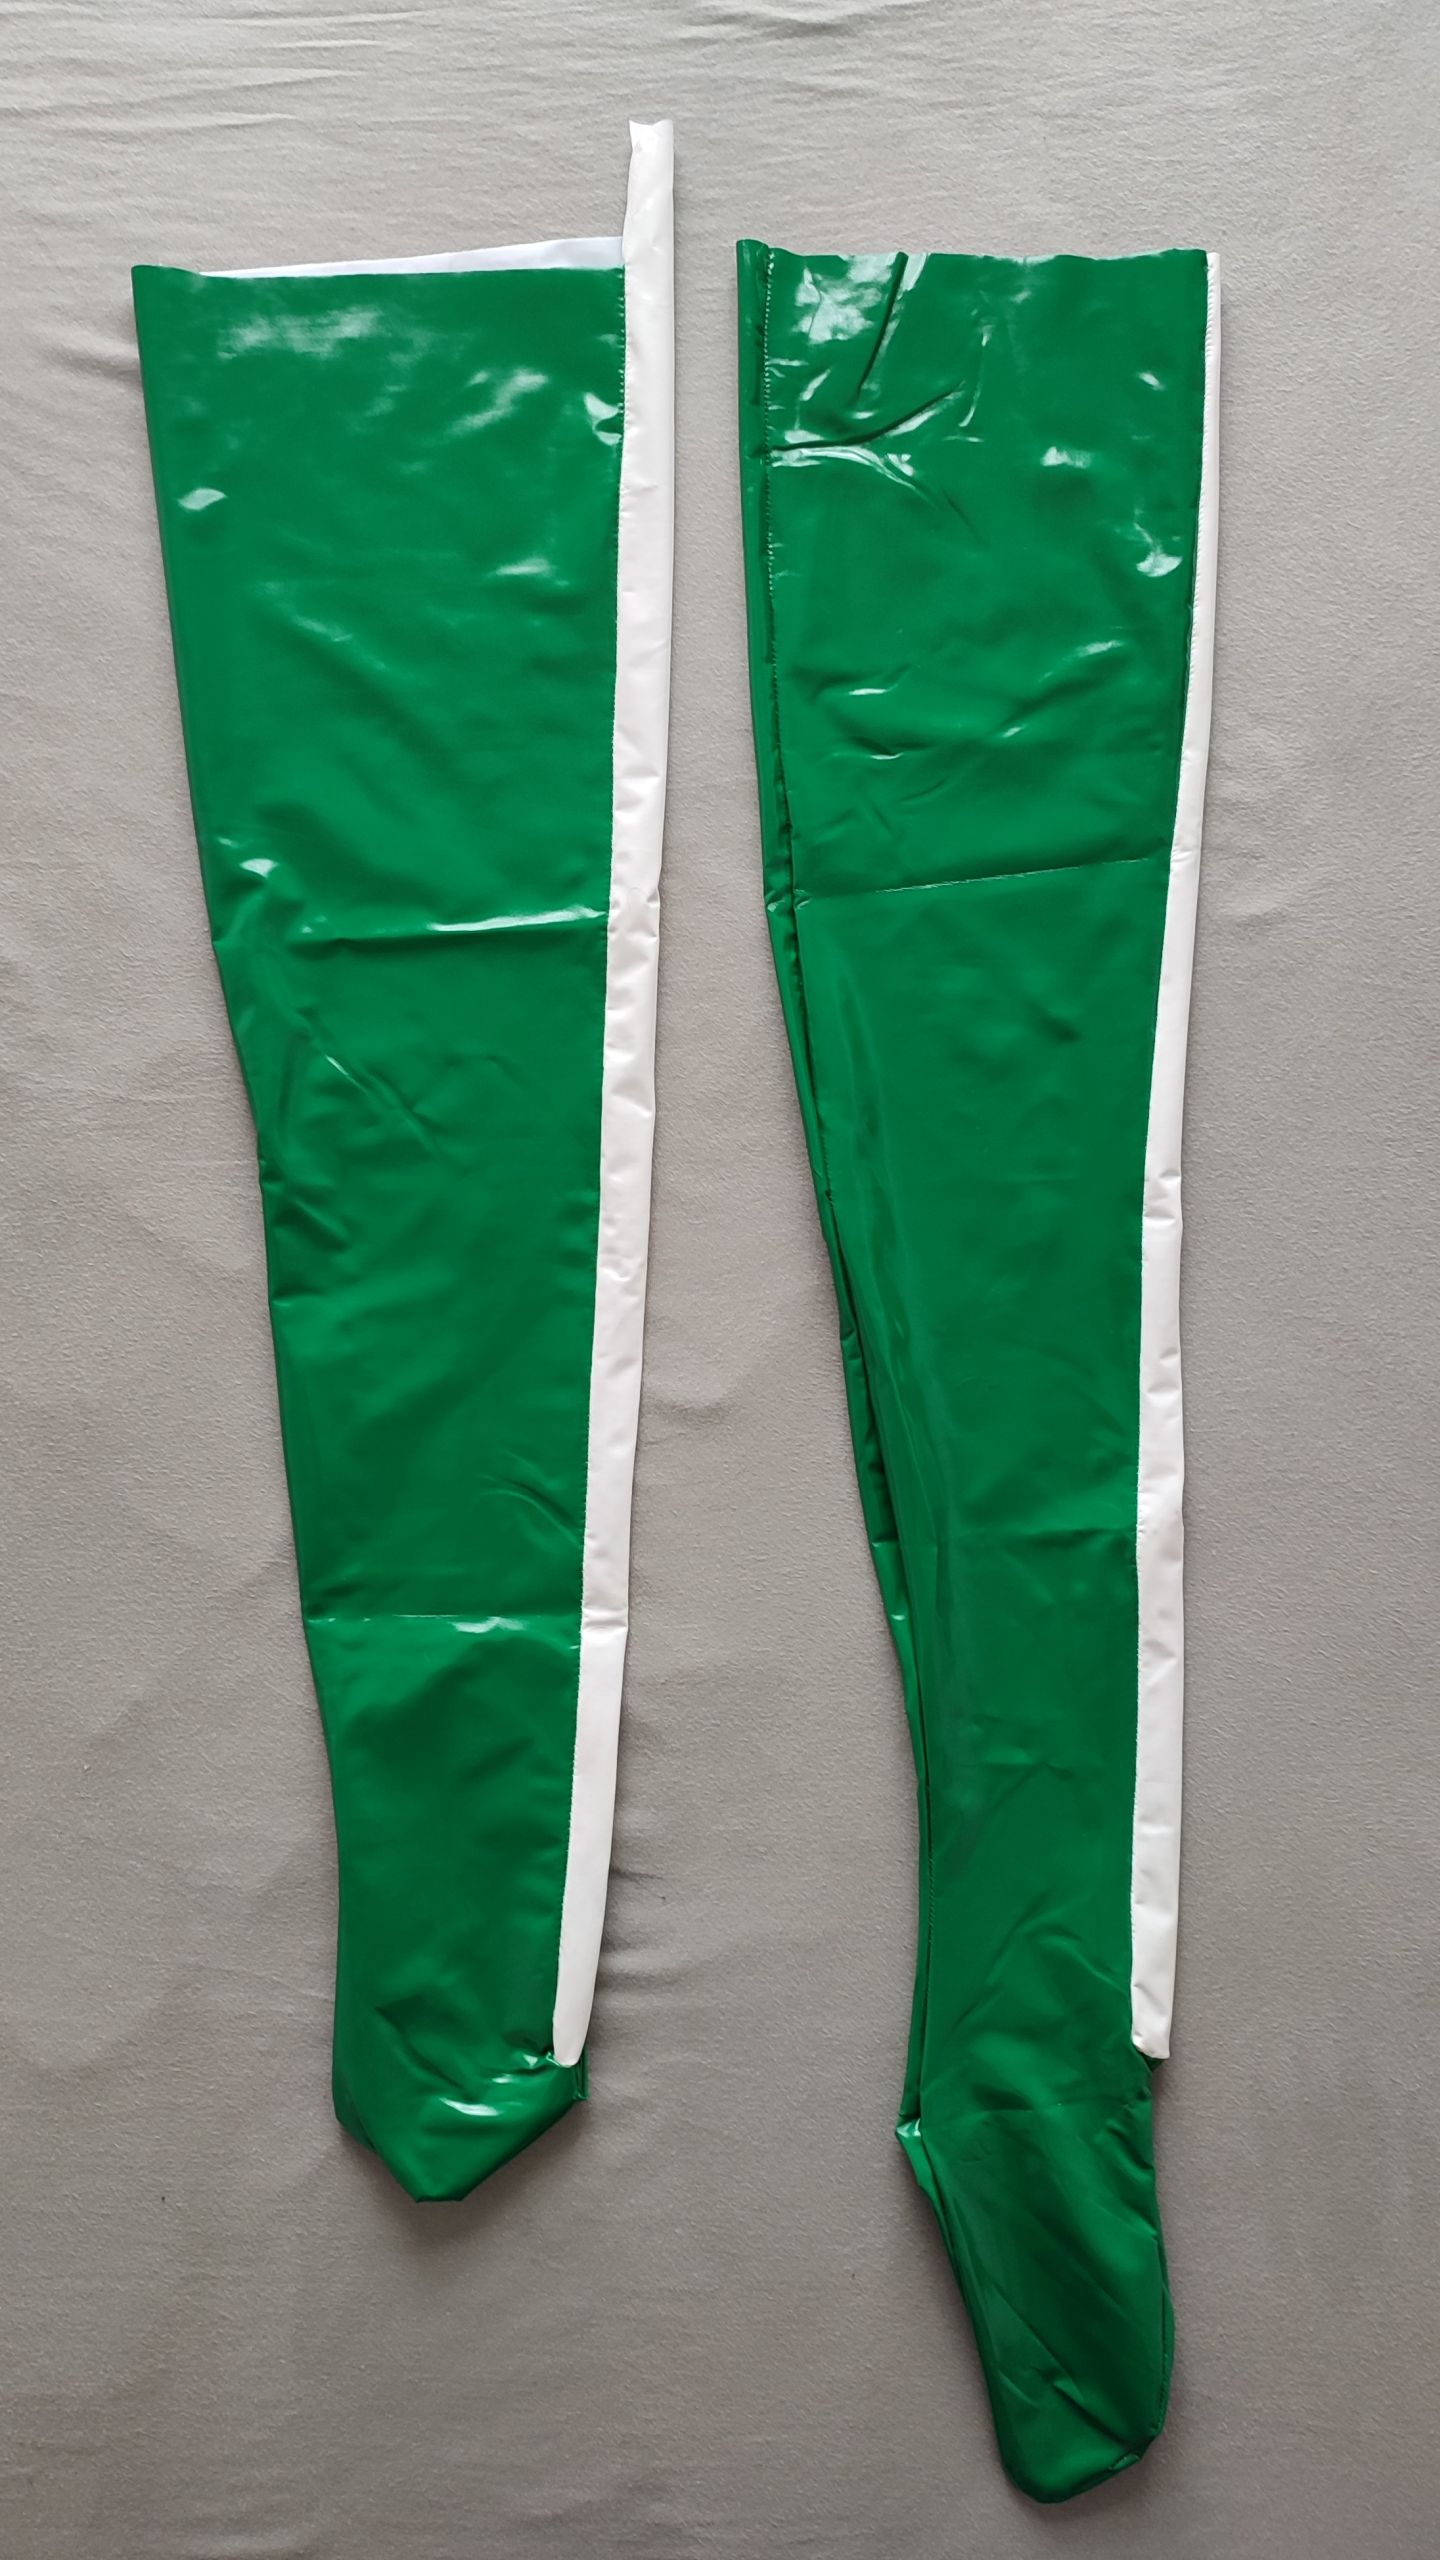
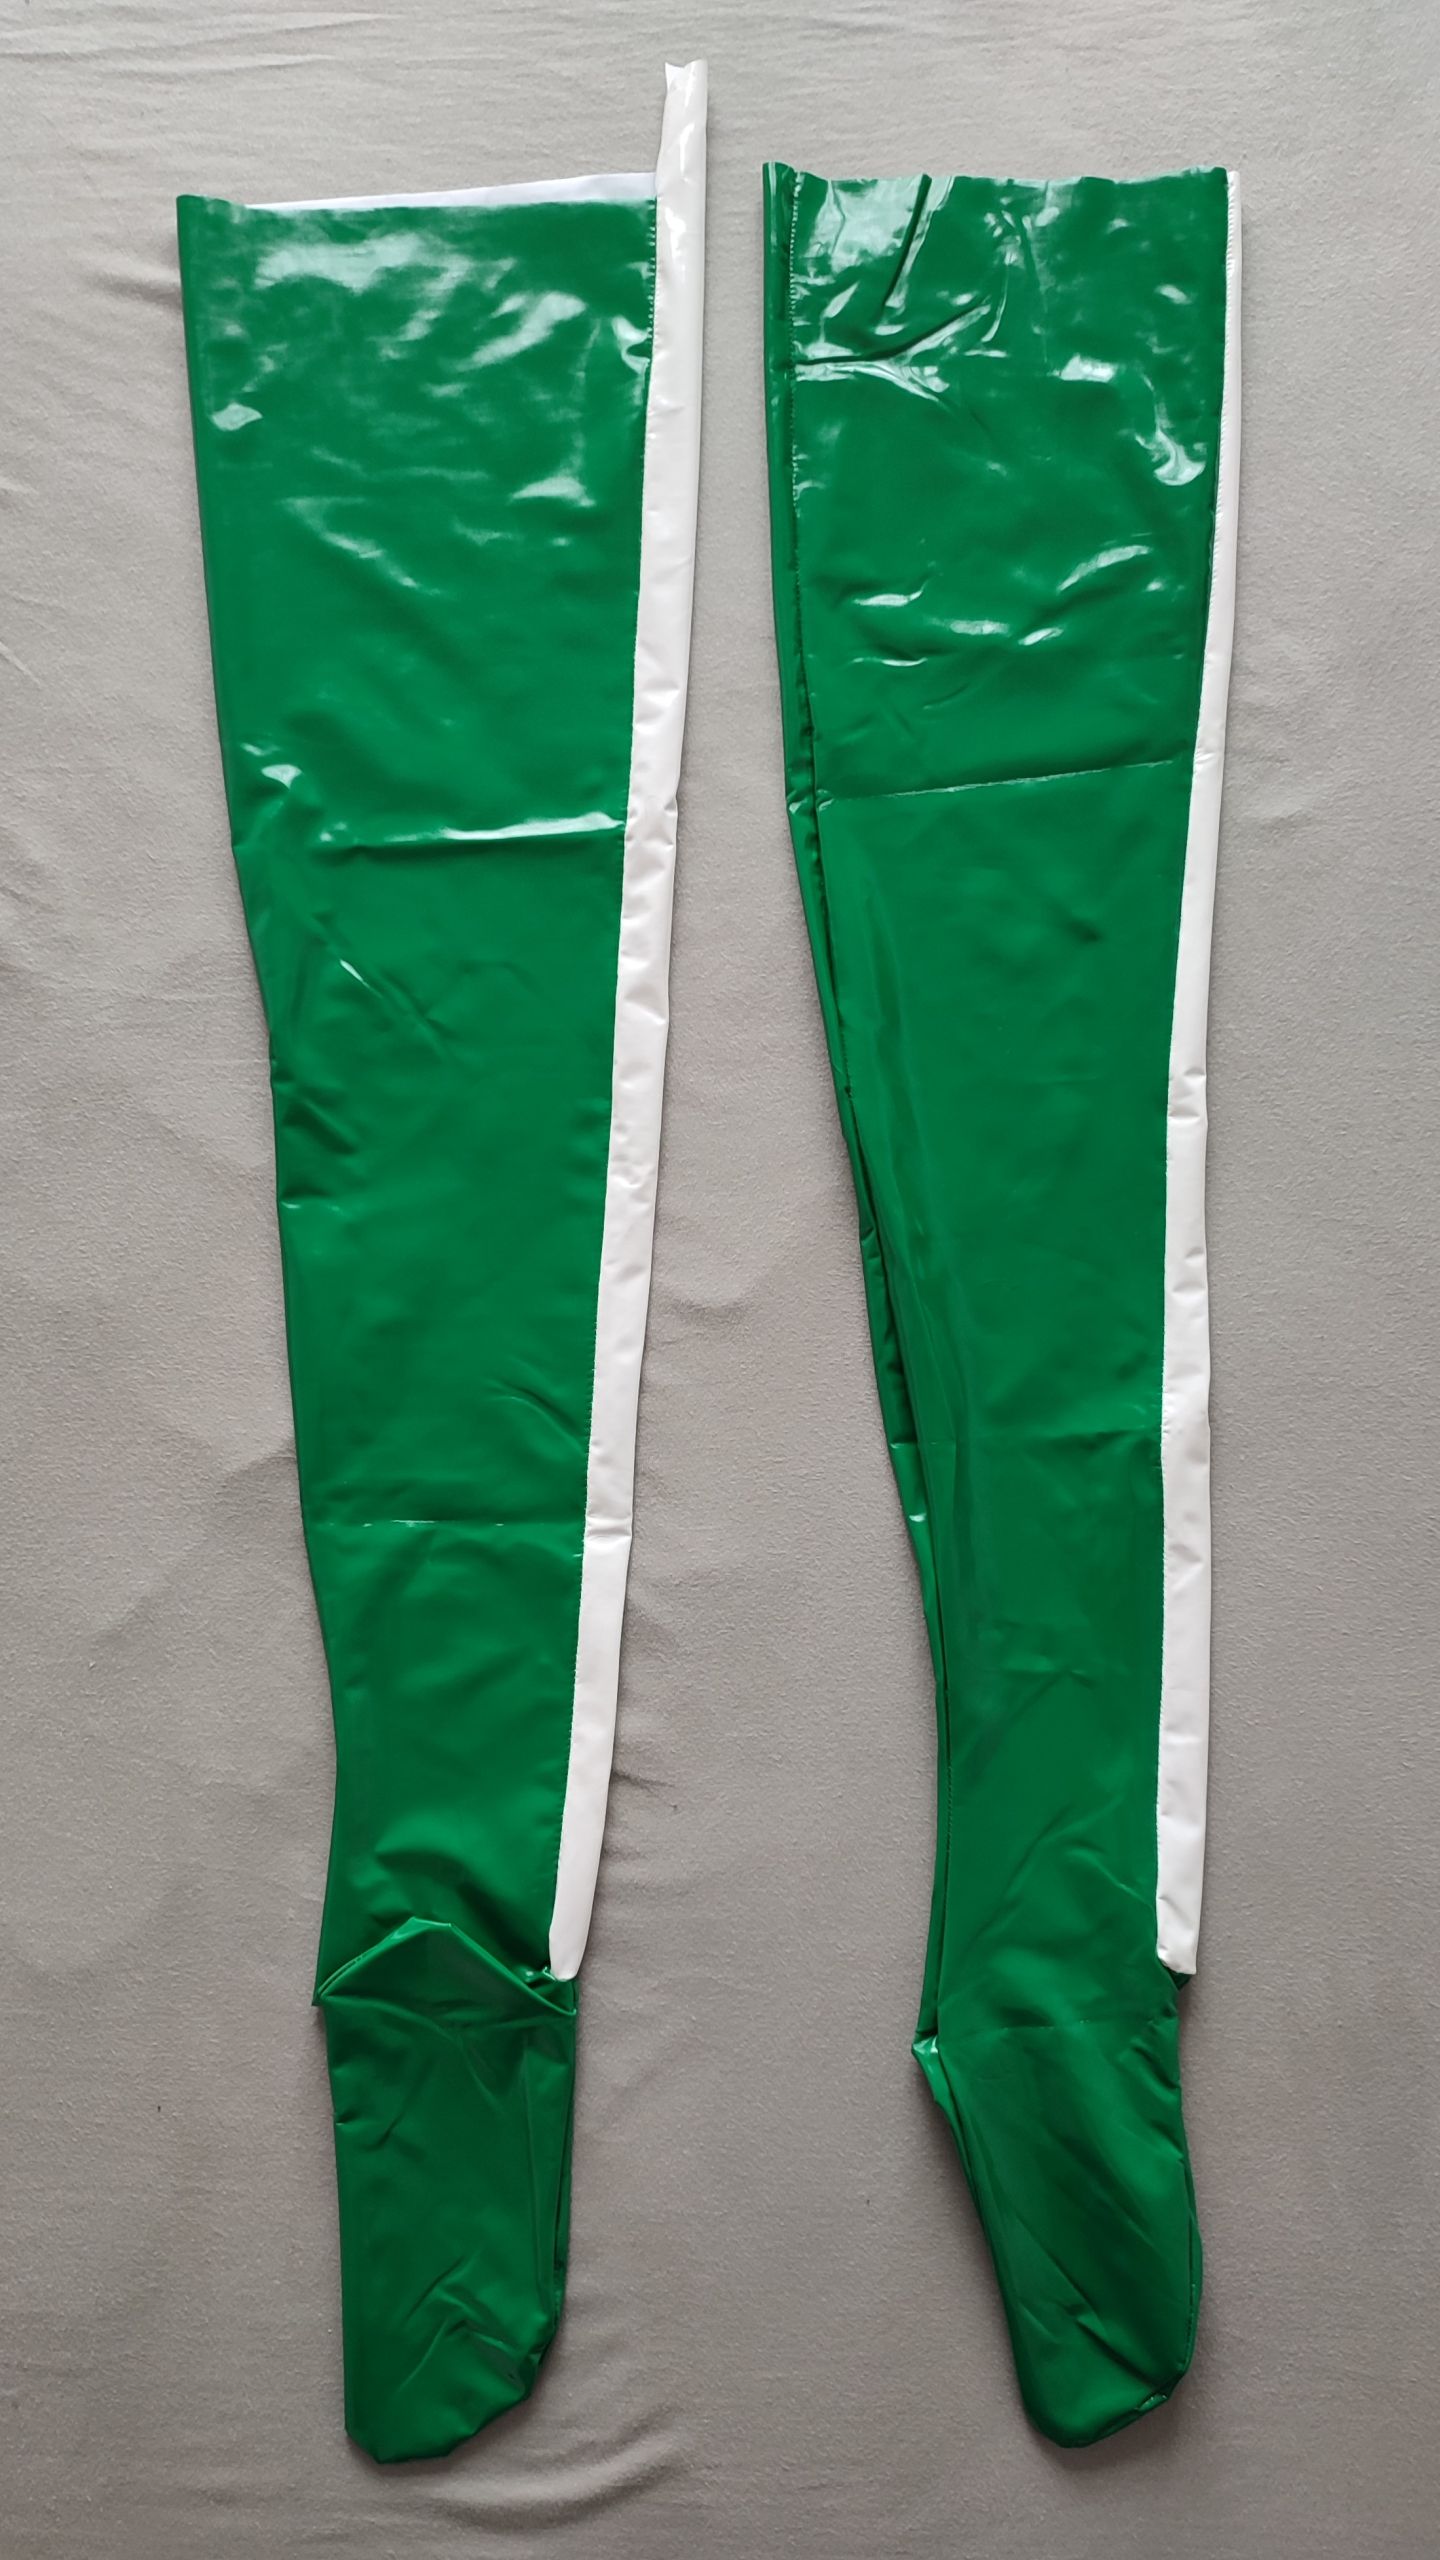
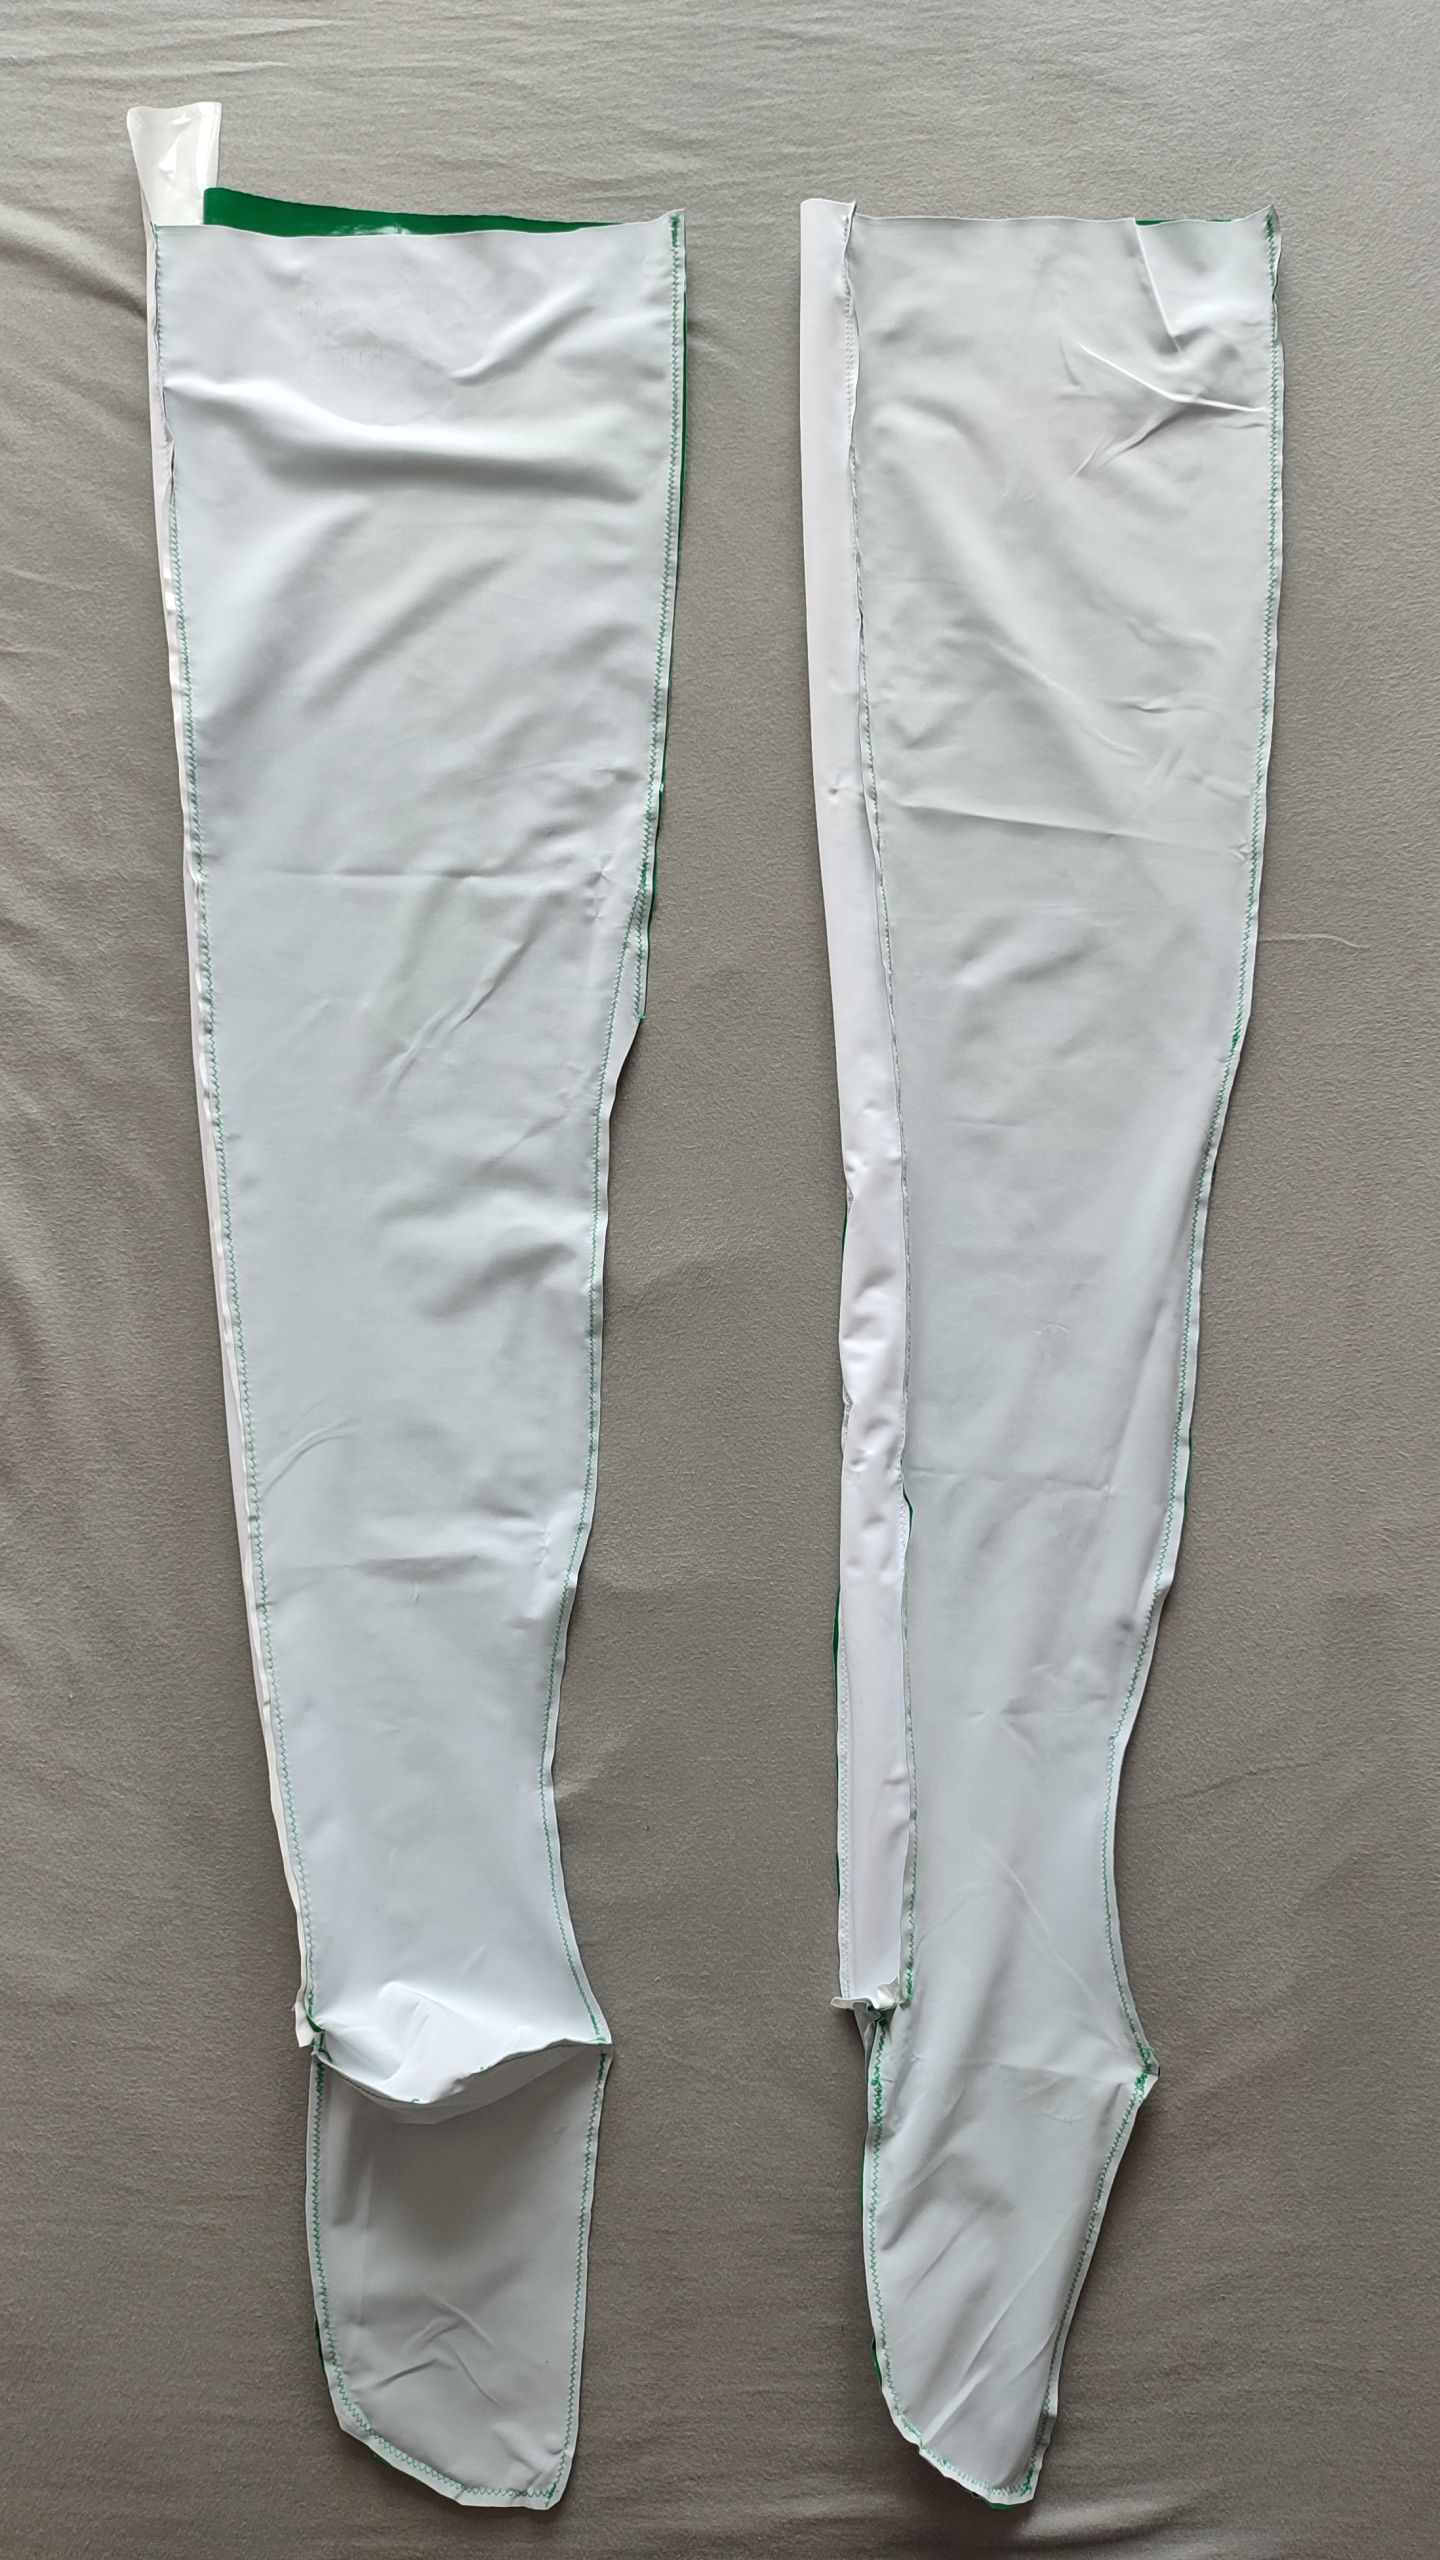
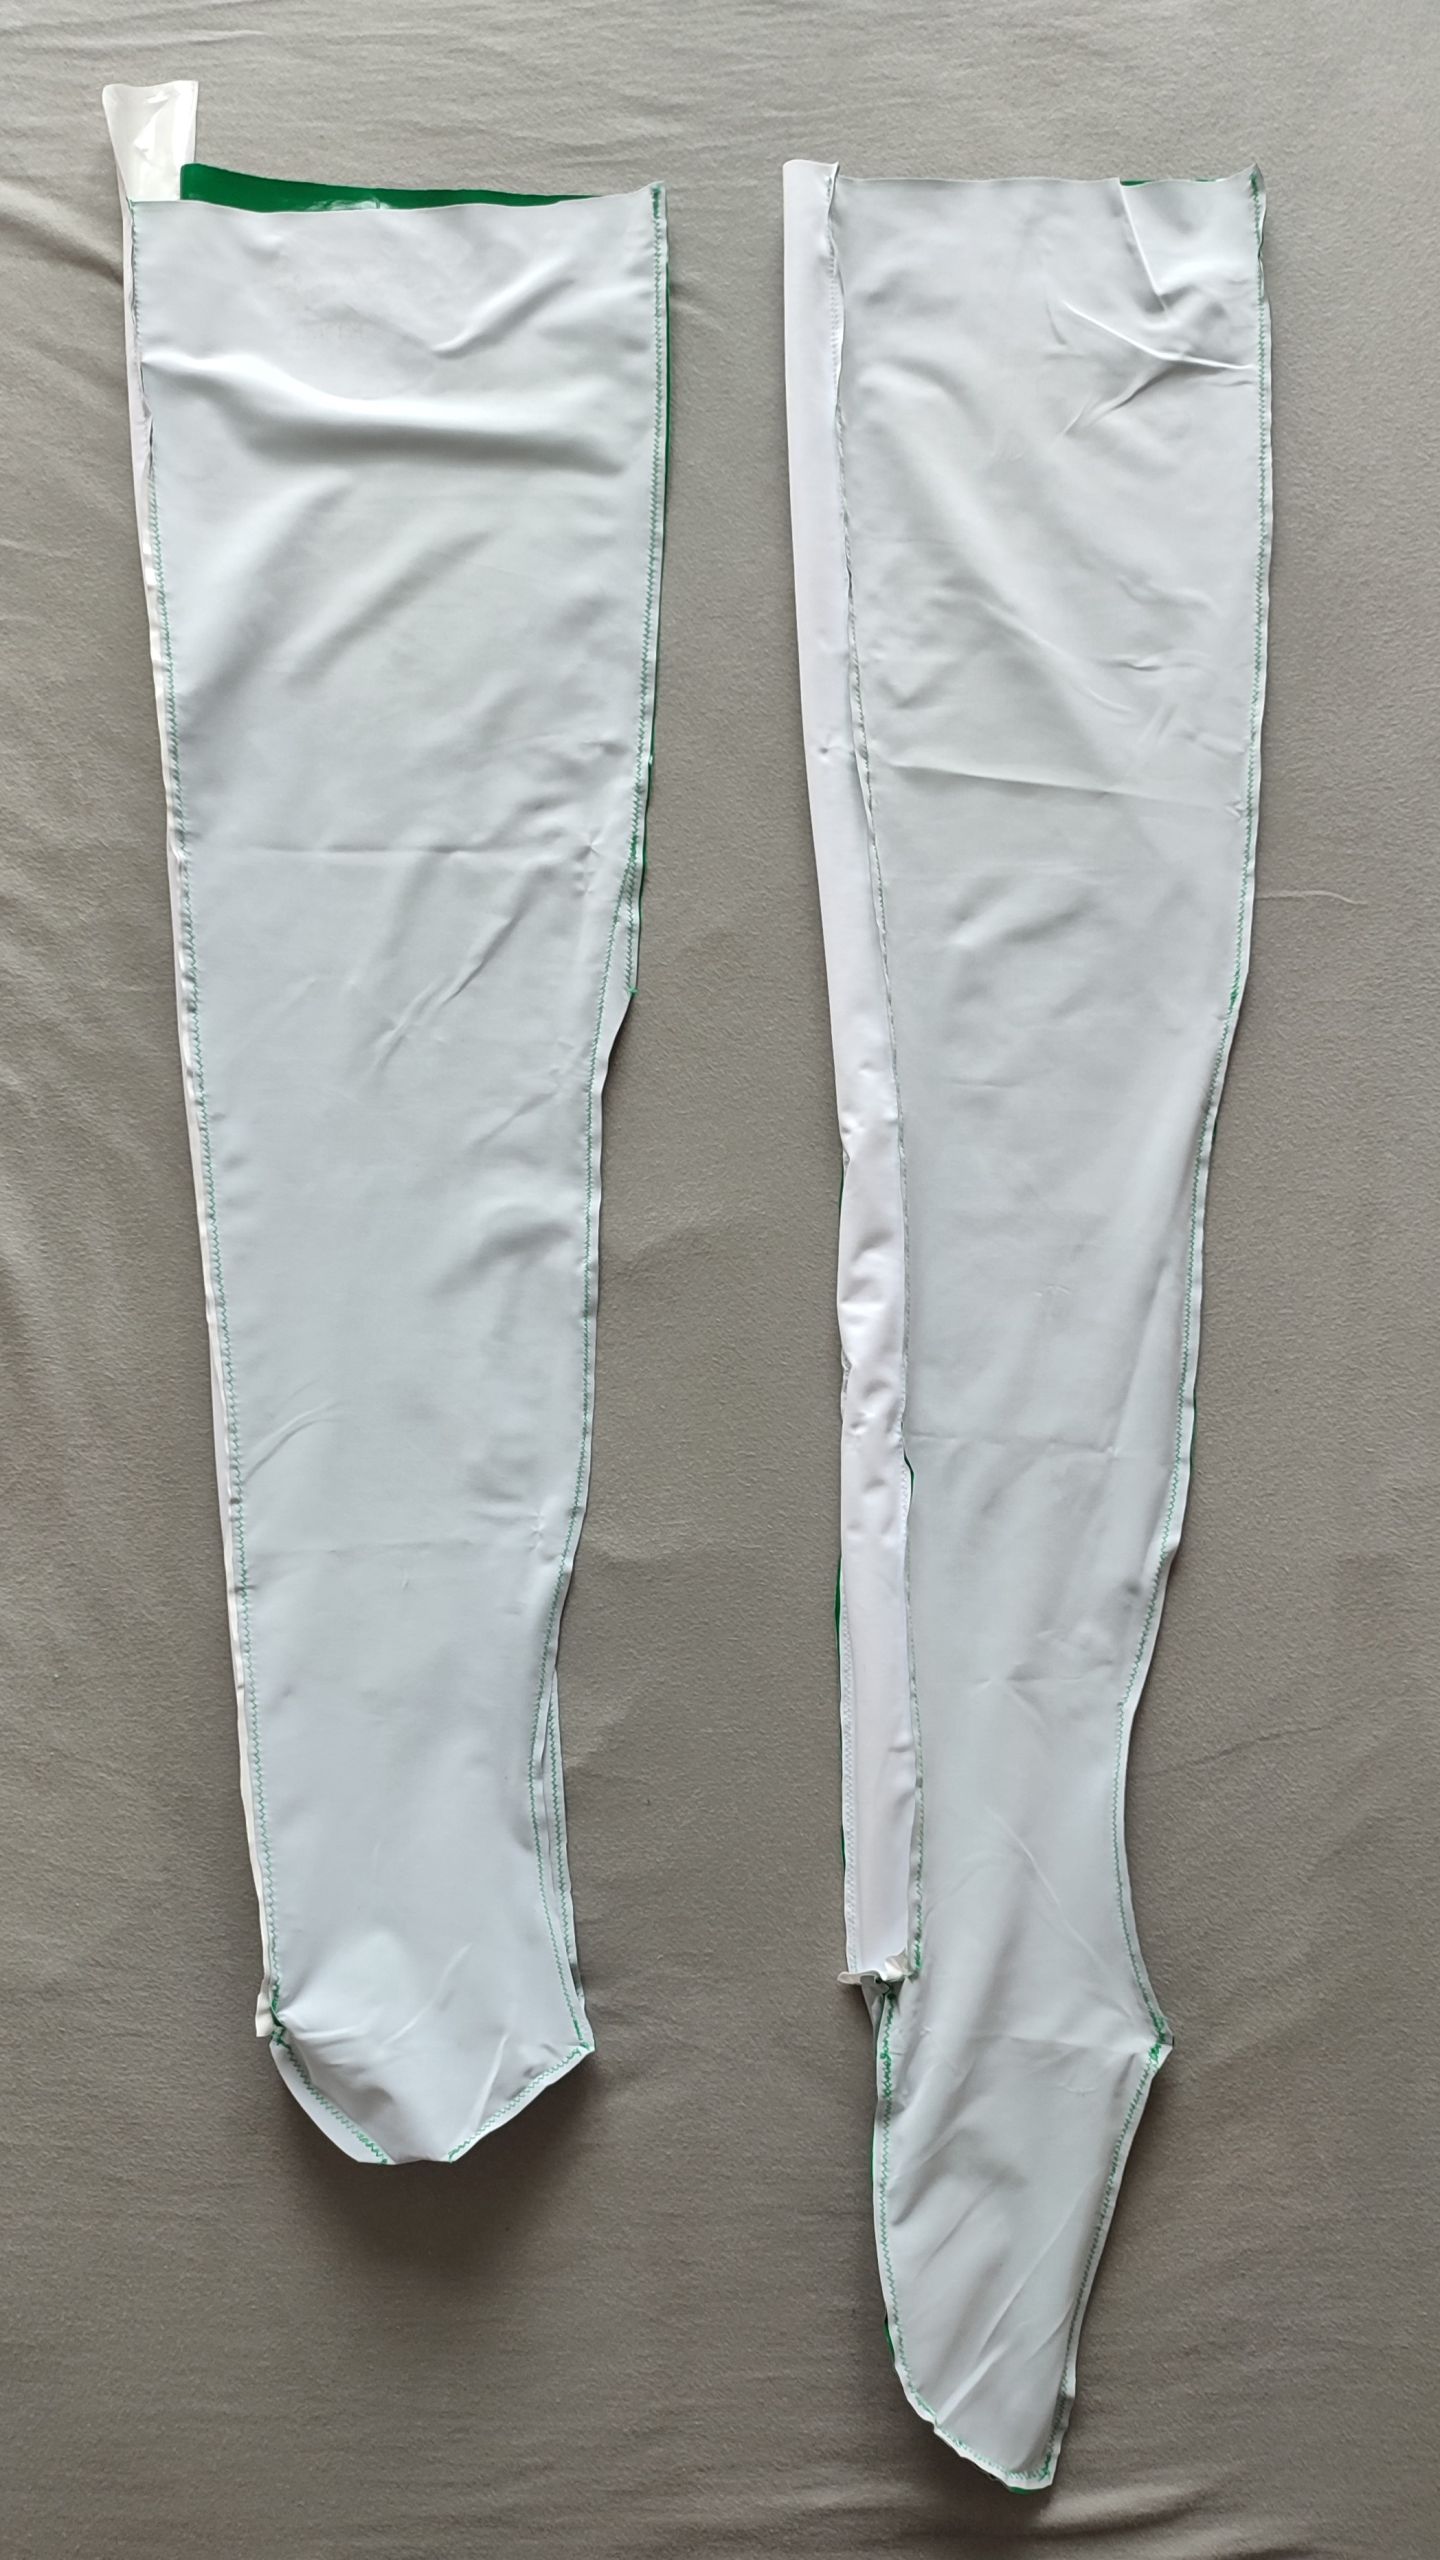
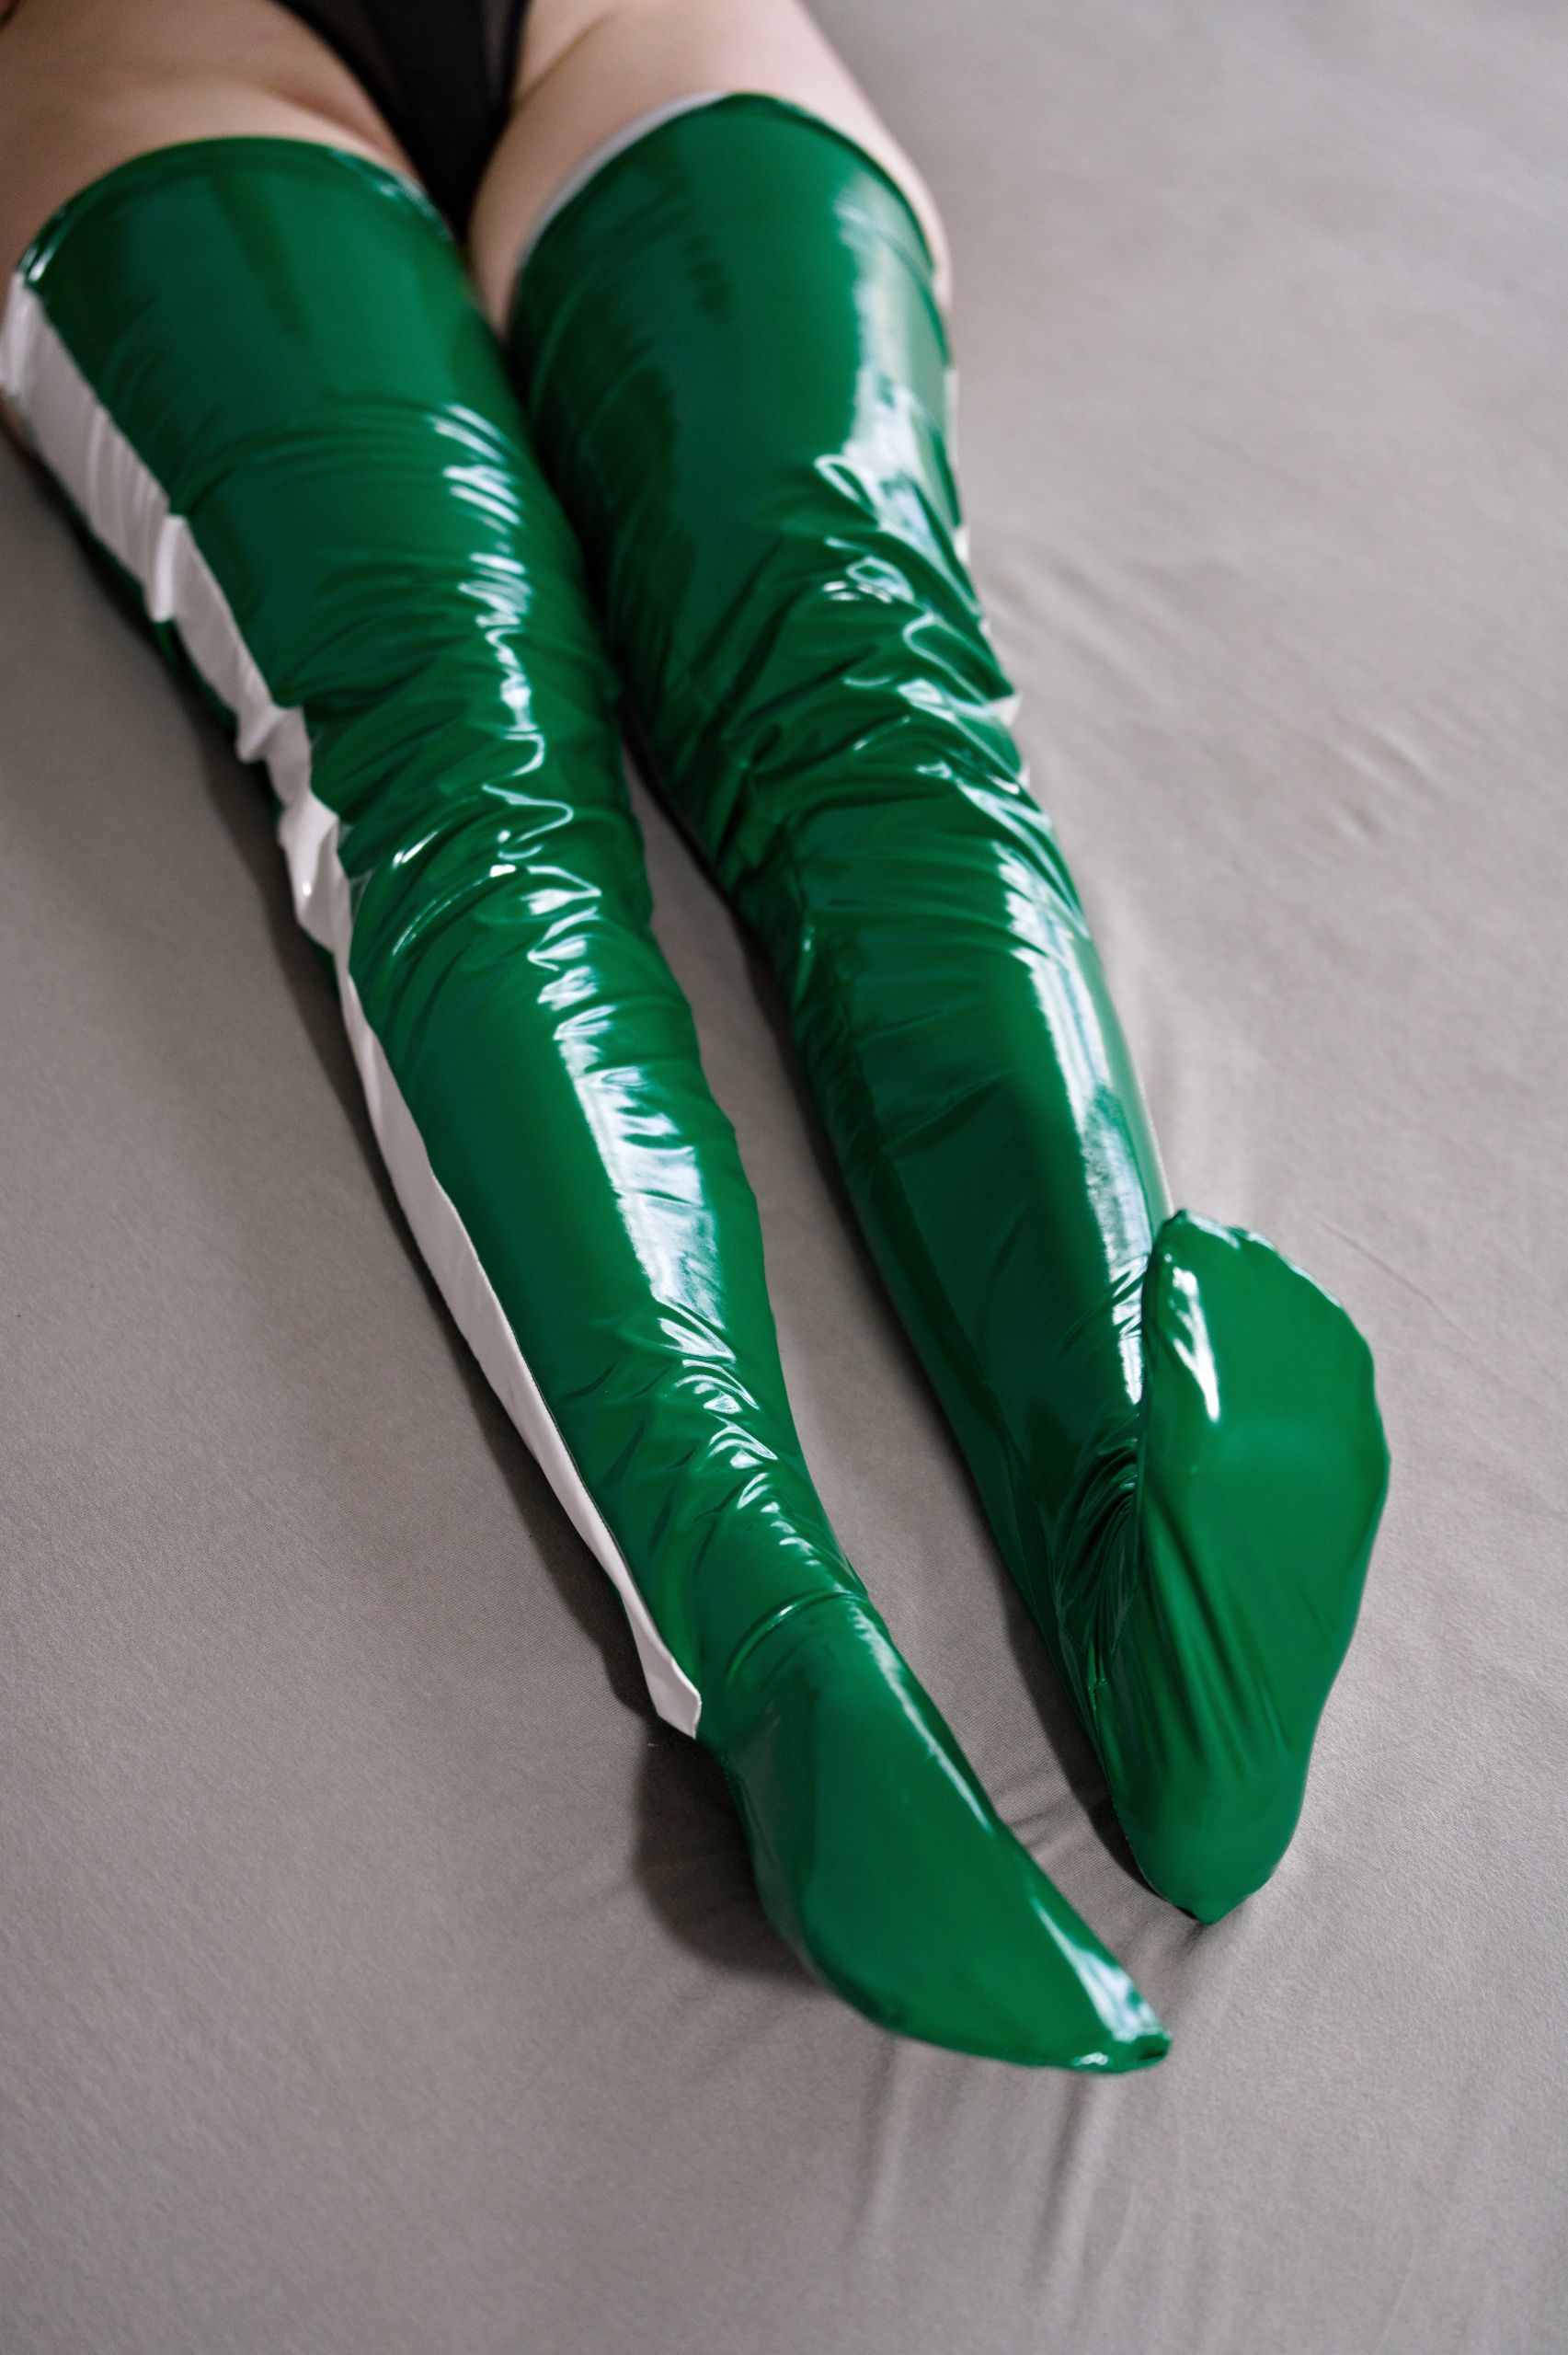
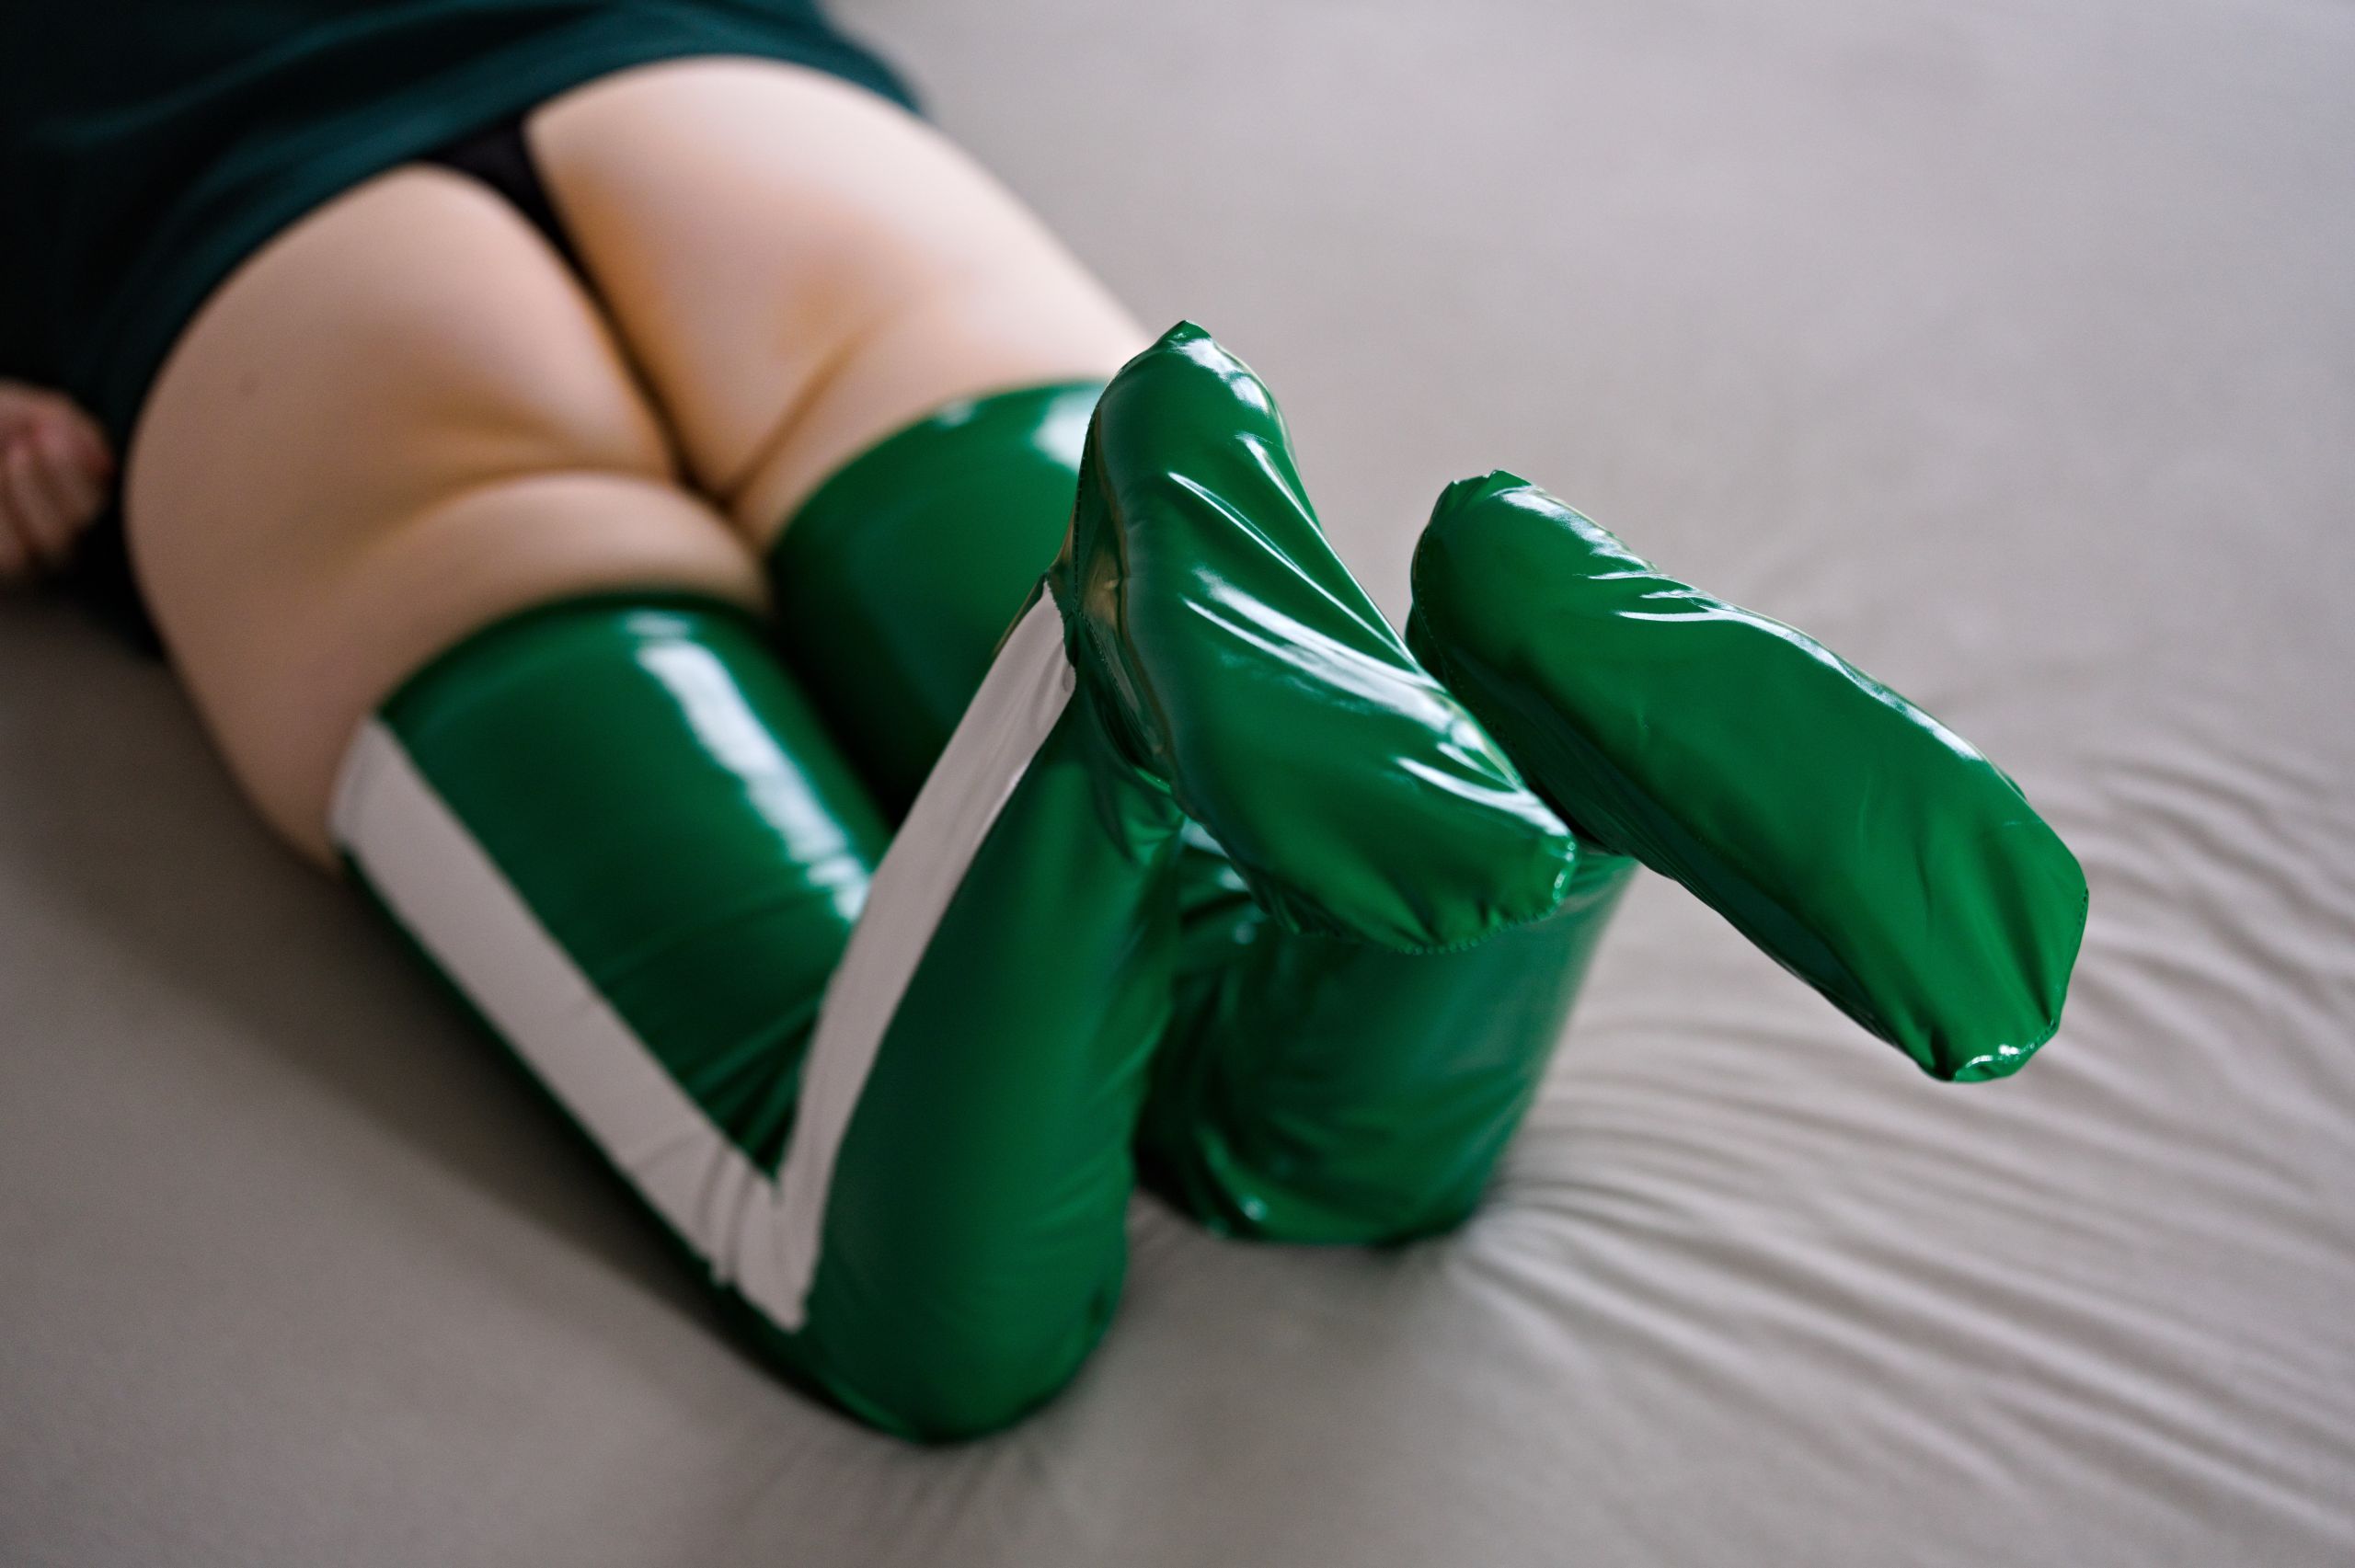

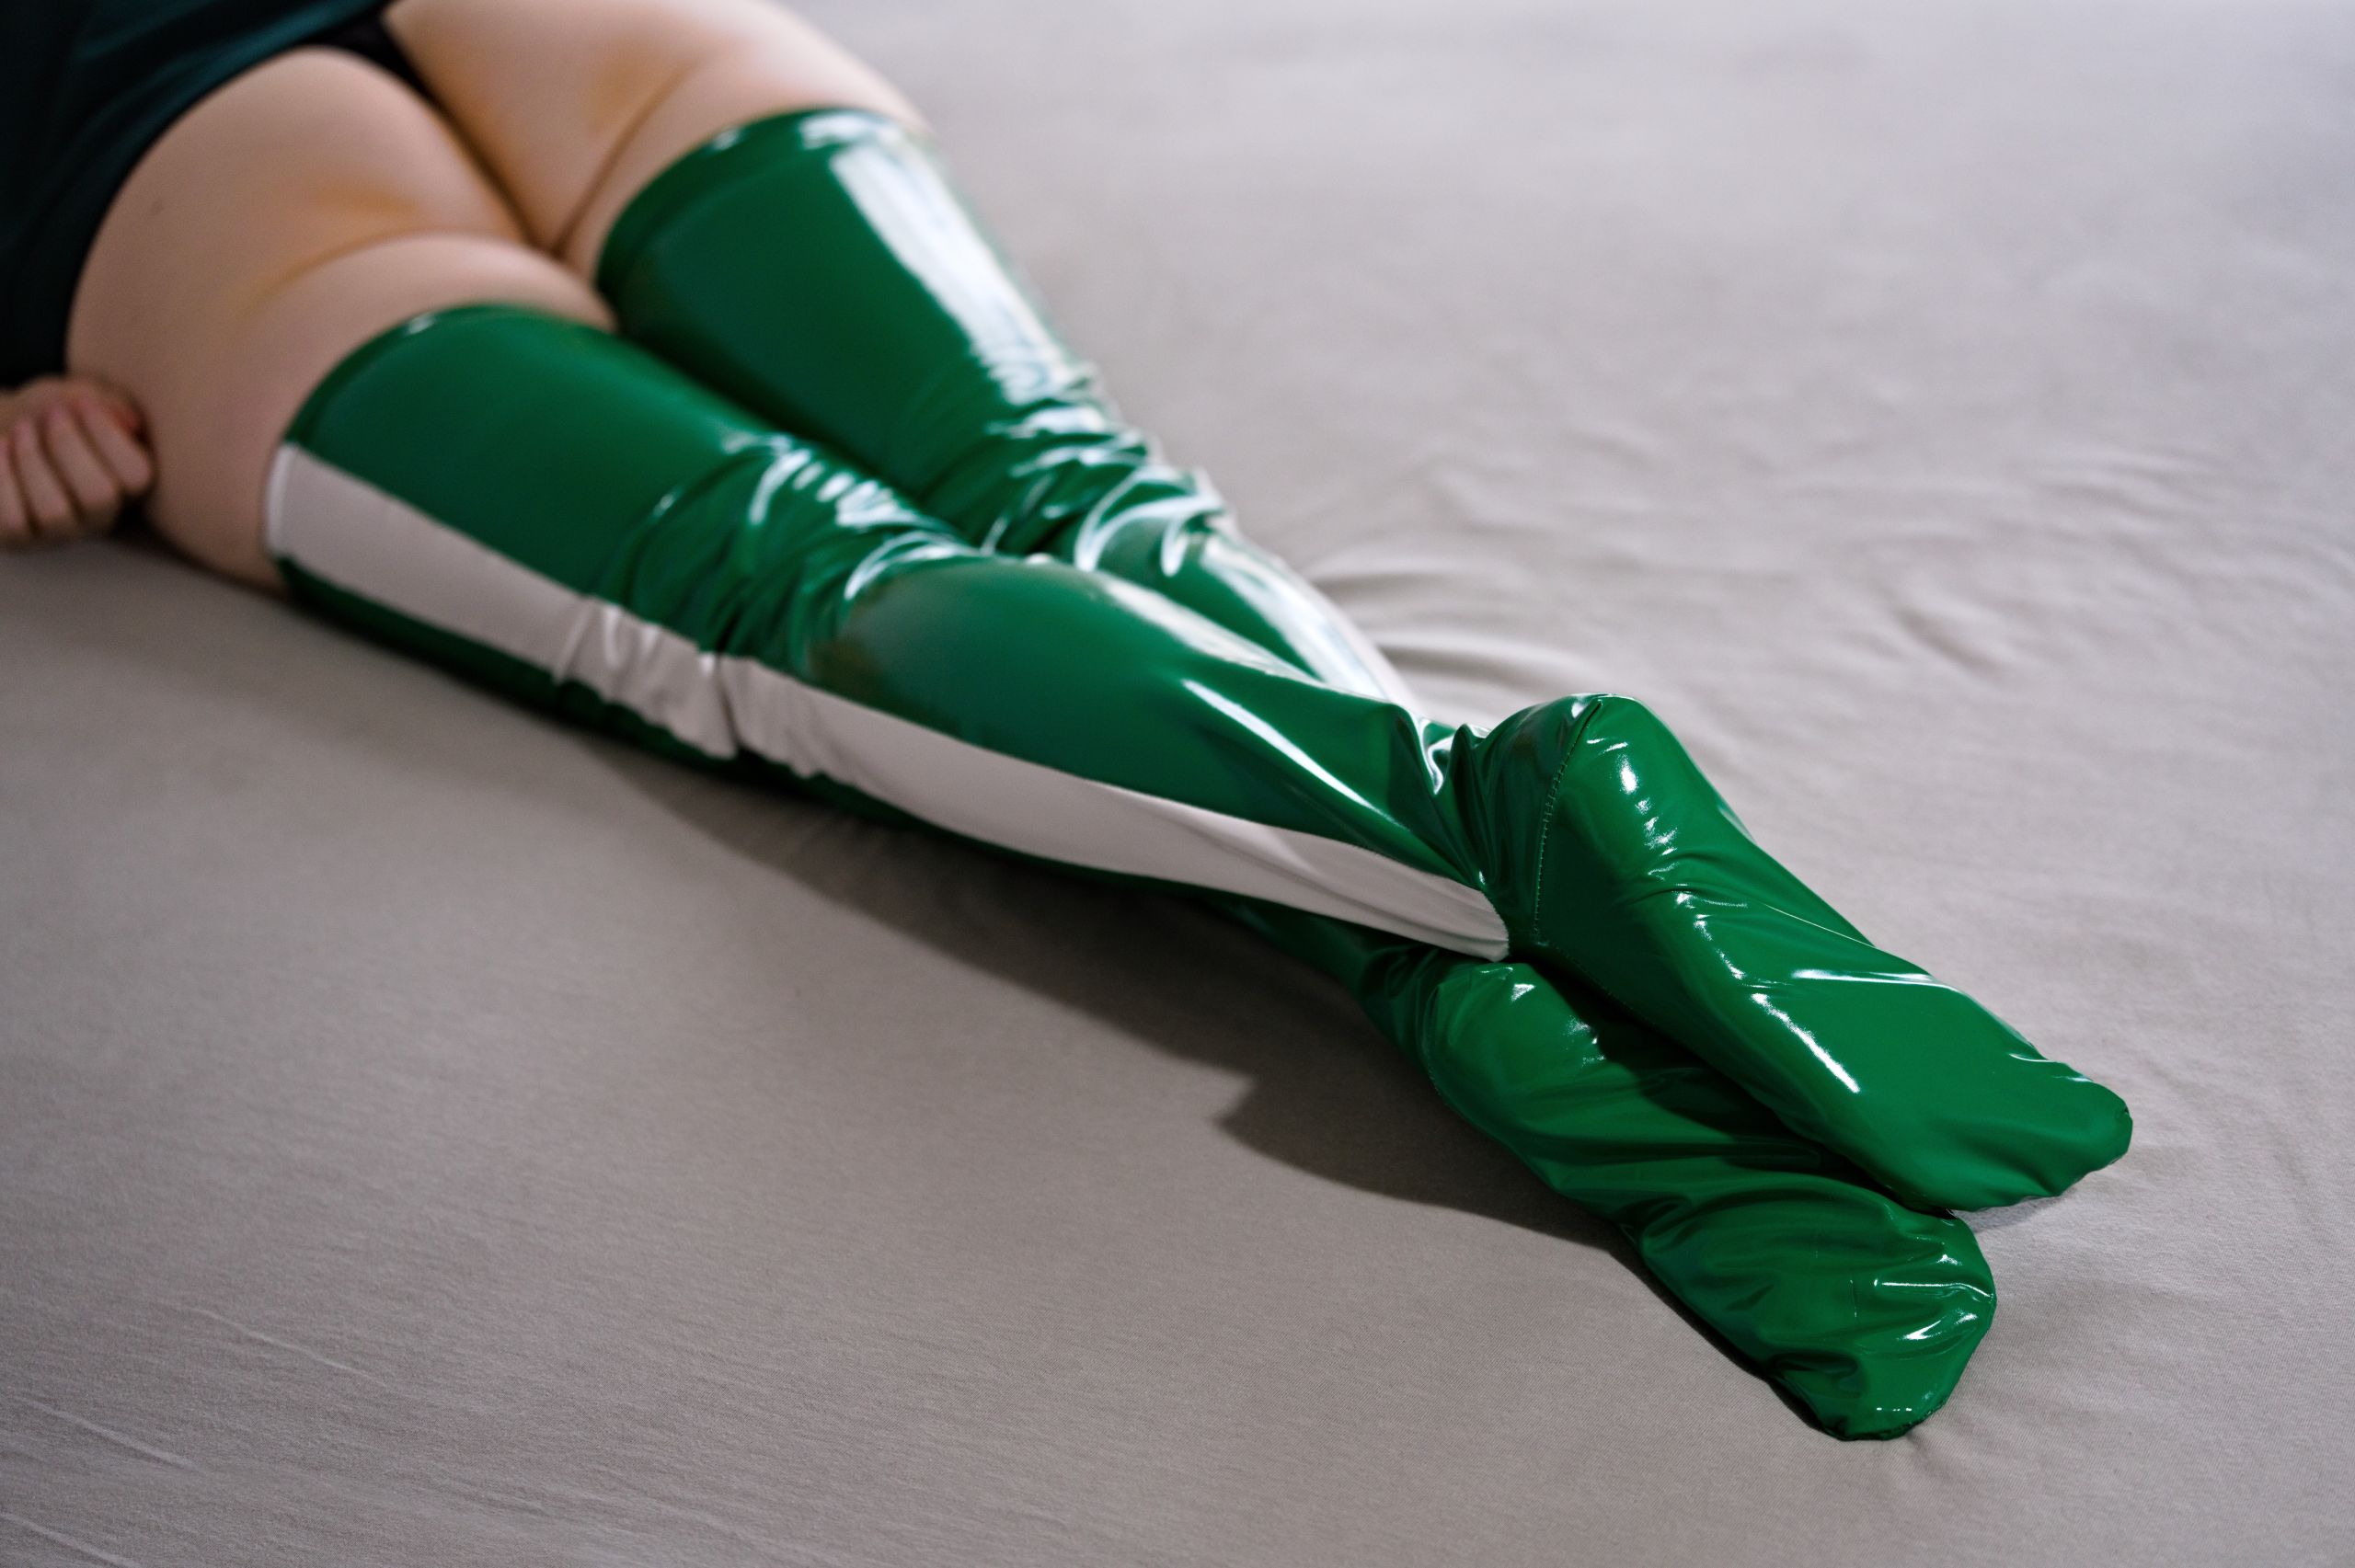
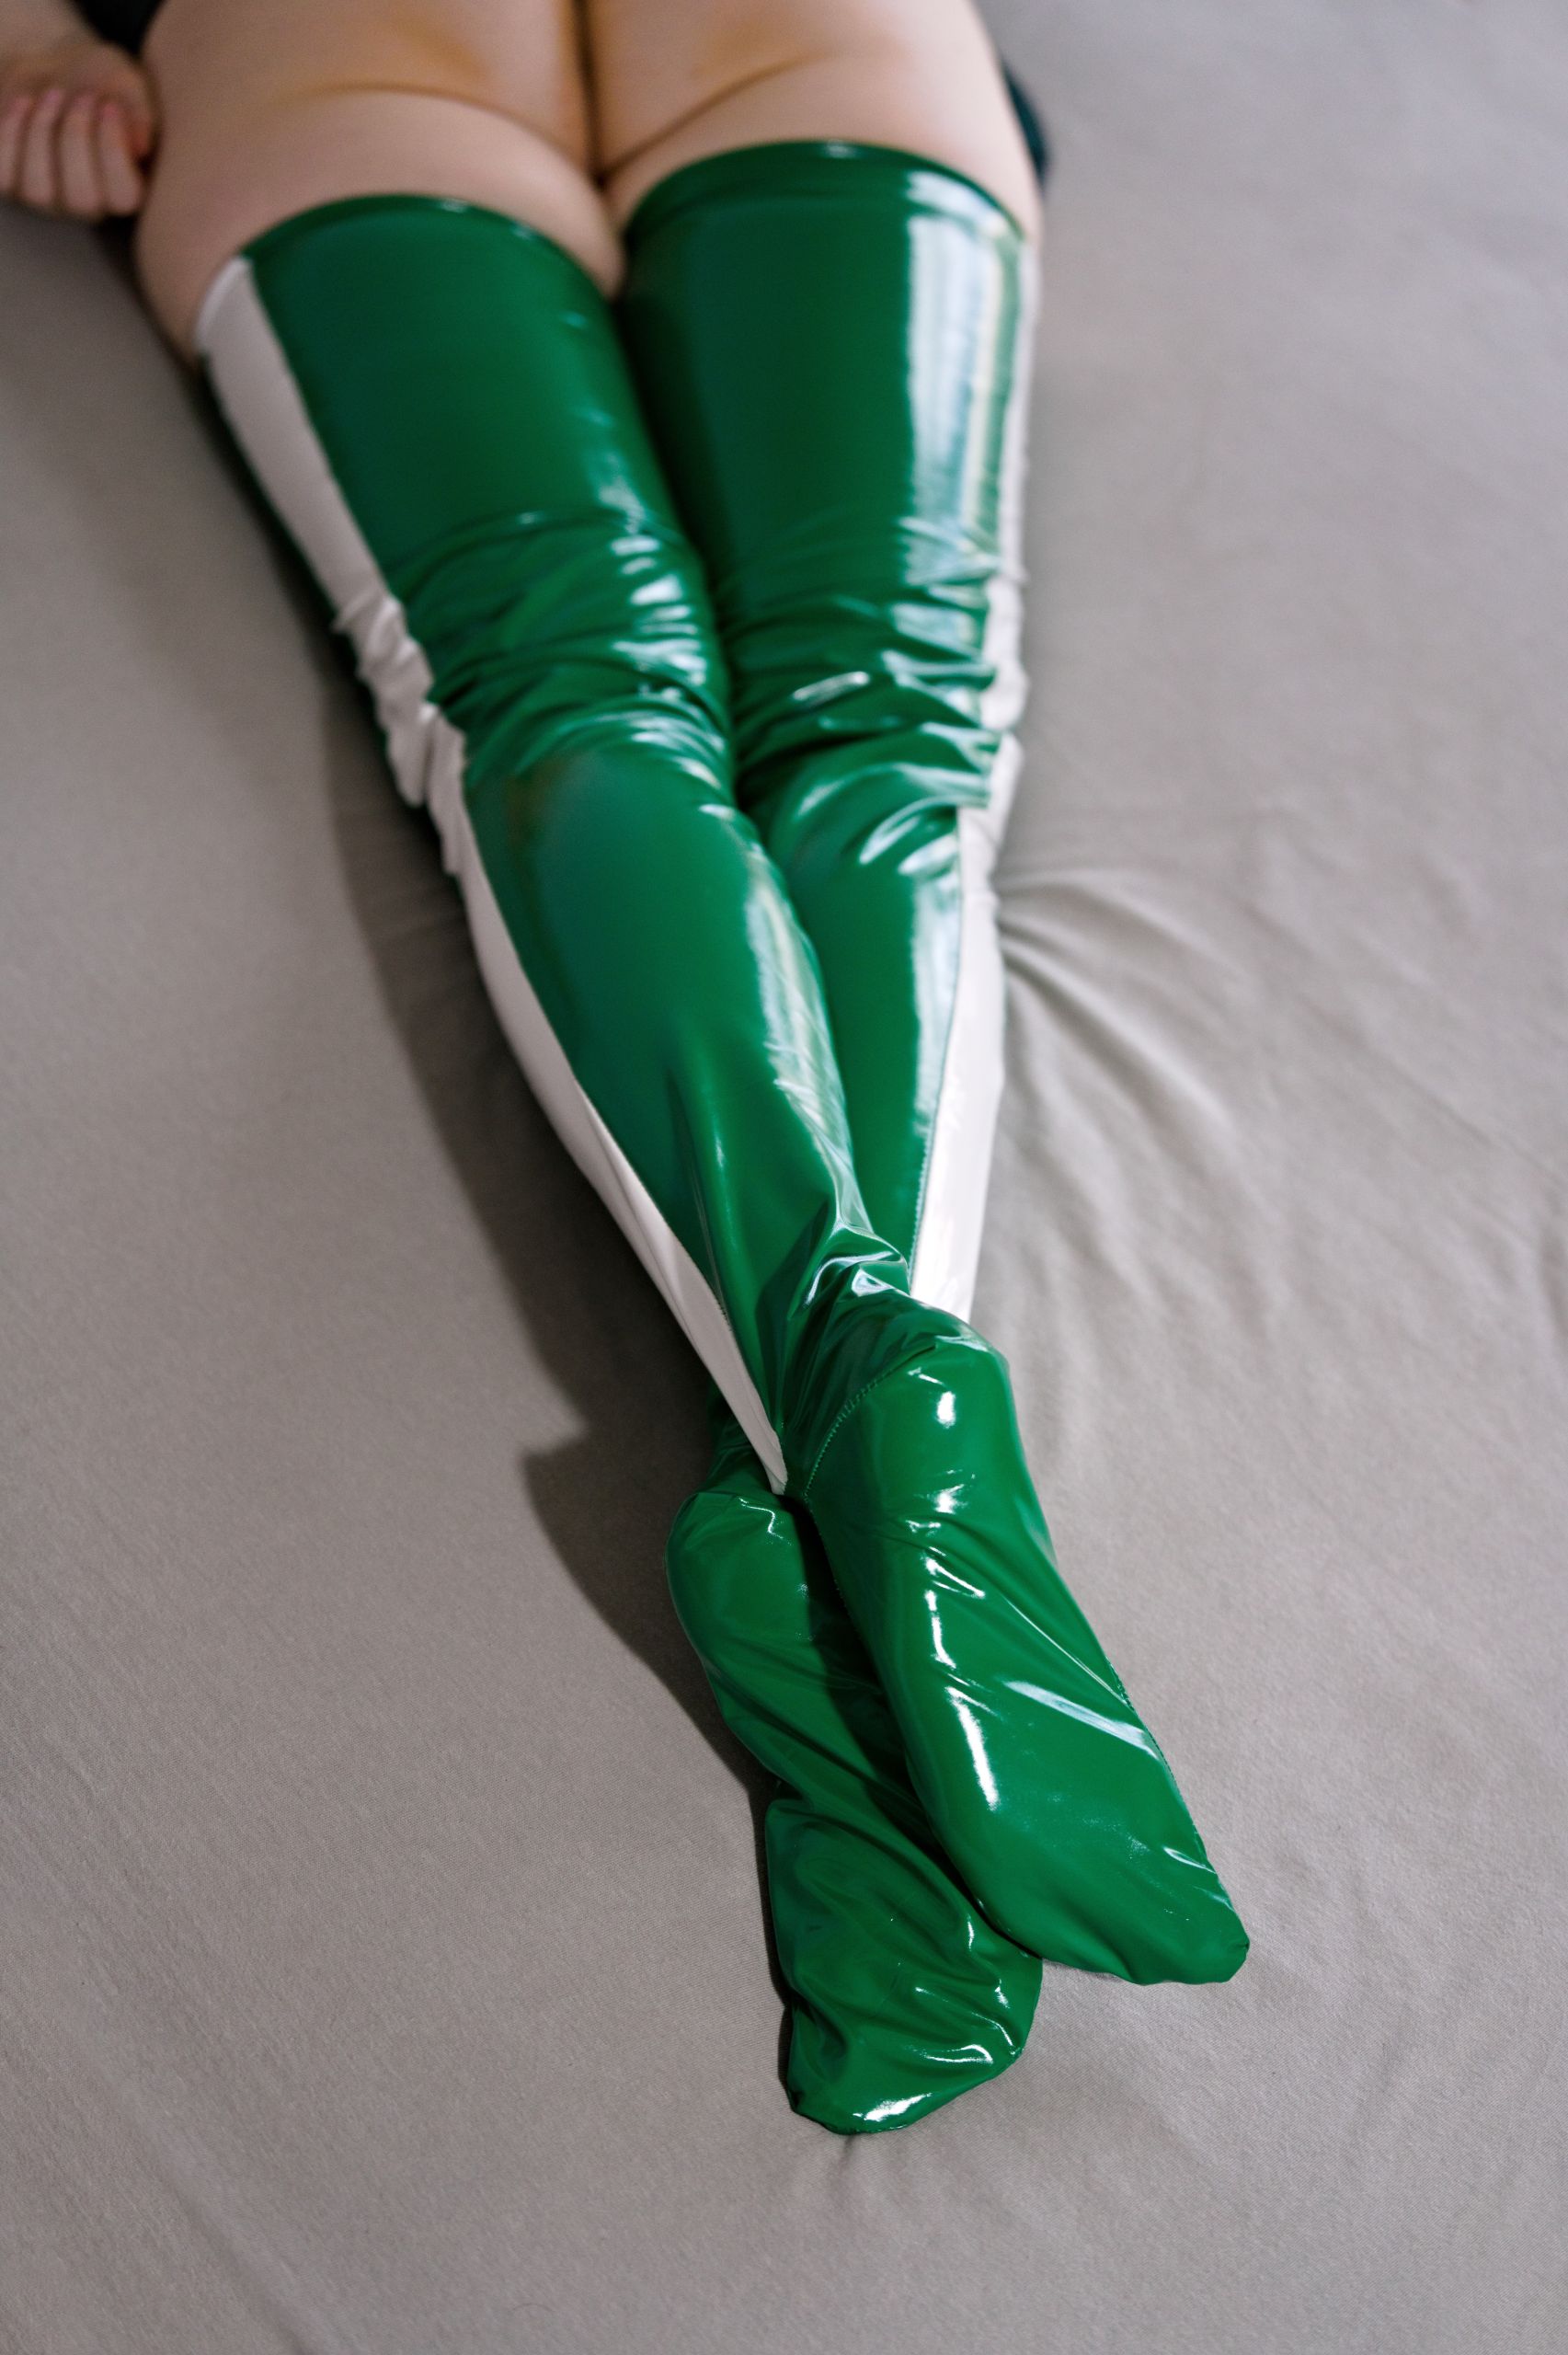
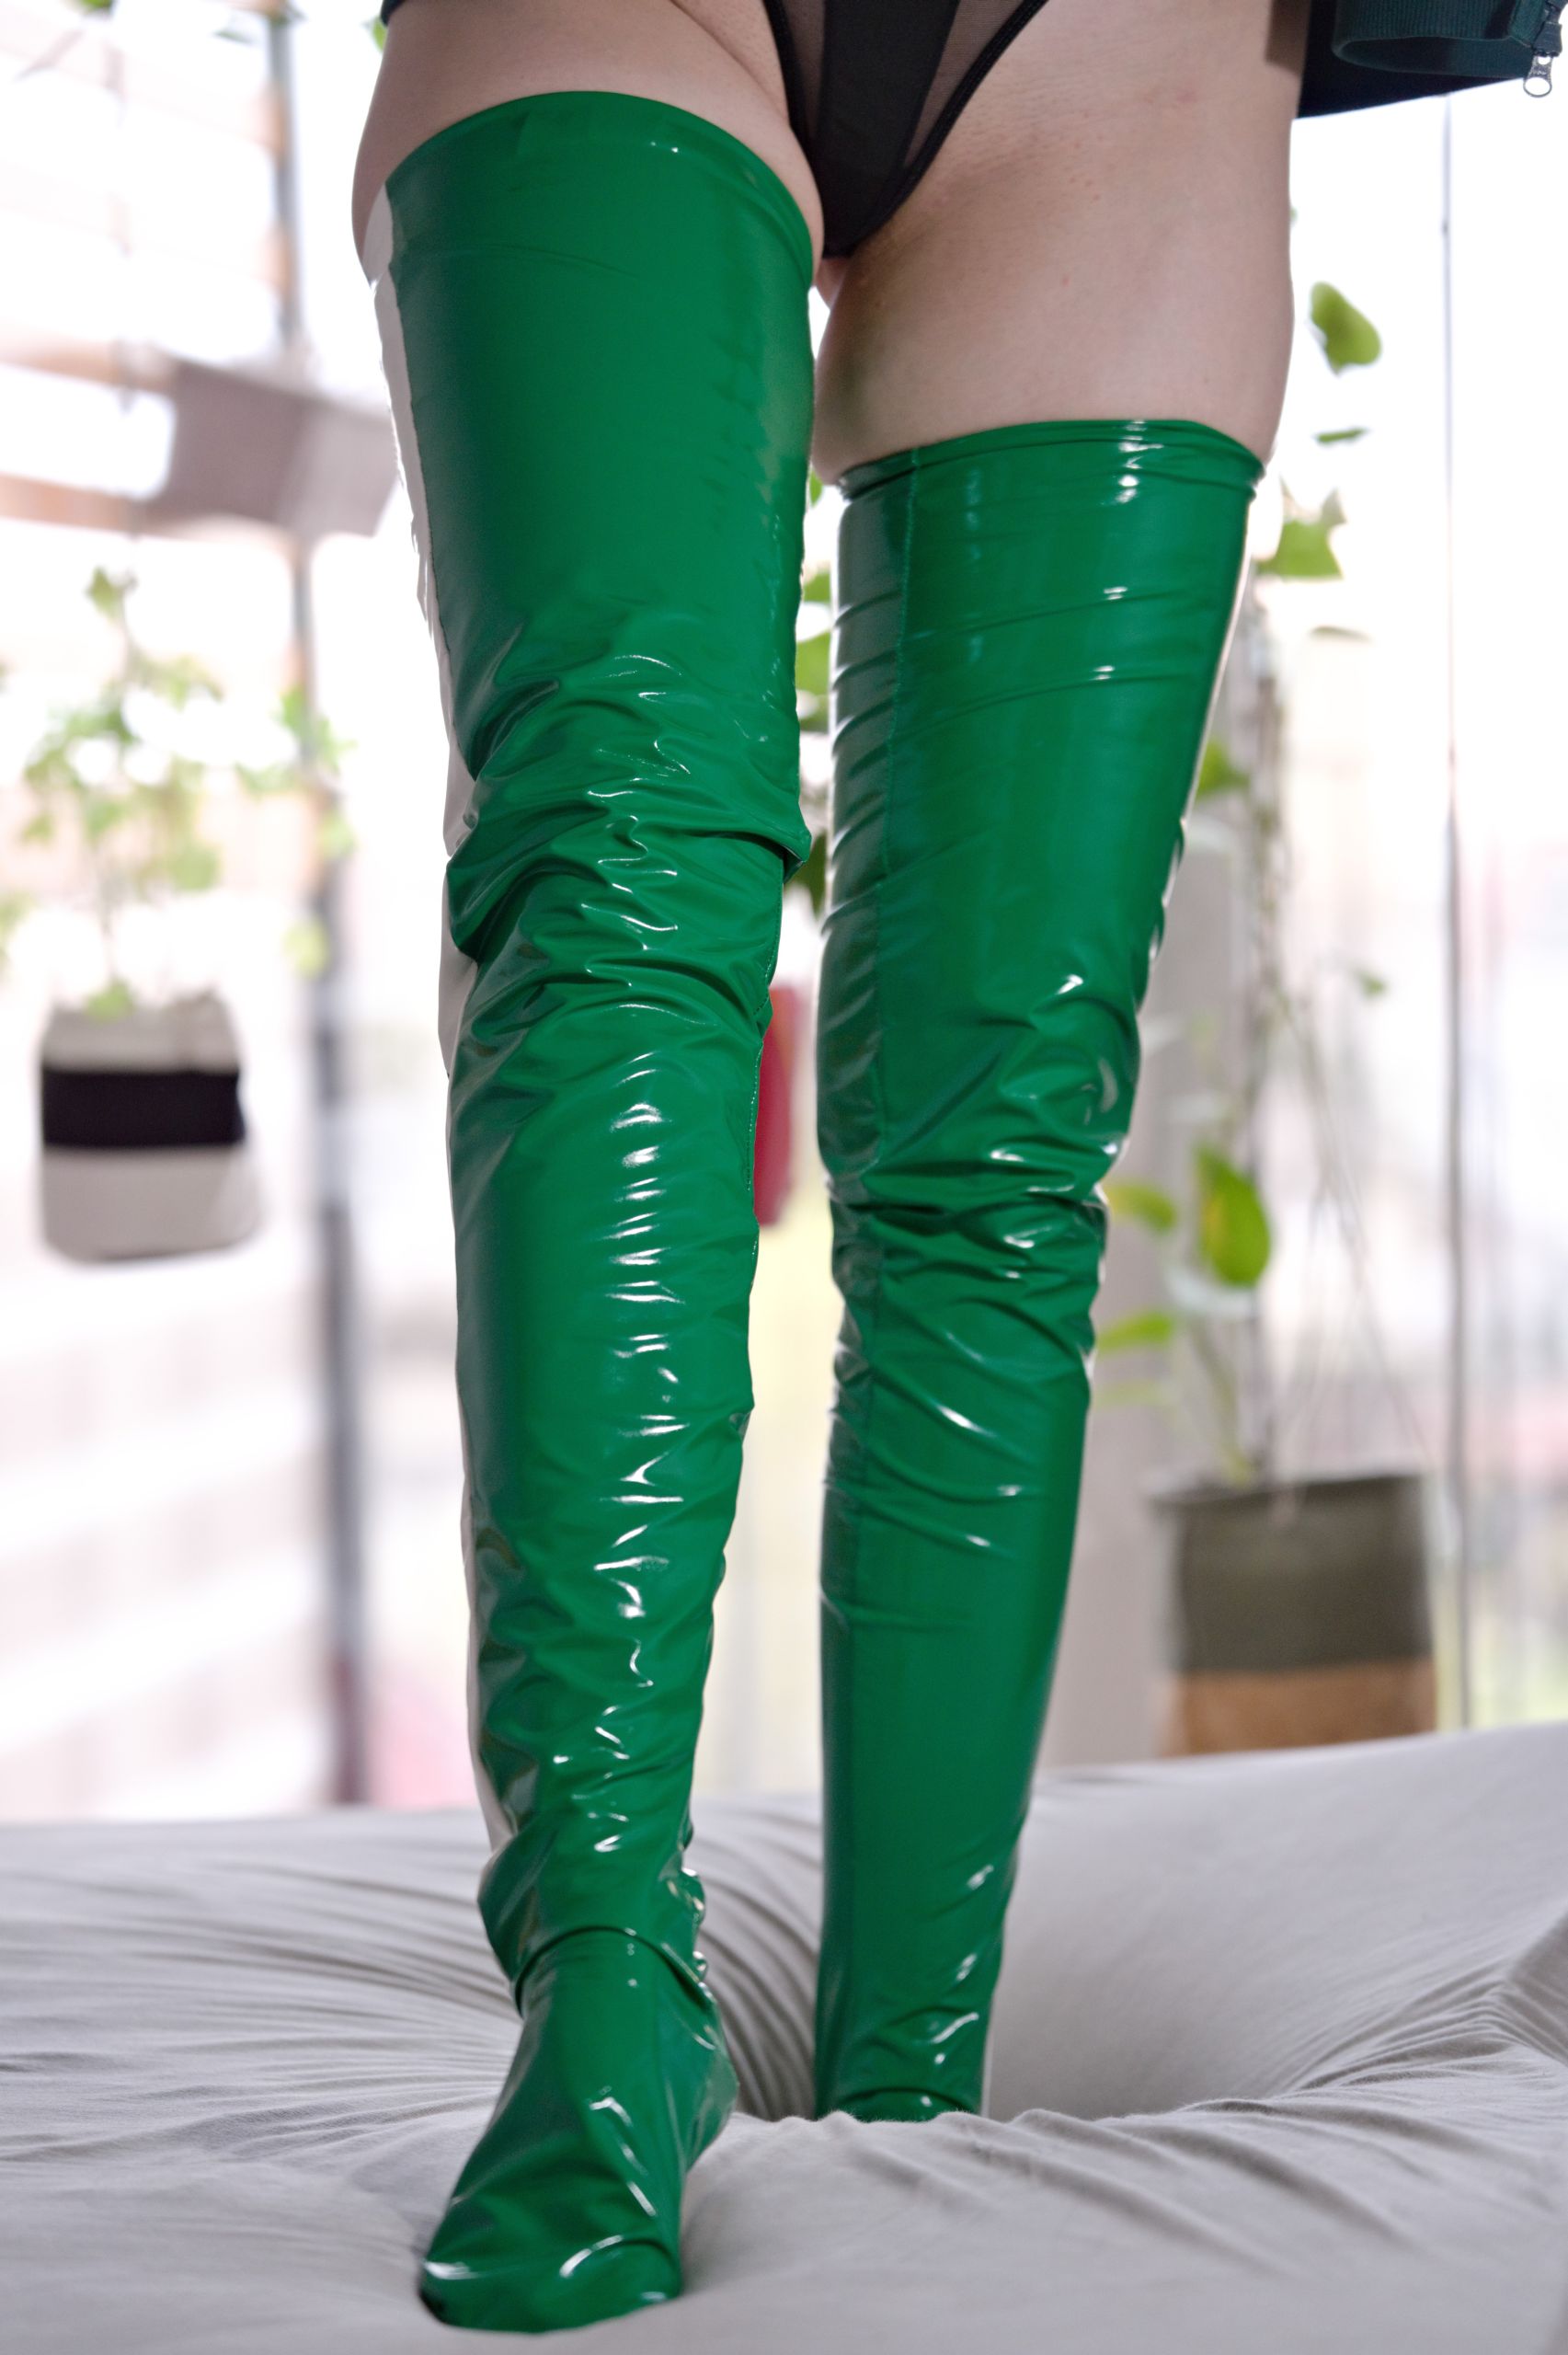
It may not be perfect regarding the clean leg fit as the original had, but it should easily outlast it and I’m happy with making such a trade.
Important notes in case you want to reproduce it
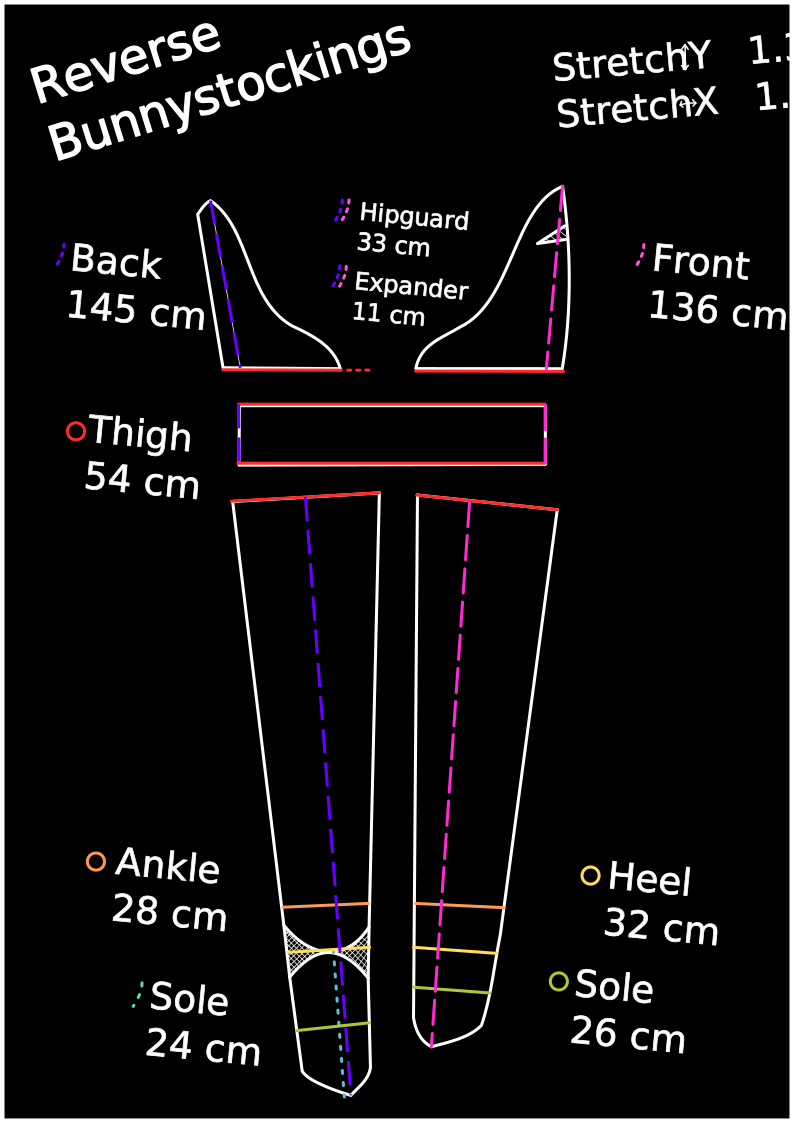
Understanding our pattern
Throughout this article the measurements you saw were taken from an already made garments with minimal or zero seam allowance.Top trim was folded inside for elastic channel only on original and cow print patterns, where blue reverse stockings were just sewn right sides together at expander seams.
The pattern shapes were retraced from a photo and are not print-ready.
Why? Simply because from our experience I want to manage your expectations about the process due to:
- Fabric-based latex as a material having so much variance depending on the exact vendor
- Pattern being for a tightly-fitting garment
One cannot simply escape here the fact that you have to sew it based on own dimensions. All the titbits of information or pattern shapes I shown are a rough guideline.
In fact, you will quickly realize that if you look back on our stockings when they are turned inside-out – they all have “second attempt” seams, despite them using a pre-established pattern. Your workflow would probably be just as ours:
- Sew a stocking base pattern
- Wear it on the left-side
- Mark where to trim (Remember not to take away too much material at the ankle!)
- Sew just-added marks
- Repeat steps 2->4 until fit is satisfactory
For more reference, from our experience, your real-life measurements to pattern measurements should change as such (still pre steam allowance):
- Front length can be extended by ~+9%
- Back length (including sole length) can be extended by ~+6%
- Thigh circumference can shrink by ~-5%
- Ankle circumference has to be enlarged by at least +33%(or to paraphrase it – at most it can decrease by -7% compared to heel circumference)
- Heel circumference can be enlarged by ~+10%
- Sole circumference can be enlarged by ~+20%
- Sole length can say exactly as-is
Ordering the material
Seeing our results – your best bet will always be ordering a sample before committing to ordering any larger quantity of material. That’s the only way to actually confirm that what you’ll get will be a 4-way stretch material.And yes, even if vendors use the same exact listing photos that doesn’t necessarily guarantee that what comes in the mail will be the same exact thing. Ask me how I know… ^^’
From what I’ve seen most vendors sell this type of material in precut 1.5x0.5m sheets. To make a single pair of stockings you realistically should order 1.5x1m (so two full sheets).FYI, TECHNICALLY you can cut 3 pieces (2x front + 1x back) from a single 0.5m long sheet by staggering them, but it makes it much more comfortable to have some wiggle room or room for a spare. The sheet often cannot be used in 100% either way – with some having a line with no color on the edge and come sheets coming in with latex layer already “pre-detached” from the backing fabric. ^^’
Cutting out the pattern
Remember how I said that a “directional stocking pattern” has its benefits?
The paper pattern we ended up with and shown above is actually bidirectional in a sense that the pattern for left stocking cannot be cut out by flipping the pattern we’ve made for the right one.
We got this weird result by making a folding pattern from a single ply of brown paper for both front and back portions. Since we first cut out the front, shorter, portion and then extended it by taping the additional heel length of a rectangle shape – this meant that the resulting pattern had no true line of symmetry – skewing side seams and top trim a bit when reversed.Since our last green stockings attempt was not yet trimmed up top – you can clearly see this phenomon on the photos there if you go back to them.
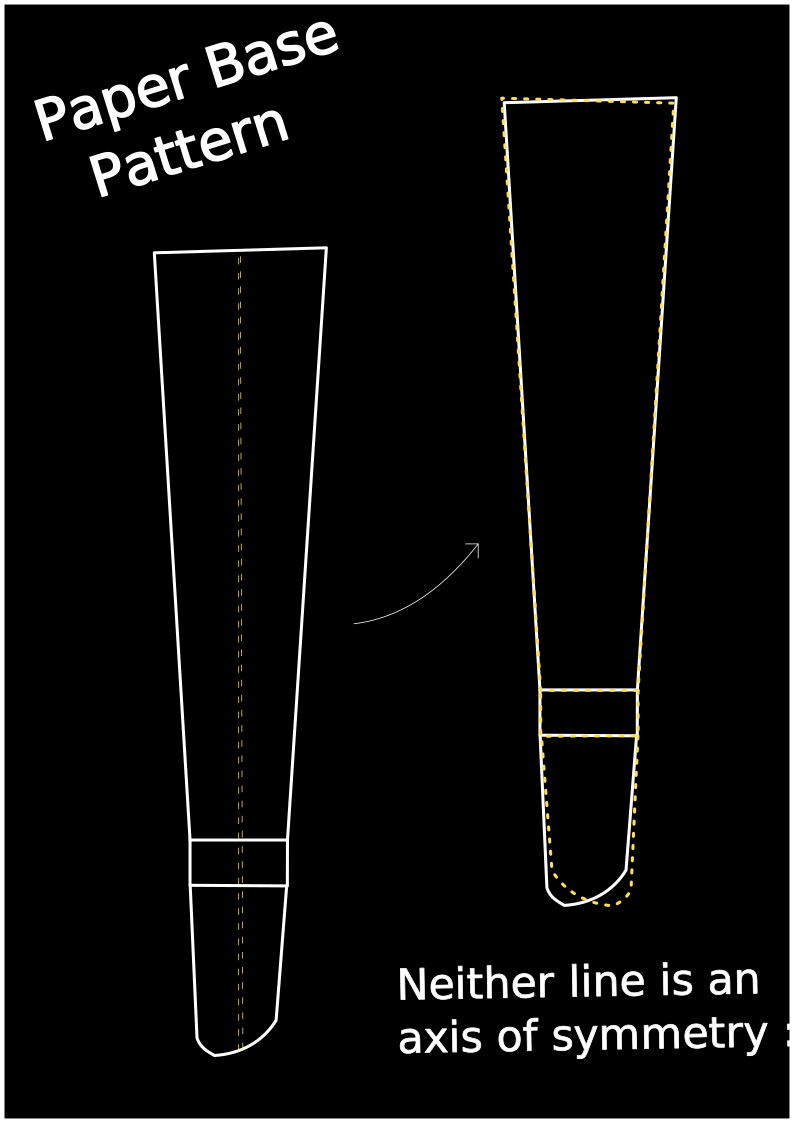
So if you want to do this – do either two separate front-back patterns, or two separate left-right folding patterns.You’ve been warned!